setup screen
M To access the camera using HTTPS mode, you have to type the IP address for the camera in the form of “https://<Camera_IP>”.
2.When done, click [Apply].
The web viewer will switch to the set secure connection system.
To Set IP Filtering
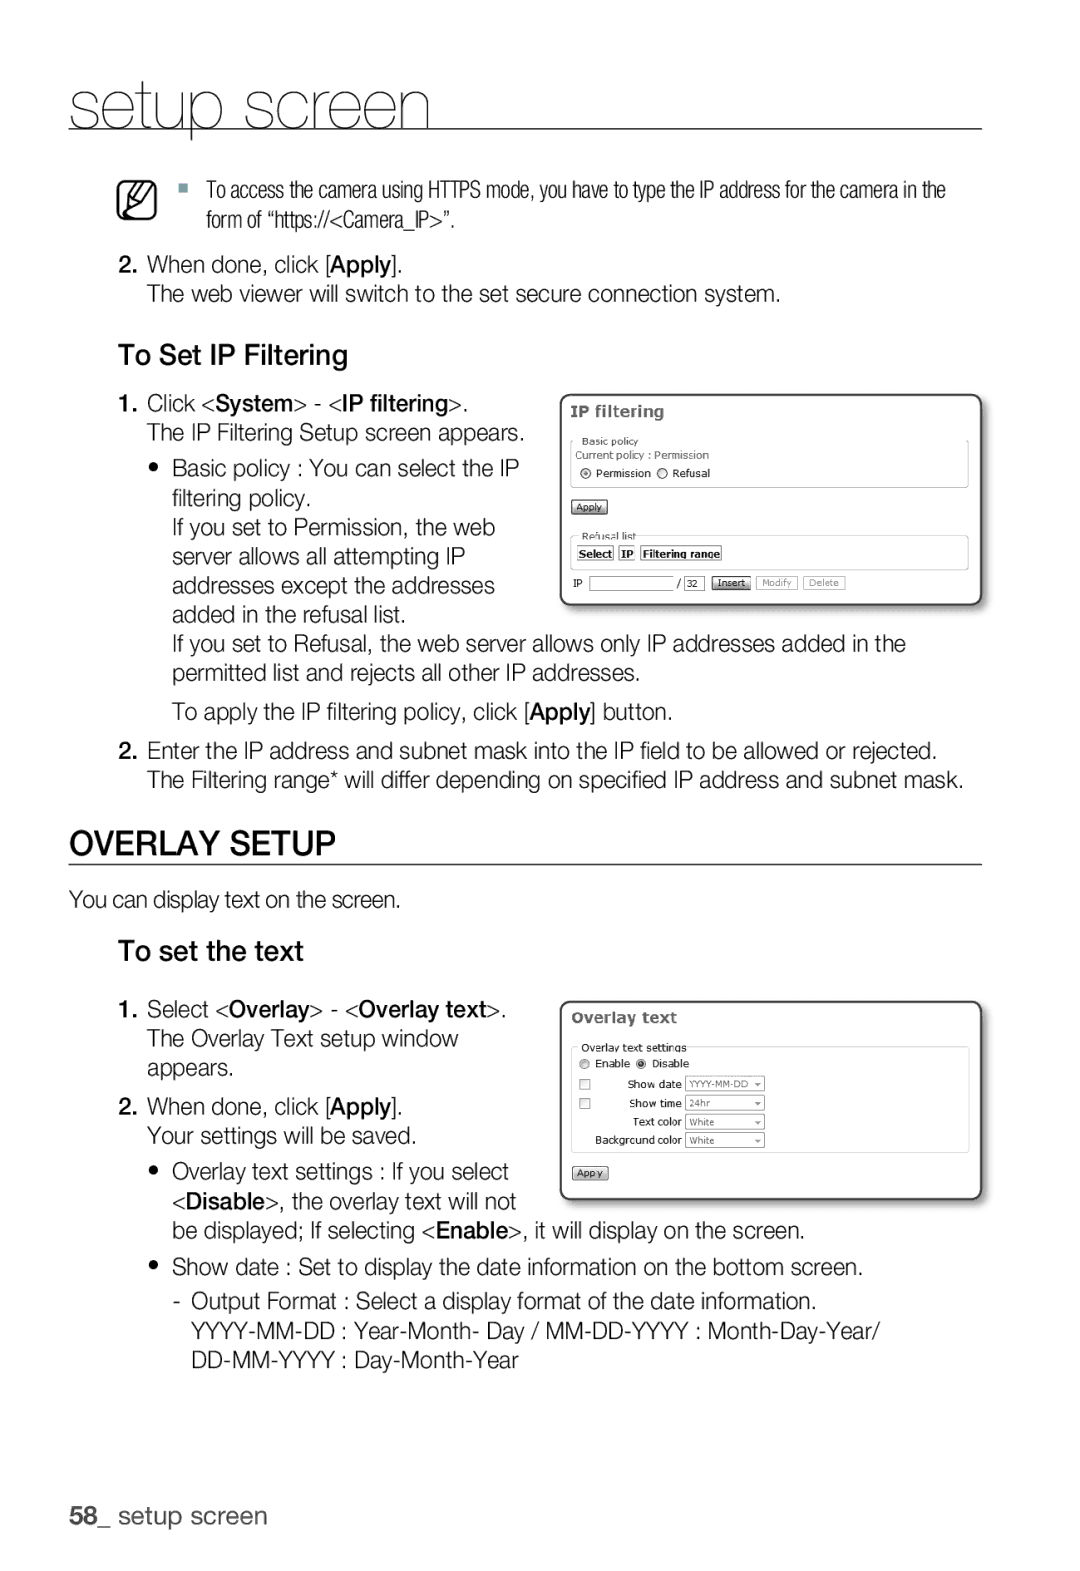
1.Click <System> - <IP filtering>.
The IP Filtering Setup screen appears.
yBasic policy : You can select the IP fi ltering policy.
If you set to Permission, the web server allows all attempting IP addresses except the addresses added in the refusal list.
If you set to Refusal, the web server allows only IP addresses added in the permitted list and rejects all other IP addresses.
To apply the IP fi ltering policy, click [Apply] button.
2.Enter the IP address and subnet mask into the IP fi eld to be allowed or rejected. The Filtering range* will differ depending on specifi ed IP address and subnet mask.
OVERLAY SETUP
You can display text on the screen.
To set the text
1.Select <Overlay> - <Overlay text>. The Overlay Text setup window appears.
2.When done, click [Apply]. Your settings will be saved.
y Overlay text settings : If you select <Disable>, the overlay text will not
be displayed; If selecting <Enable>, it will display on the screen.
y Show date : Set to display the date information on the bottom screen.
-Output Format : Select a display format of the date information.