To setup the record
1.Click <Event> - <Record setup>. The Record setup window appears.
2.To complete the setting, click the [Apply] button.
The settings are saved.
y SD card : Enables you to verify data saved on the SD memory card and format the memory card itself. It
is possible to set to automatically delete movie clips recorded before a certain period of time (e.g. 1 week, 1 month, or 1 year).
y Options : Determine whether or not you wish to receive Email notifi cation of insuffi cient capacity warnings.
To set an alarm image
You can configure to send message via
Select a transfer method when an event occurs or the schedule transfer function is activated.
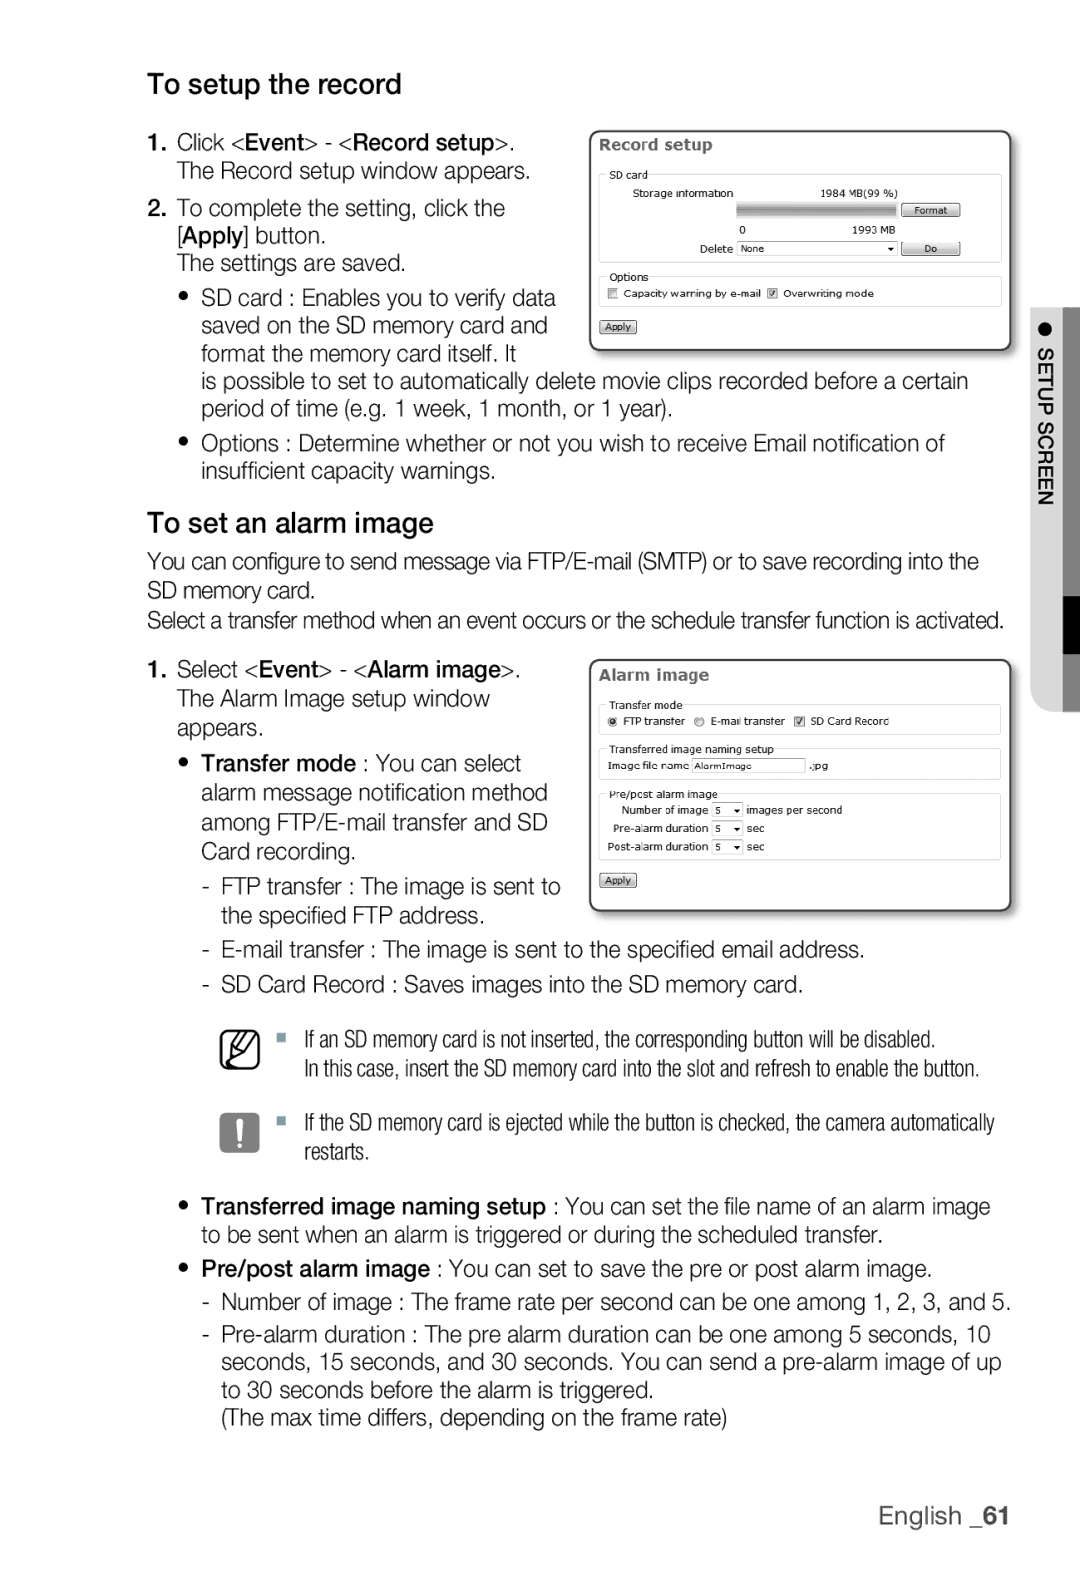
1.Select <Event> - <Alarm image>. The Alarm Image setup window appears.
y Transfer mode : You can select alarm message notifi cation method among
-FTP transfer : The image is sent to the specifi ed FTP address.
-
-SD Card Record : Saves images into the SD memory card.
M If an SD memory card is not inserted, the corresponding button will be disabled.
In this case, insert the SD memory card into the slot and refresh to enable the button.
J If the SD memory card is ejected while the button is checked, the camera automatically restarts.
yTransferred image naming setup : You can set the fi le name of an alarm image to be sent when an alarm is triggered or during the scheduled transfer.
yPre/post alarm image : You can set to save the pre or post alarm image.
-Number of image : The frame rate per second can be one among 1, 2, 3, and 5.
-
(The max time differs, depending on the frame rate)
● SETUP SCREEN