16:9 Wide
You can select the desired LCD display aspect ratio for recording or playback (16:9 Wide/4:3 aspect ratio).
item | contents | ||
display | |||
|
| ||
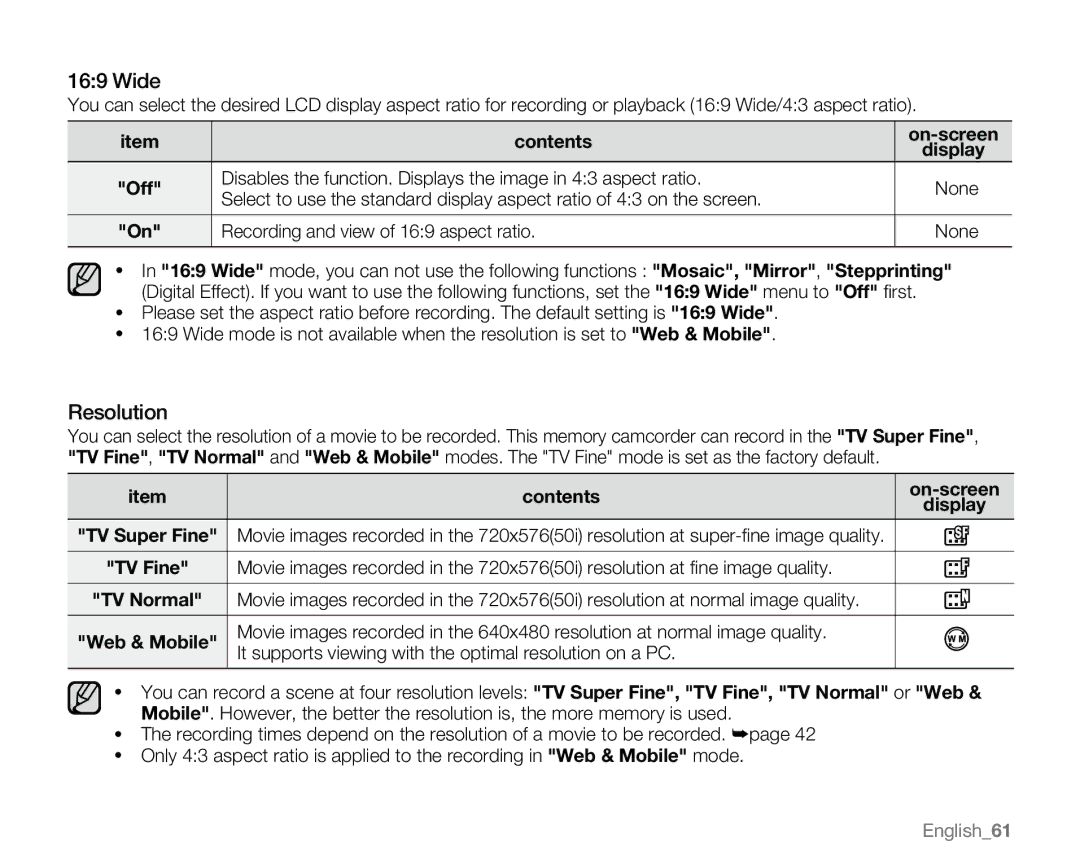
"Off" | Disables the function. Displays the image in 4:3 aspect ratio. | None | |
Select to use the standard display aspect ratio of 4:3 on the screen. | |||
|
| ||
|
|
| |
"On" | Recording and view of 16:9 aspect ratio. | None | |
|
|
|
•In "16:9 Wide" mode, you can not use the following functions : "Mosaic", "Mirror", "Stepprinting" (Digital Effect). If you want to use the following functions, set the "16:9 Wide" menu to "Off" first.
•Please set the aspect ratio before recording. The default setting is "16:9 Wide".
•16:9 Wide mode is not available when the resolution is set to "Web & Mobile".
Resolution
You can select the resolution of a movie to be recorded. This memory camcorder can record in the "TV Super Fine", "TV Fine", "TV Normal" and "Web & Mobile" modes. The "TV Fine" mode is set as the factory default.
item | contents | ||||
display | |||||
|
| ||||
"TV Super Fine" | Movie images recorded in the 720x576(50i) resolution at |
|
|
| |
|
|
| |||
|
|
| |||
|
|
|
|
| |
"TV Fine" | Movie images recorded in the 720x576(50i) resolution at fine image quality. |
|
|
| |
|
|
| |||
|
|
|
|
| |
"TV Normal" | Movie images recorded in the 720x576(50i) resolution at normal image quality. |
|
|
| |
|
|
|
|
| |
"Web & Mobile" | Movie images recorded in the 640x480 resolution at normal image quality. |
|
|
| |
It supports viewing with the optimal resolution on a PC. |
|
|
| ||
|
|
|
| ||
|
|
|
|
| |
•You can record a scene at four resolution levels: "TV Super Fine", "TV Fine", "TV Normal" or "Web & Mobile". However, the better the resolution is, the more memory is used.
•The recording times depend on the resolution of a movie to be recorded. ²page 42
•Only 4:3 aspect ratio is applied to the recording in "Web & Mobile" mode.
English_61