CHECKING |
| BLADE | SQUARENESS | TO TABLE |
|
|
| |||||||
I, | Loosen |
| ELEVATION | LOCK | by | pulling | KNOB | forward, |
| |||||
2. | Turn | ELEVATION |
| handwheel | clockwise |
| until | blade | is | |||||
| as high up as it will go, |
|
|
|
|
|
|
|
| |||||
| IMPORTANT: |
| BLADE | must | be | SQUARE | (90 ° ) | to | ||||||
| TABLE, in order to ALIGN rip fence, |
|
|
|
| |||||||||
3, | Check |
| for | BLADE SQUARENESS | .... | if | blade is not | |||||||
| square to table, adjust it at this time,, |
|
|
|
| |||||||||
| NOTE: |
| The | combination | square must be "true" - see | |||||||||
| start of | "Unpacking | and | Checking Contents" section on | ||||||||||
| page 6 for checking method |
|
|
|
|
|
|
| ||||||
Refer to | "BLADE | TILT, | OR | SQUARENESS | OF | BLADE | ||||||||
TO | TABLE" | adjustments | on | page 24 |
|
|
|
|
| |||||
|
|
|
|
|
|
|
|
|
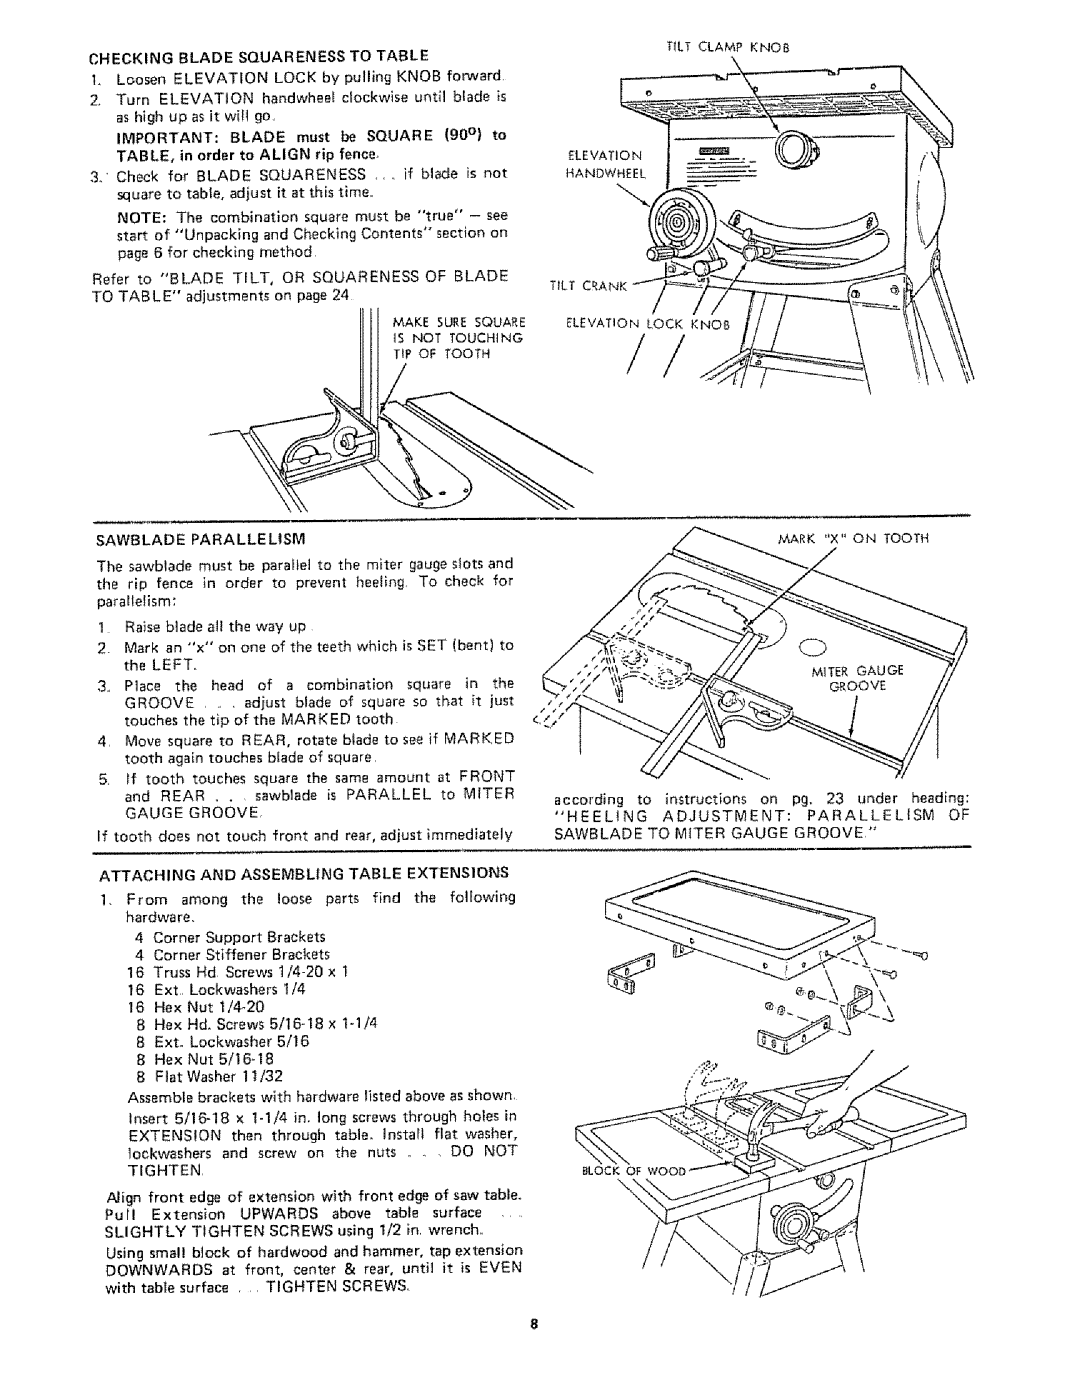
| MAKE SURE SQUARE | ||||
|
|
|
|
|
|
|
|
|
| IS NOT | TOUCHING | |||
|
|
|
|
|
|
|
|
|
| TiP OF | TOOTH |
| ||
TILT CLAMP KNOB
ELEVATION
HANDWHEEL
TILT CRANK
ELEVATION LOCK KNOB
SAWBLADE PARALLELISM
The sawblade must be parallel to the miter gauge slots and
the rip fence in order to prevent heeling To check for parallelism:
I Raise blade all the way up
2.Mark an "x" on one of the teeth which is SET (bent) to the LEFT.
3, Place the head of a combination square in the
GROOVE .... adjust blade of square so that it just
touches the tip of the MARKED tooth
4, Move square to REAR, rotate biade to see if MARKED tooth again touches blade of square,
5, If tooth touches square the same amount at FRONT
and REAR .... sawblade is PARALLEL to MITER
GAUGE GROOVE
If tooth does not touch front and rear, adjust immediately
ATTACHING AND ASSEMBLING TABLE EXTENSIONS
1, From among the loose parts find the following hardware,
4 Corner Support Brackets
4 Corner Stiffener Brackets
16 Truss Hd Screws
16 Ext, Lockwashers I/4
16 Hex Nut
B Hex Hd, Screws
8 Ext° Lockwasher 5/16
8 Hex Nut
B FlatWasher 11/32
Assemble brackets with hardware listed above as shown, Insert
EXTENSION then through table° tnstarl flat washer,
lockwashers and screw on the nuts .... DO NOT
TIGHTEN,
Align front edge of extension with front edge of saw table_
Pull Extension UPWARDS above table surface ....
SLIGHTLY TIGHTEN SCREWS using !/2 in, wrench.,
Using smal! block of hardwood and hammer, tap extension
DOWNWARDS at front, center & rear, until it is EVEN
with table surface , , TIGHTEN SCREWS.
MARK *'X" ON TOOTH
according to instructions on pg. 23 under heading:
"HEELING ADJUSTMENT:PARALLELISM OF
SAWBLADE TO MITER GAUGE GROOVE"
/
f
BLOCK OF
\