4 Press the start ( | ) key. |
Scanning will start and the scanned data will be transferred to the application.
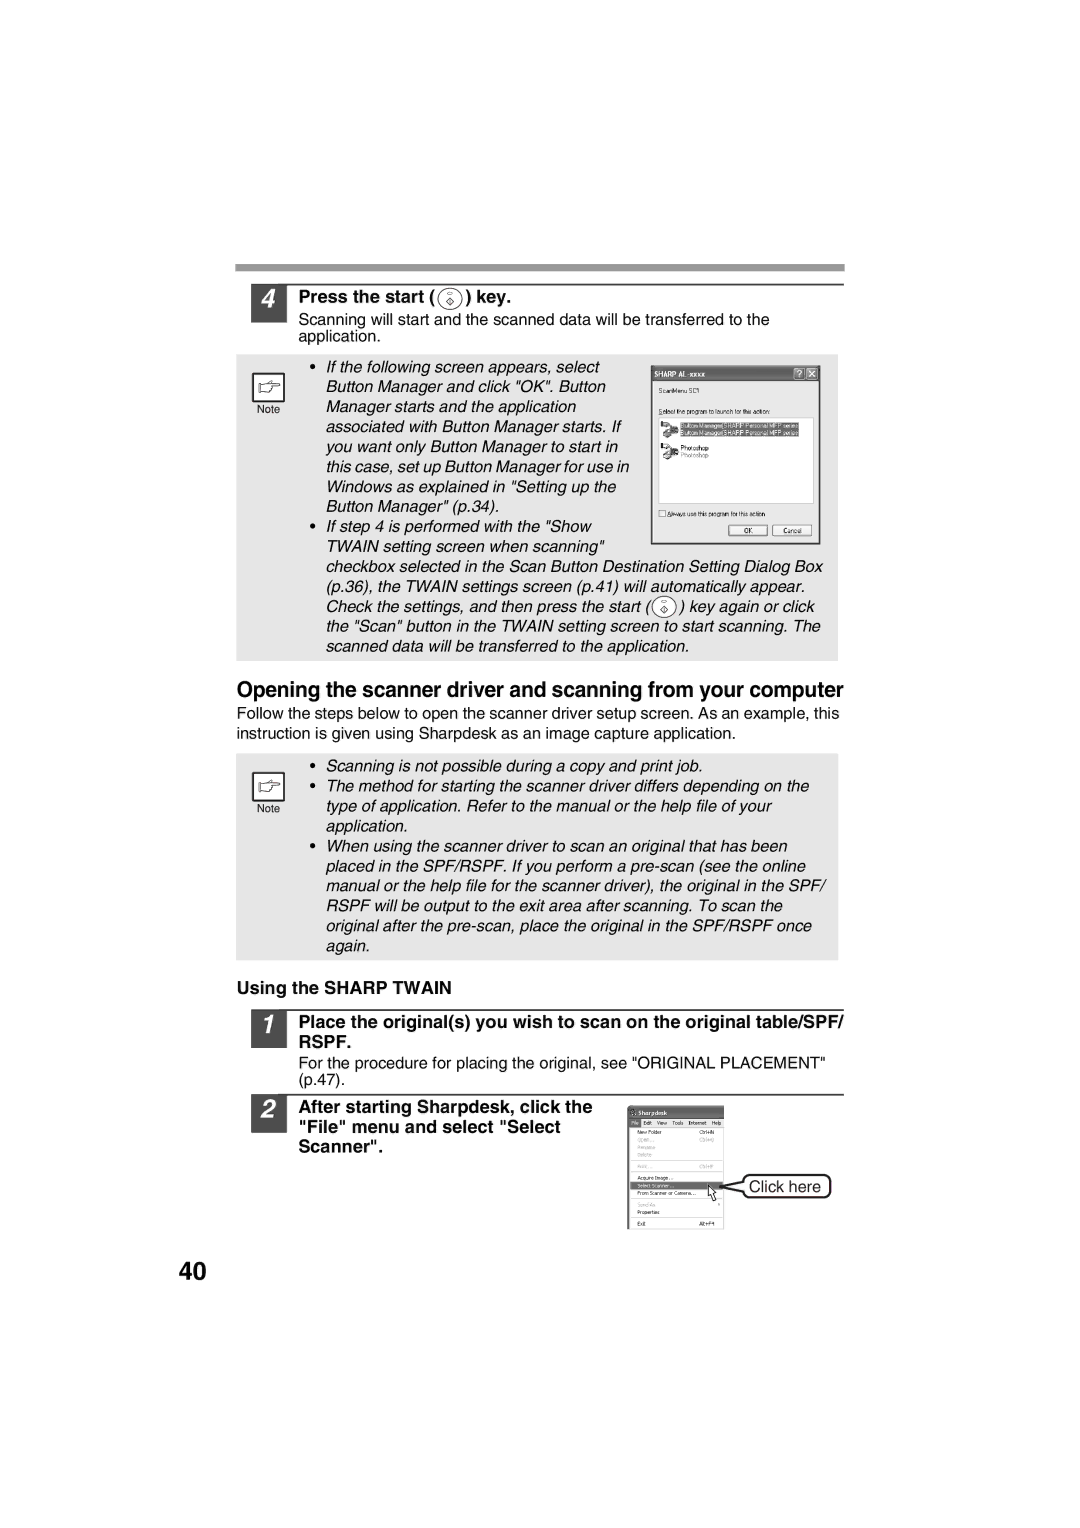
•If the following screen appears, select
Button Manager and click "OK". Button Manager starts and the application associated with Button Manager starts. If you want only Button Manager to start in this case, set up Button Manager for use in Windows as explained in "Setting up the Button Manager" (p.34).
•If step 4 is performed with the "Show TWAIN setting screen when scanning"
checkbox selected in the Scan Button Destination Setting Dialog Box
(p.36), the TWAIN settings screen (p.41) will automatically appear.
Check the settings, and then press the start (![]() ) key again or click the "Scan" button in the TWAIN setting screen to start scanning. The scanned data will be transferred to the application.
) key again or click the "Scan" button in the TWAIN setting screen to start scanning. The scanned data will be transferred to the application.
Opening the scanner driver and scanning from your computer
Follow the steps below to open the scanner driver setup screen. As an example, this instruction is given using Sharpdesk as an image capture application.
•Scanning is not possible during a copy and print job.
• The method for starting the scanner driver differs depending on the type of application. Refer to the manual or the help file of your application.
•When using the scanner driver to scan an original that has been placed in the SPF/RSPF. If you perform a
Using the SHARP TWAIN
1 Place the original(s) you wish to scan on the original table/SPF/ RSPF.
For the procedure for placing the original, see "ORIGINAL PLACEMENT" (p.47).
2 After starting Sharpdesk, click the "File" menu and select "Select Scanner".
Click here
40