Scanning with the "Scanner and Camera Wizard" in Windows XP
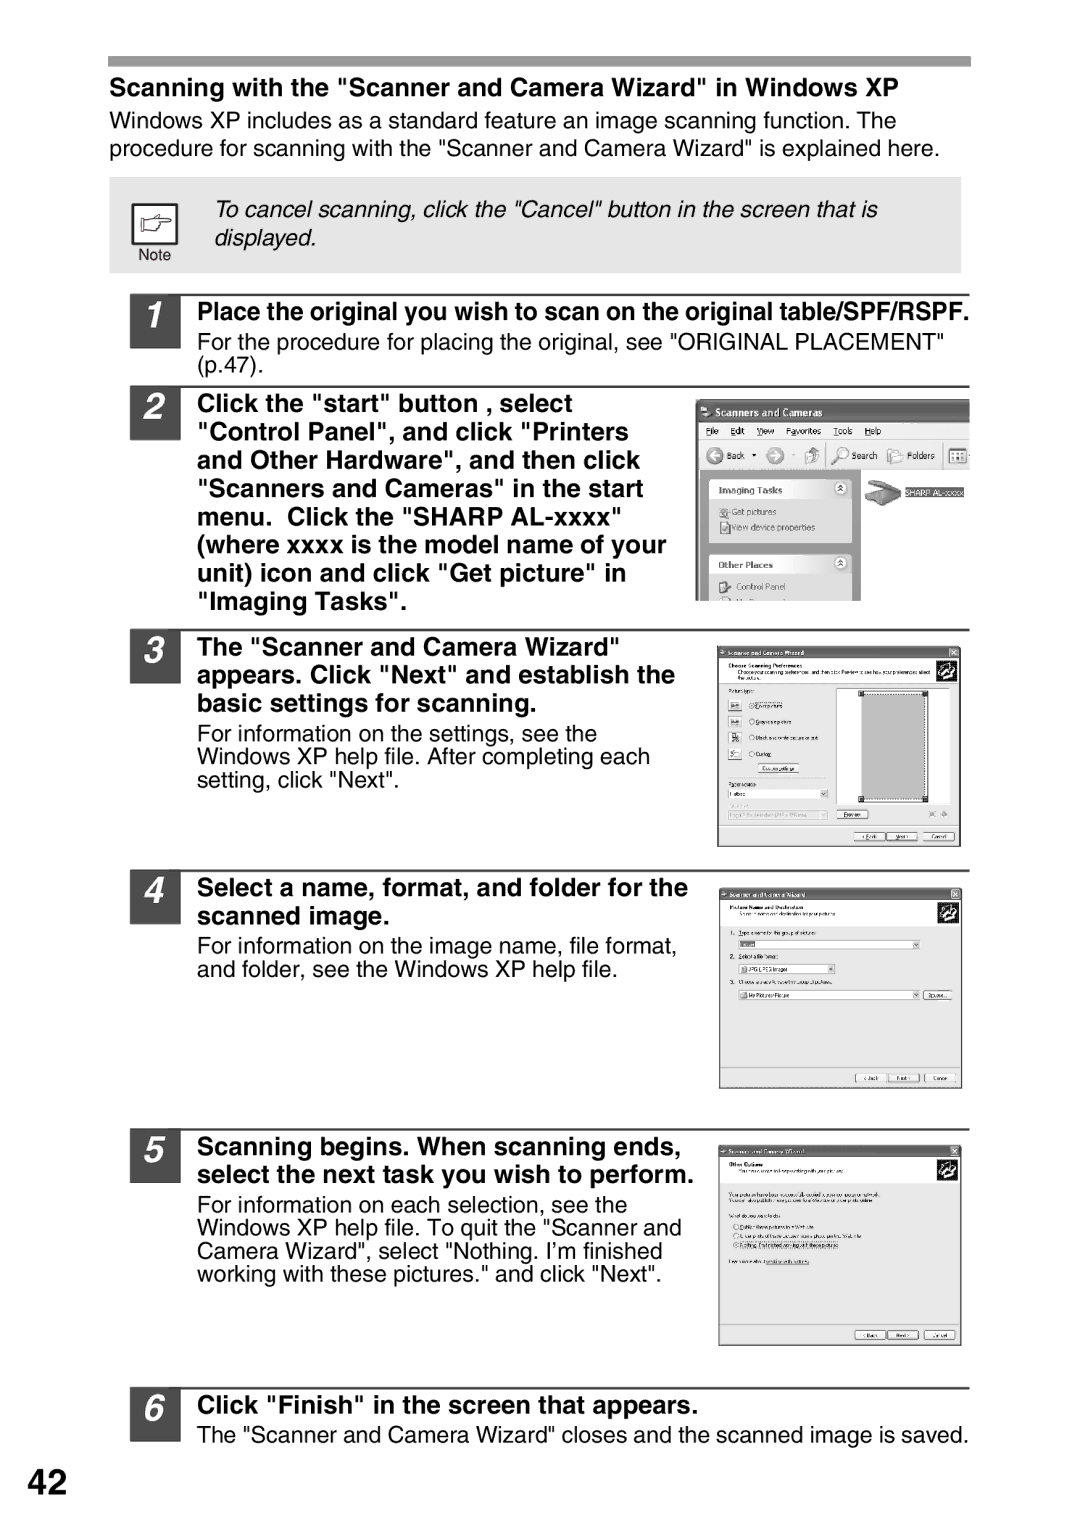
Windows XP includes as a standard feature an image scanning function. The procedure for scanning with the "Scanner and Camera Wizard" is explained here.
To cancel scanning, click the "Cancel" button in the screen that is displayed.
1
2
3
4
5
Place the original you wish to scan on the original table/SPF/RSPF.
For the procedure for placing the original, see "ORIGINAL PLACEMENT" (p.47).
Click the "start" button , select "Control Panel", and click "Printers and Other Hardware", and then click "Scanners and Cameras" in the start menu. Click the "SHARP
The "Scanner and Camera Wizard" appears. Click "Next" and establish the basic settings for scanning.
For information on the settings, see the Windows XP help file. After completing each setting, click "Next".
Select a name, format, and folder for the scanned image.
For information on the image name, file format, and folder, see the Windows XP help file.
Scanning begins. When scanning ends, select the next task you wish to perform.
For information on each selection, see the Windows XP help file. To quit the "Scanner and Camera Wizard", select "Nothing. I’m finished working with these pictures." and click "Next".
6 Click "Finish" in the screen that appears.
The "Scanner and Camera Wizard" closes and the scanned image is saved.
42
