(Continued)
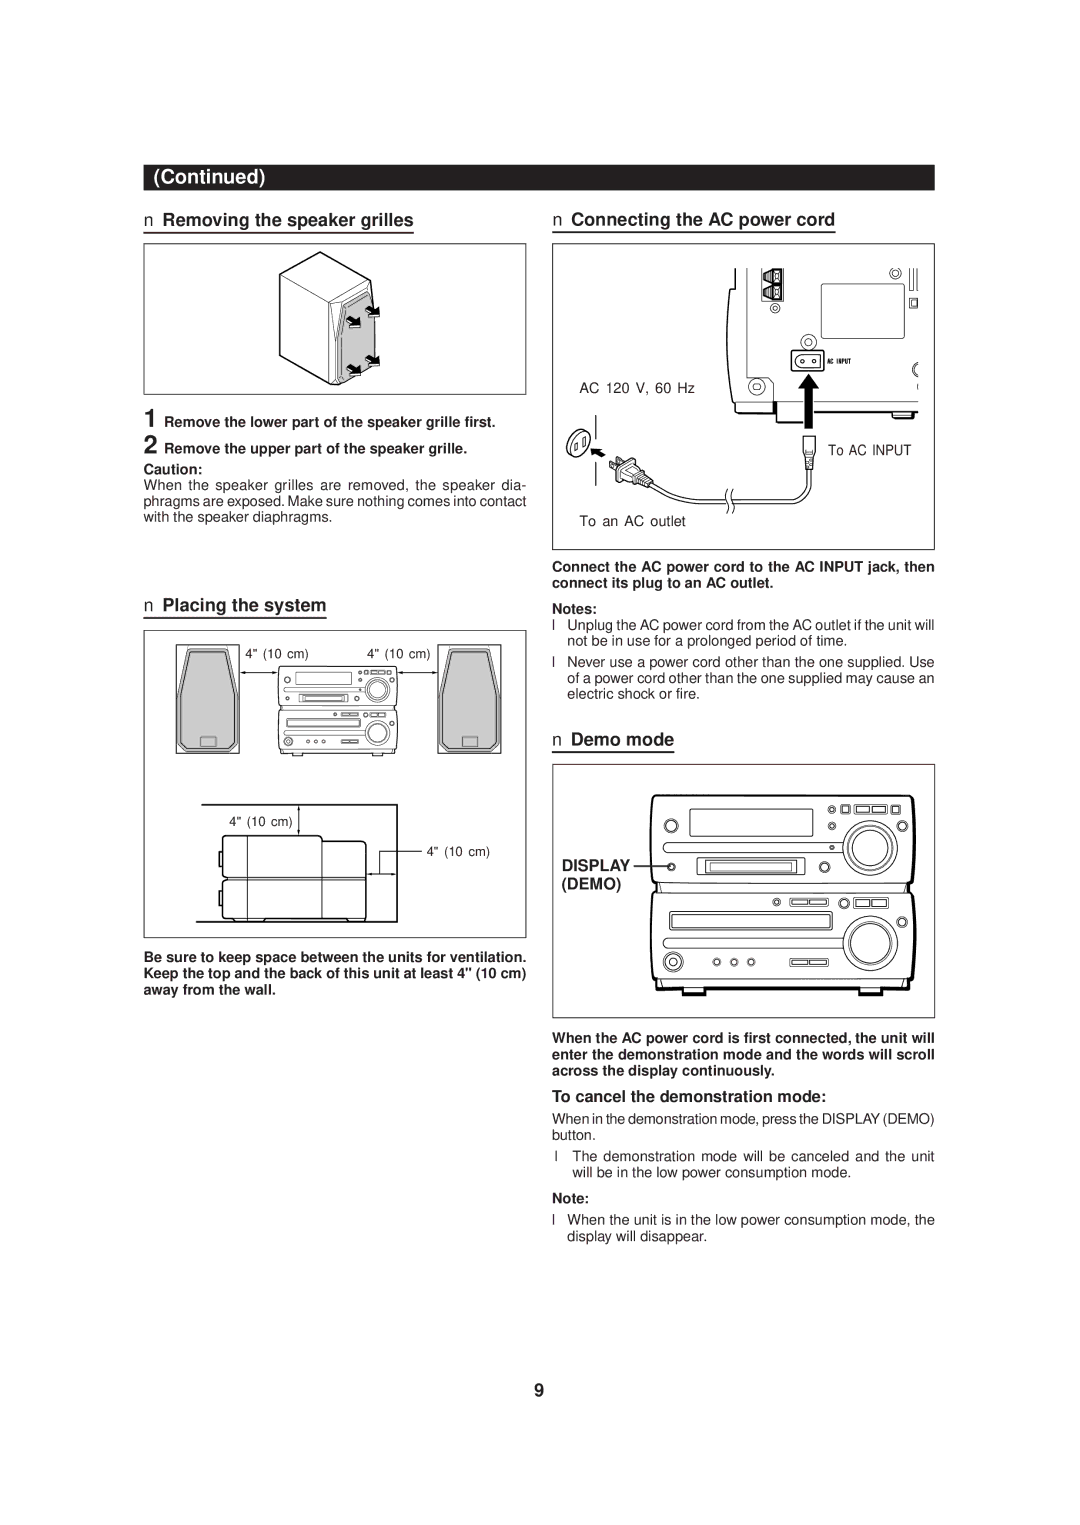
■Removing the speaker grilles
1 Remove the lower part of the speaker grille first. 2 Remove the upper part of the speaker grille.
Caution:
When the speaker grilles are removed, the speaker dia- phragms are exposed. Make sure nothing comes into contact with the speaker diaphragms.
■Placing the system
4" (10 cm) | 4" (10 cm) |
4" (10 cm) |
|
| 4" (10 cm) |
Be sure to keep space between the units for ventilation. Keep the top and the back of this unit at least 4" (10 cm) away from the wall.
■Connecting the AC power cord
AC 120 V, 60 Hz |
To AC INPUT |
To an AC outlet |
Connect the AC power cord to the AC INPUT jack, then connect its plug to an AC outlet.
Notes:
●Unplug the AC power cord from the AC outlet if the unit will not be in use for a prolonged period of time.
●Never use a power cord other than the one supplied. Use of a power cord other than the one supplied may cause an electric shock or fire.
■Demo mode
DISPLAY  (DEMO)
When the AC power cord is first connected, the unit will enter the demonstration mode and the words will scroll across the display continuously.
To cancel the demonstration mode:
When in the demonstration mode, press the DISPLAY (DEMO) button.
●The demonstration mode will be canceled and the unit will be in the low power consumption mode.
Note:
●When the unit is in the low power consumption mode, the display will disappear.
9