Projecting a Reversed/Inverted Image
Projection from behind the Screen
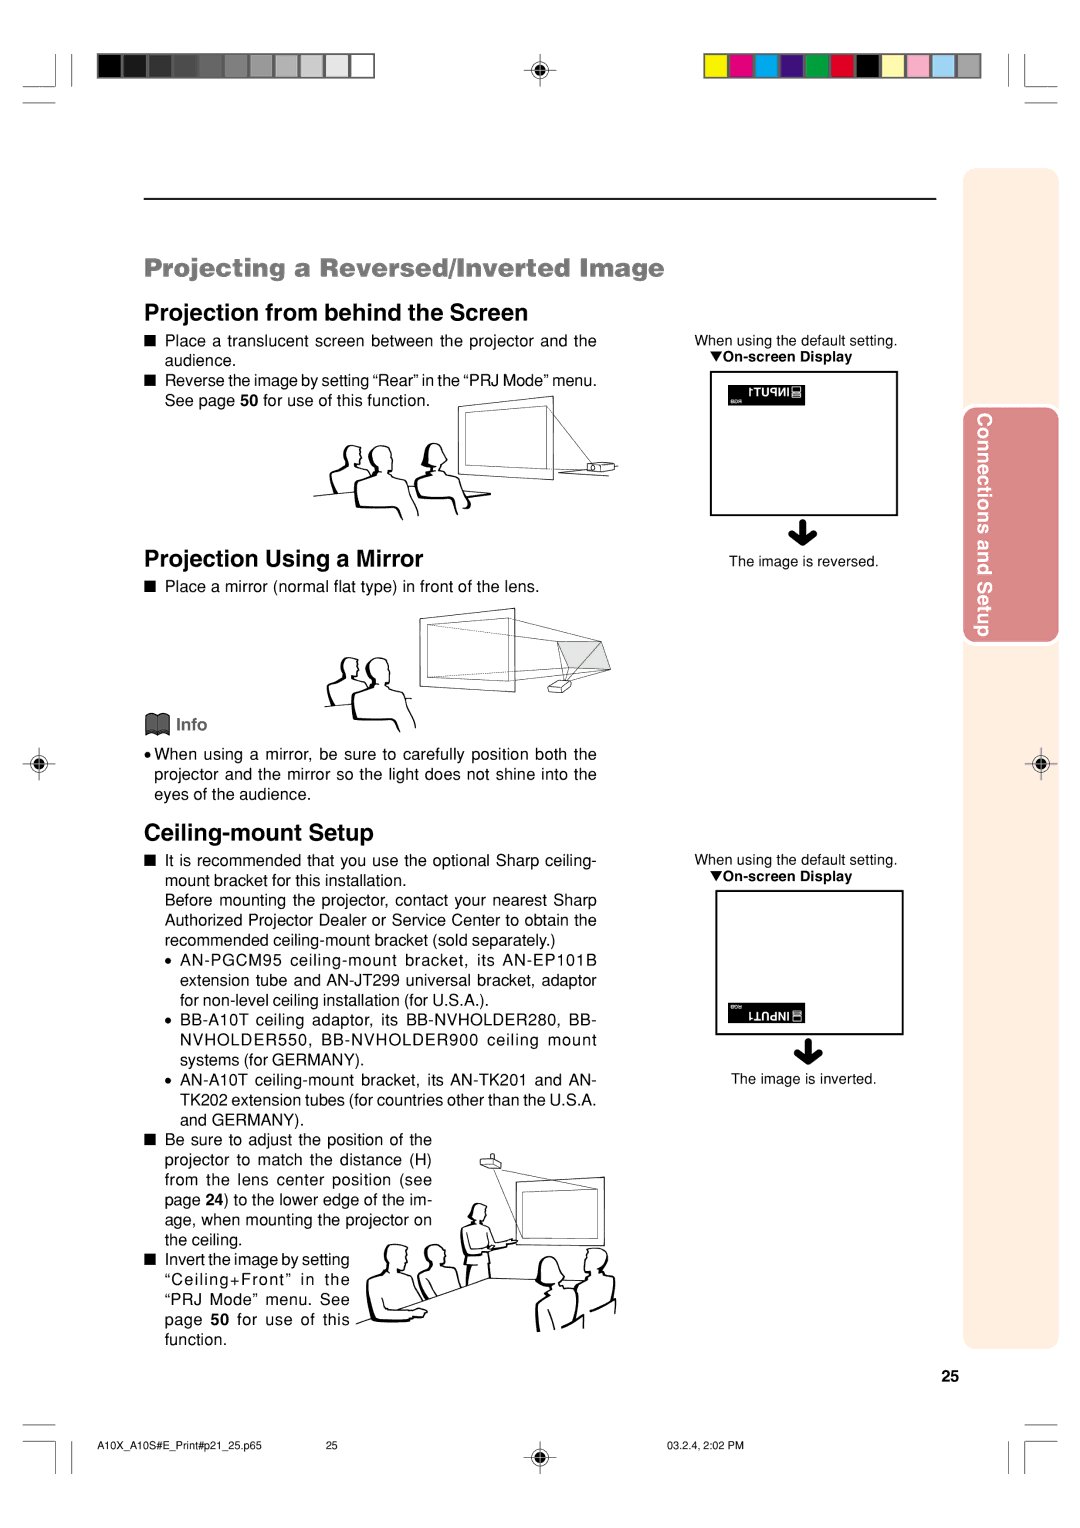
■Place a translucent screen between the projector and the audience.
■Reverse the image by setting “Rear” in the “PRJ Mode” menu. See page 50 for use of this function.
Projection Using a Mirror
■Place a mirror (normal flat type) in front of the lens.
 Info
Info
•When using a mirror, be sure to carefully position both the projector and the mirror so the light does not shine into the eyes of the audience.
When using the default setting.
▼On-screen Display
The image is reversed.
Connections and Setup
Ceiling-mount Setup
■It is recommended that you use the optional Sharp ceiling- mount bracket for this installation.
Before mounting the projector, contact your nearest Sharp Authorized Projector Dealer or Service Center to obtain the recommended
•
•
•
■Be sure to adjust the position of the
projector to match the distance (H) from the lens center position (see page 24) to the lower edge of the im- age, when mounting the projector on the ceiling.
■Invert the image by setting
“Ceiling+Front” in the “PRJ Mode” menu. See page 50 for use of this function.
When using the default setting.
The image is inverted.
25
A10X_A10S#E_Print#p21_25.p65 | 25 | 03.2.4, 2:02 PM |