In the Value field, select Email a notification back to the sender if you want a transmission status message to be automatically
12.Select EmailServer and click Edit. This opens the Editing Macro EmailServer dialog box.
Figure 3.10 Specifying the name of the e-mail server
In the Value field, enter the name or IP address of an SMTP server that will be used to route
13.Select EmailSenderName and click Edit. This opens the Editing Macro EmailSenderName dialog box.
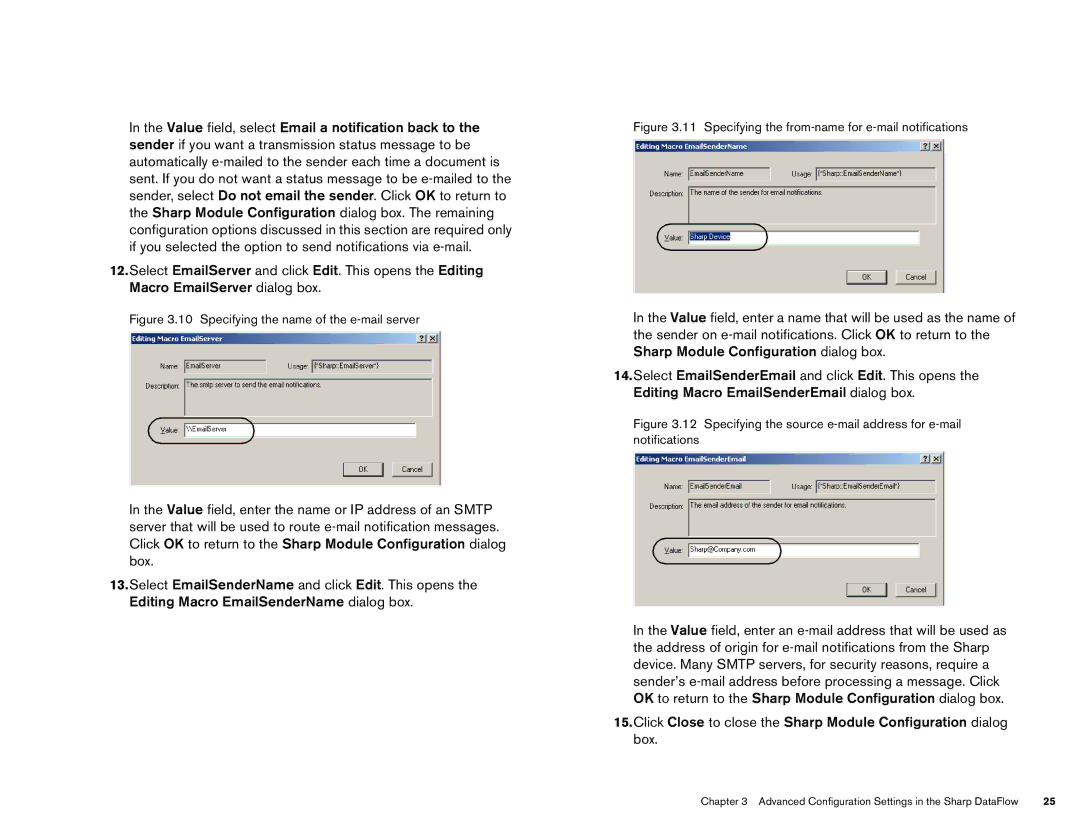
Figure 3.11 Specifying the from-name for e-mail notifications
In the Value field, enter a name that will be used as the name of the sender on
14.Select EmailSenderEmail and click Edit. This opens the Editing Macro EmailSenderEmail dialog box.
Figure 3.12 Specifying the source e-mail address for e-mail notifications
In the Value field, enter an
15.Click Close to close the Sharp Module Configuration dialog box.
Chapter 3 Advanced Configuration Settings in the Sharp DataFlow | 25 |