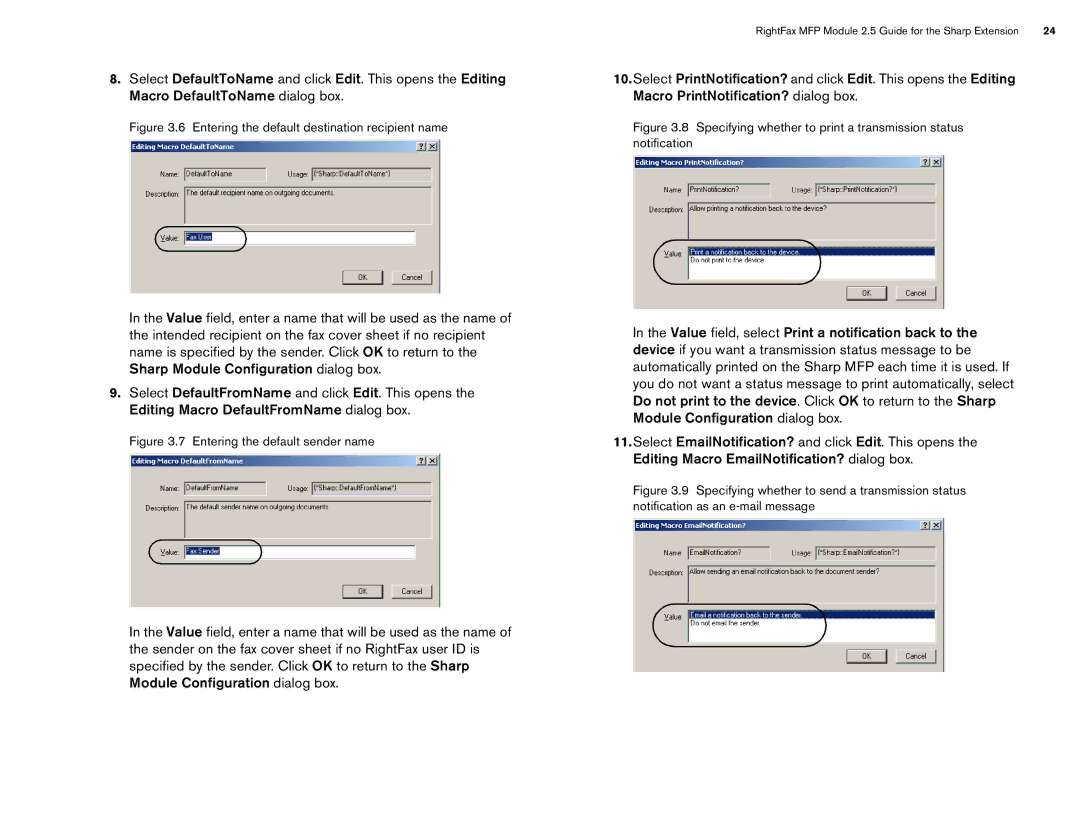
8.Select DefaultToName and click Edit. This opens the Editing Macro DefaultToName dialog box.
Figure 3.6 Entering the default destination recipient name
In the Value field, enter a name that will be used as the name of the intended recipient on the fax cover sheet if no recipient name is specified by the sender. Click OK to return to the Sharp Module Configuration dialog box.
9.Select DefaultFromName and click Edit. This opens the Editing Macro DefaultFromName dialog box.
Figure 3.7 Entering the default sender name
In the Value field, enter a name that will be used as the name of the sender on the fax cover sheet if no RightFax user ID is specified by the sender. Click OK to return to the Sharp Module Configuration dialog box.
RightFax MFP Module 2.5 Guide for the Sharp Extension | 24 |
10.Select PrintNotification? and click Edit. This opens the Editing Macro PrintNotification? dialog box.
Figure 3.8 Specifying whether to print a transmission status notification
In the Value field, select Print a notification back to the device if you want a transmission status message to be automatically printed on the Sharp MFP each time it is used. If you do not want a status message to print automatically, select Do not print to the device. Click OK to return to the Sharp Module Configuration dialog box.
11.Select EmailNotification? and click Edit. This opens the Editing Macro EmailNotification? dialog box.