Continued
�HDMI (High Definition Multimedia Interface) connection : (*1)
•You can connect the source component (DVD player, etc.) to the display component (TV, projector, etc.) through this receiver with using a commercially available HDMI cord.
•The HDMI connection can carry uncompressed digital video signals and digital audio signals.
•The HDMI video stream signals (video signals) are theoretically compatible with
•If you connect the HDMI INs to your video components, it is easier to do so following the default settings.
•If your HDMI connection is different from the default setting, you should assign the HDMI INs you used with the "When selecting the HDMI ASSIGN" procedure on page 46.
•The default settings are as follows :
HDMI 1 : VIDEO 1, HDMI 2 : VIDEO 2/iPod, HDMI 3 : VIDEO 3
�Copyright protection system
•This unit supports HDCP
•This unit is HDMI Ver. 1.3 compatible.
•HDMI, the HDMI logo and
�Notes :
•For stable signal transfer, we recommend using HDMI cords that are a maximum of 5 meters in length.
•Among the components that support HDMI, some components can control other components via the HDMI connector. However, this unit cannot be controlled by another component via the HDMI connector.
•The audio signals from the HDMI connector (including the sampling frequency and bit length) may be limited by the component that is connected.
•The video signals will not be output properly if a component incompatible with HDCP is connected.
•If the resolutions of the video signals which are output from the MONITOR OUTs and your monitor TV are not matched, the picture is not clear, natural or displayed. In this case, change the setting of the resolution on the source component (DVD player, etc.) to one which the monitor TV can handle. (For details, refer to the operating instructions of the source component.)
•When you want to enjoy only the picture on your TV, not the sound, you should set the HDMI AUDIO OUT to OFF not to output the digital audio signal from the HDMI MONITOR OUT of this receiver. (For details, refer to "When selecting the HDMI AUDIO OUT" on page 42.)
�Component video input default settings: (*2)
•If you connect the COMPONENT VIDEO INs to your video components, it is easier to do so following the default settings.
•If your component video connections are different from the default setting, you should assign the COMPONENT VIDEO INs you used with the "When selecting the VIDEO ASSIGN" procedure on page 46.
•The default settings are as follows:
COMPONENT IN 1 : VIDEO 1, COMPONENT IN 2 : VIDEO 2/iPod
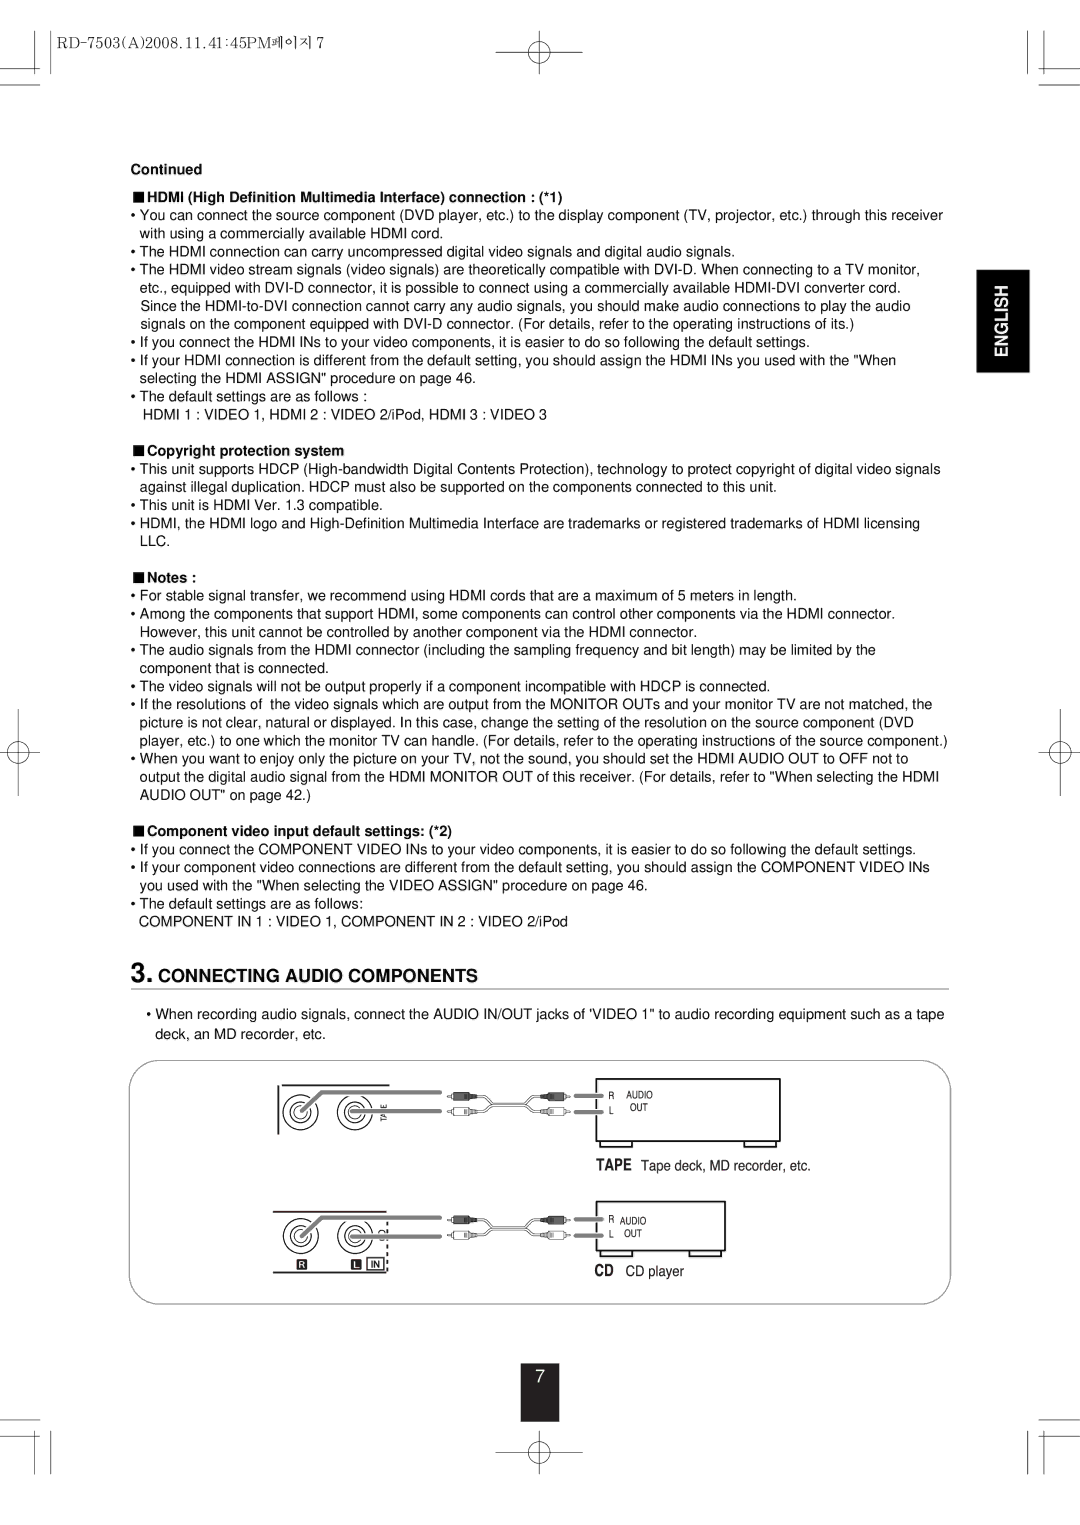
3. CONNECTING AUDIO COMPONENTS
•When recording audio signals, connect the AUDIO IN/OUT jacks of 'VIDEO 1" to audio recording equipment such as a tape deck, an MD recorder, etc.
ENGLISH
7