Troubleshootin# #IRepair
Damaged chains may be replaced by first loosening ten- sion, then disconnecting master link (front chain only) or removing complete chain (rear chain only), and installing new chain on sprockets.
Front Drive Chain
1.Loosen hex nut that locks sprocket in position, and move sprocket forward or backward until chain flexes approximately i/8” when pressed midway between sprockets. Tighten hex nut securely when proper tension is reached on chain (Figure 49).
2.To replace chain, loosen hex nut to reduce tension, and separate chain links at master link. Install new chain over sprockets, and attach end with new mas- ter link. Readjust sprocket for proper tension, and tighten securely.
Rear Drive Chain
1.Rear drive chain tension adjustment requires the drive axle to be moved forward or backward.
2.Loosen axle mounting hardware at both frame mounting locations to permit movement of drive axle (Figures 50 & 51).
3.Move axle forward or backward to achieve desired tension, making sure rear sprocket is in line with drive sprocket.
4.When properly tensioned, rear drive chain should flex approximately l/4” when pressed midway between sprockets.
5.Tighten adjustable axle mounts when proper tension is reached on the drive chain, and recheck sprock- ets for alignment. Readjust axle position if neces- sary to ensure alignment of sprockets.
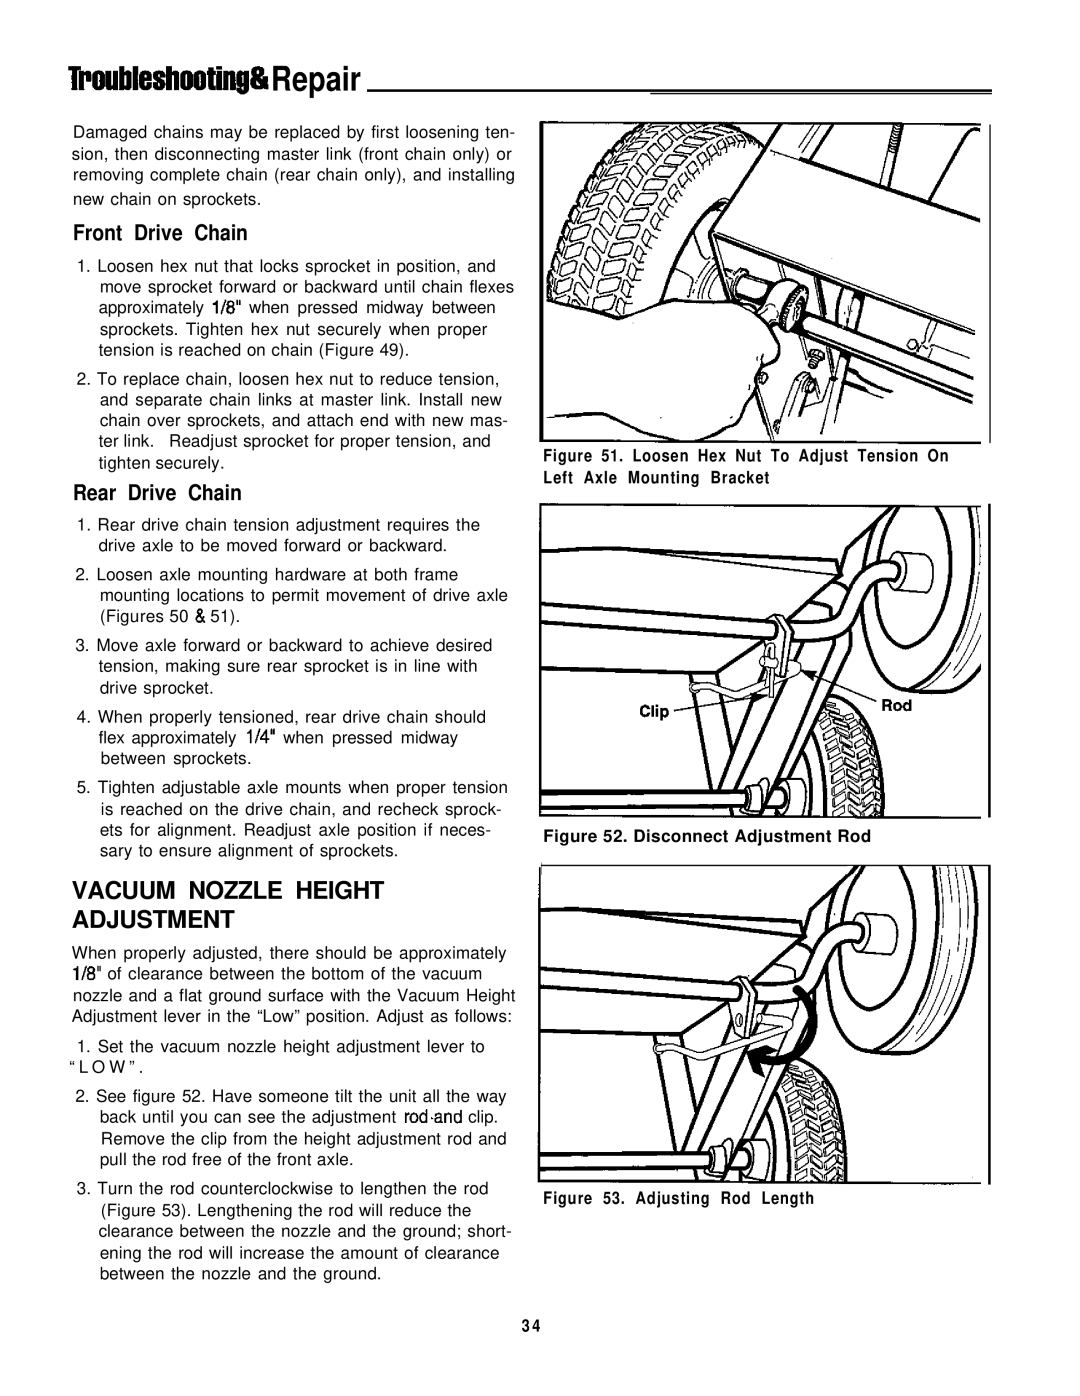
Figure 51. Loosen Hex Nut To Adjust Tension On Left Axle Mounting Bracket
Figure 52. Disconnect Adjustment Rod
I | ,I | \ | I\,\,\ |
VACUUM NOZZLE HEIGHT
ADJUSTMENT
When properly adjusted, there should be approximately 113” of clearance between the bottom of the vacuum nozzle and a flat ground surface with the Vacuum Height Adjustment lever in the “Low” position. Adjust as follows:
1. Set the vacuum nozzle height adjustment lever to “ L O W ” .
2. See figure 52. Have someone tilt the unit all the way back until you can see the adjustment rod.and clip. Remove the clip from the height adjustment rod and pull the rod free of the front axle.
3. Turn the rod counterclockwise to lengthen the rod
Figure 53. Adjusting Rod Length
(Figure 53). Lengthening the rod will reduce the clearance between the nozzle and the ground; short- ening the rod will increase the amount of clearance between the nozzle and the ground.
34