NormalCare
Clean Engine Air Intake Area
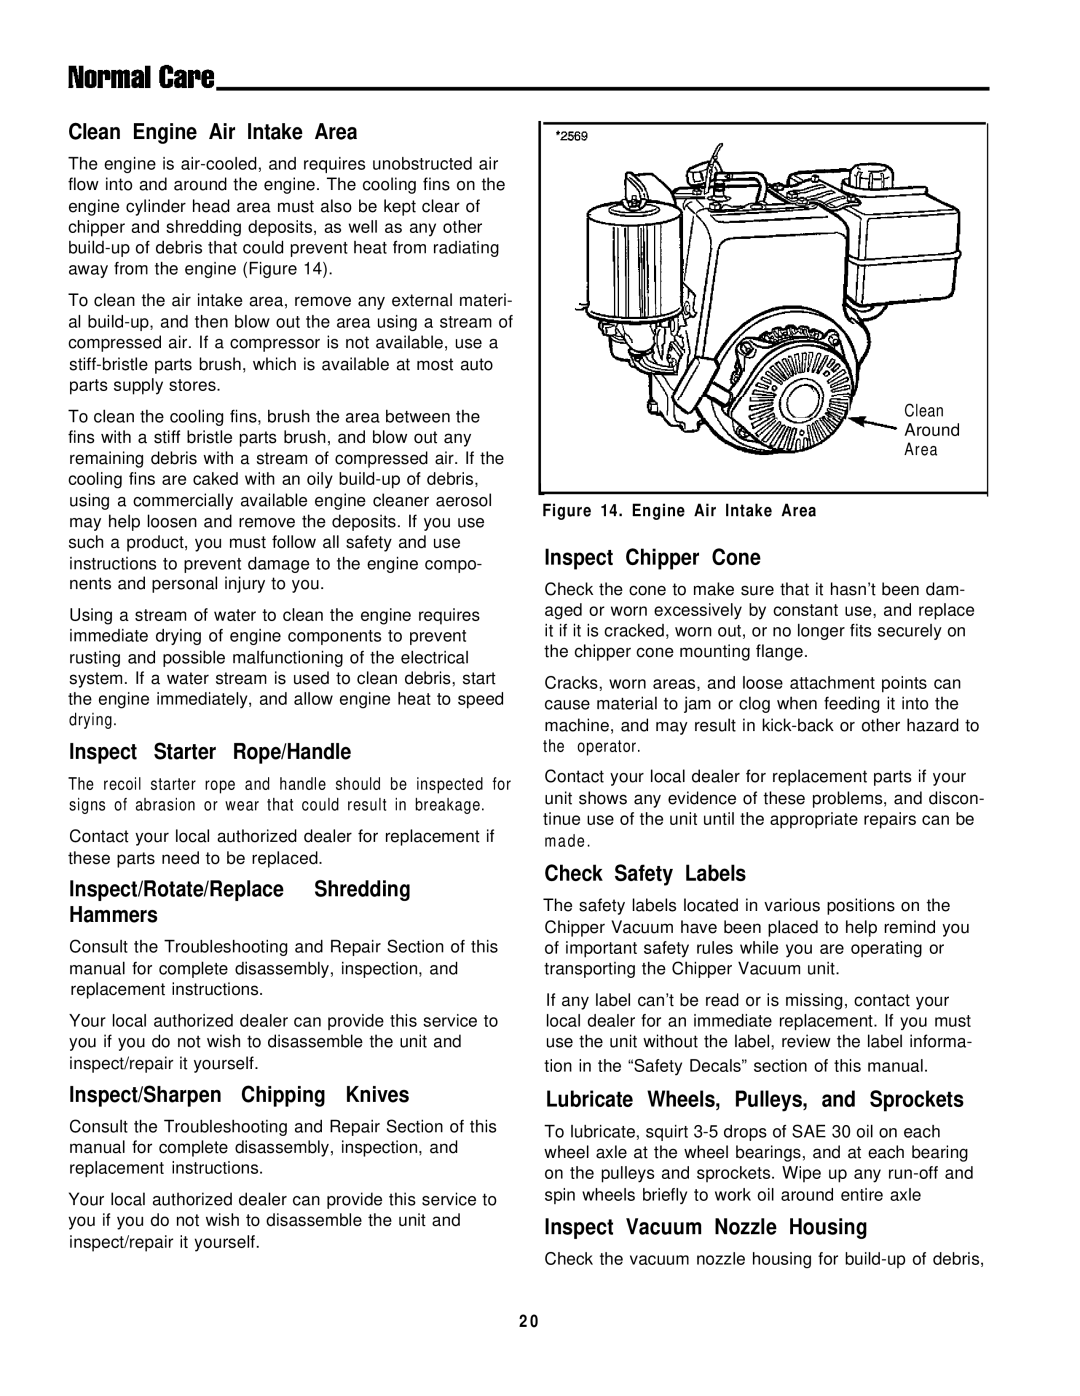
The engine is
To clean the air intake area, remove any external materi- al
To clean the cooling fins, brush the area between the fins with a stiff bristle parts brush, and blow out any remaining debris with a stream of compressed air. If the cooling fins are caked with an oily
Using a stream of water to clean the engine requires immediate drying of engine components to prevent rusting and possible malfunctioning of the electrical system. If a water stream is used to clean debris, start the engine immediately, and allow engine heat to speed drying.
Inspect Starter Rope/Handle
The recoil starter rope and handle should be inspected for signs of abrasion or wear that could result in breakage.
Contact your local authorized dealer for replacement if these parts need to be replaced.
Inspect/Rotate/Replace Shredding Hammers
Consult the Troubleshooting and Repair Section of this manual for complete disassembly, inspection, and replacement instructions.
Your local authorized dealer can provide this service to you if you do not wish to disassemble the unit and inspect/repair it yourself.
Inspect/Sharpen Chipping Knives
Consult the Troubleshooting and Repair Section of this manual for complete disassembly, inspection, and replacement instructions.
Your local authorized dealer can provide this service to you if you do not wish to disassemble the unit and inspect/repair it yourself.
f Clean
‘- Around
Area
Figure 14. Engine Air Intake Area
Inspect Chipper Cone
Check the cone to make sure that it hasn’t been dam- aged or worn excessively by constant use, and replace it if it is cracked, worn out, or no longer fits securely on the chipper cone mounting flange.
Cracks, worn areas, and loose attachment points can cause material to jam or clog when feeding it into the machine, and may result in
Contact your local dealer for replacement parts if your unit shows any evidence of these problems, and discon- tinue use of the unit until the appropriate repairs can be made .
Check Safety Labels
The safety labels located in various positions on the Chipper Vacuum have been placed to help remind you of important safety rules while you are operating or transporting the Chipper Vacuum unit.
If any label can’t be read or is missing, contact your local dealer for an immediate replacement. If you must use the unit without the label, review the label informa- tion in the “Safety Decals” section of this manual.
Lubricate Wheels, Pulleys, and Sprockets
To lubricate, squirt
Inspect Vacuum Nozzle Housing
Check the vacuum nozzle housing for
20