CE-150 specifications
The Singer CE-150 is a versatile and user-friendly sewing machine that caters to both beginner and experienced sewers. Renowned for its advanced features and ease of use, the CE-150 combines modern technology with classic Singer reliability, making it a popular choice for various sewing projects.One of the standout features of the Singer CE-150 is its computerized design, which allows users to access a wide array of built-in stitch patterns. With over 150 stitch options, including utility, decorative, and quilting stitches, sewers can easily customize their projects for a professional finish. The machine also features a one-touch stitch selection button, enabling users to switch between stitches with ease.
Another notable characteristic of the CE-150 is its automatic needle threader. This convenient feature simplifies the threading process, allowing even novice sewers to get started quickly without the frustration of manually threading the needle. Additionally, the top drop-in bobbin system enhances user experience by ensuring easy bobbin insertion and monitoring of remaining thread.
The Singer CE-150 also boasts an LCD screen that displays stitch settings and selected options. This user-friendly interface provides clarity and makes it easy to adjust stitch length and width according to specific project requirements. It further allows for quick selection adjustments, ensuring a seamless sewing experience.
Another feature that sets the CE-150 apart is its sewing speed control. With a top speed of 750 stitches per minute, users can tackle large projects efficiently, while a speed limiter enables greater control for intricate tasks. This flexibility is especially beneficial for quilters and those working on detailed projects.
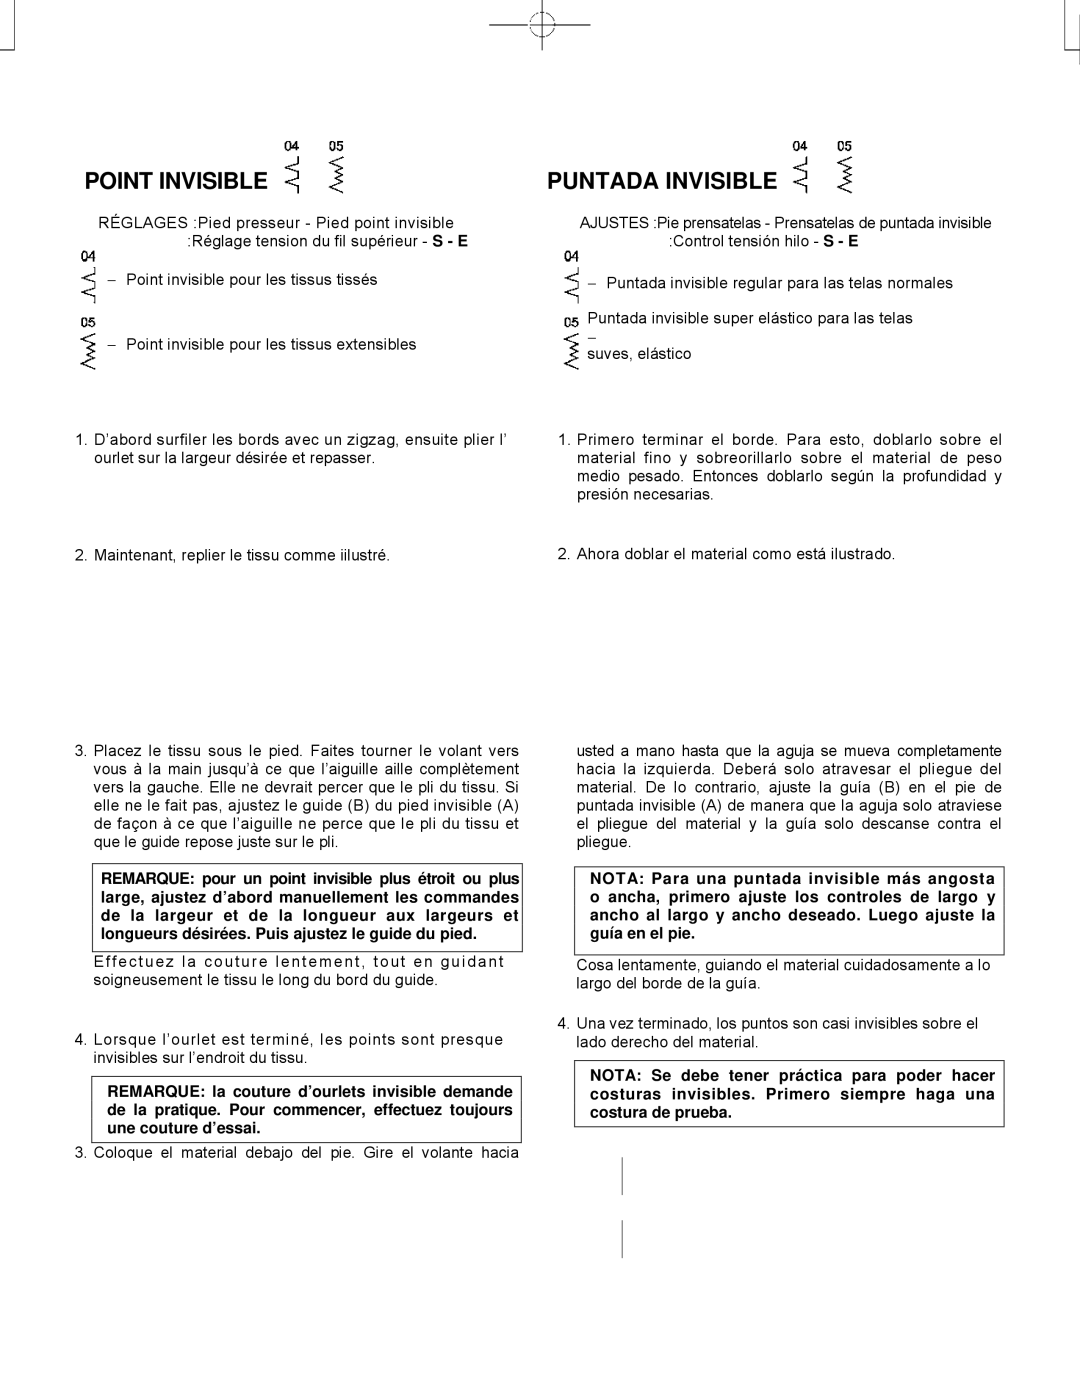
The machine also includes a variety of presser feet, enhancing its versatility for different sewing techniques. The assortment includes feet for zippers, buttonholes, and blind hems, catering to a wide range of creative sewing needs.
Durably constructed, the Singer CE-150 provides stability during operation while being lightweight enough for easy transport between sewing locations. Its compact design fits well in both dedicated sewing spaces and shared environments.
In summary, the Singer CE-150 is a well-rounded sewing machine that pairs advanced technology with practical features. Its diverse stitch options, easy threading, user-friendly interface, and accessory compatibility make it an ideal choice for anyone looking to unleash their creativity through sewing. Perfect for crafting, quilting, and alterations, the CE-150 stands as a testament to Singer's commitment to quality and innovation in the sewing machine market.

