CE-8.0LC specifications
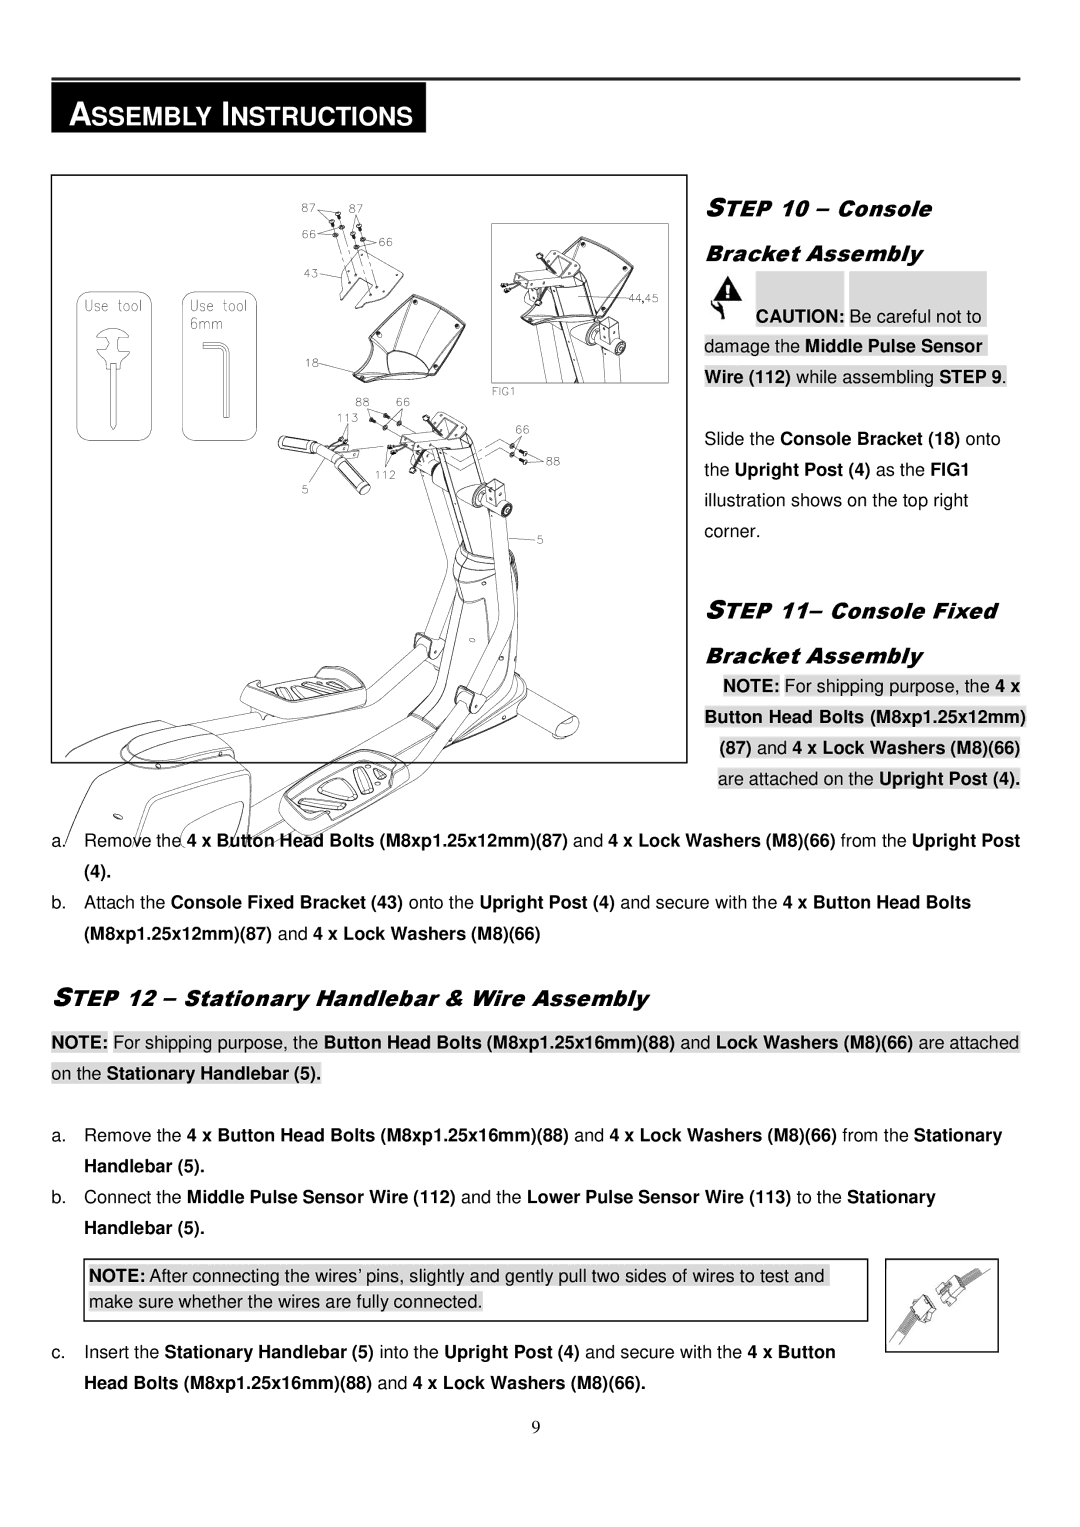
The Smooth Fitness CE-8.0LC is an innovative elliptical machine designed for both home and light commercial use, offering an exceptional workout experience that caters to users of all fitness levels. Built with a focus on durability, functionality, and comfort, this model has quickly become a favorite among fitness enthusiasts.One of the standout features of the CE-8.0LC is its impressive 20-inch stride length, which allows users to achieve a natural, fluid motion during workouts. This helps to reduce the strain on joints while ensuring maximum muscle engagement for a full-body workout. The adjustable incline settings further enhance the versatility of this machine, enabling users to choose various intensity levels and target different muscle groups.
The Smooth Fitness CE-8.0LC is equipped with a powerful 20-pound flywheel that provides a smooth and consistent motion, minimizing interruptions during exercise. Coupled with a whisper-quiet operation, this elliptical is perfect for use in shared spaces or during early morning workouts without disturbing others.
User-friendliness is a cornerstone of the CE-8.0LC’s design. The machine features a large, easy-to-read LCD display that provides real-time feedback on essential metrics such as time, distance, speed, calories burned, and heart rate. The inclusion of heart-rate sensors integrated into the handlebars allows users to monitor their heart rate conveniently, ensuring that they stay within their optimal training zones.
For entertainment and motivation, the CE-8.0LC includes a built-in audio system that is compatible with most mobile devices, allowing users to enjoy their favorite tunes or podcasts as they exercise. The machine also comes with multiple preset workout programs that offer a guided fitness experience, catering to various goals such as weight loss, endurance building, or general fitness.
Lastly, the sturdy construction of the Smooth Fitness CE-8.0LC is complemented by transport wheels that make it easy to move and store when not in use. This combination of robust performance, user-friendly features, and thoughtful design makes the Smooth Fitness CE-8.0LC an attractive option for anyone looking to elevate their home fitness routine.

