Initial Assemble & Installation
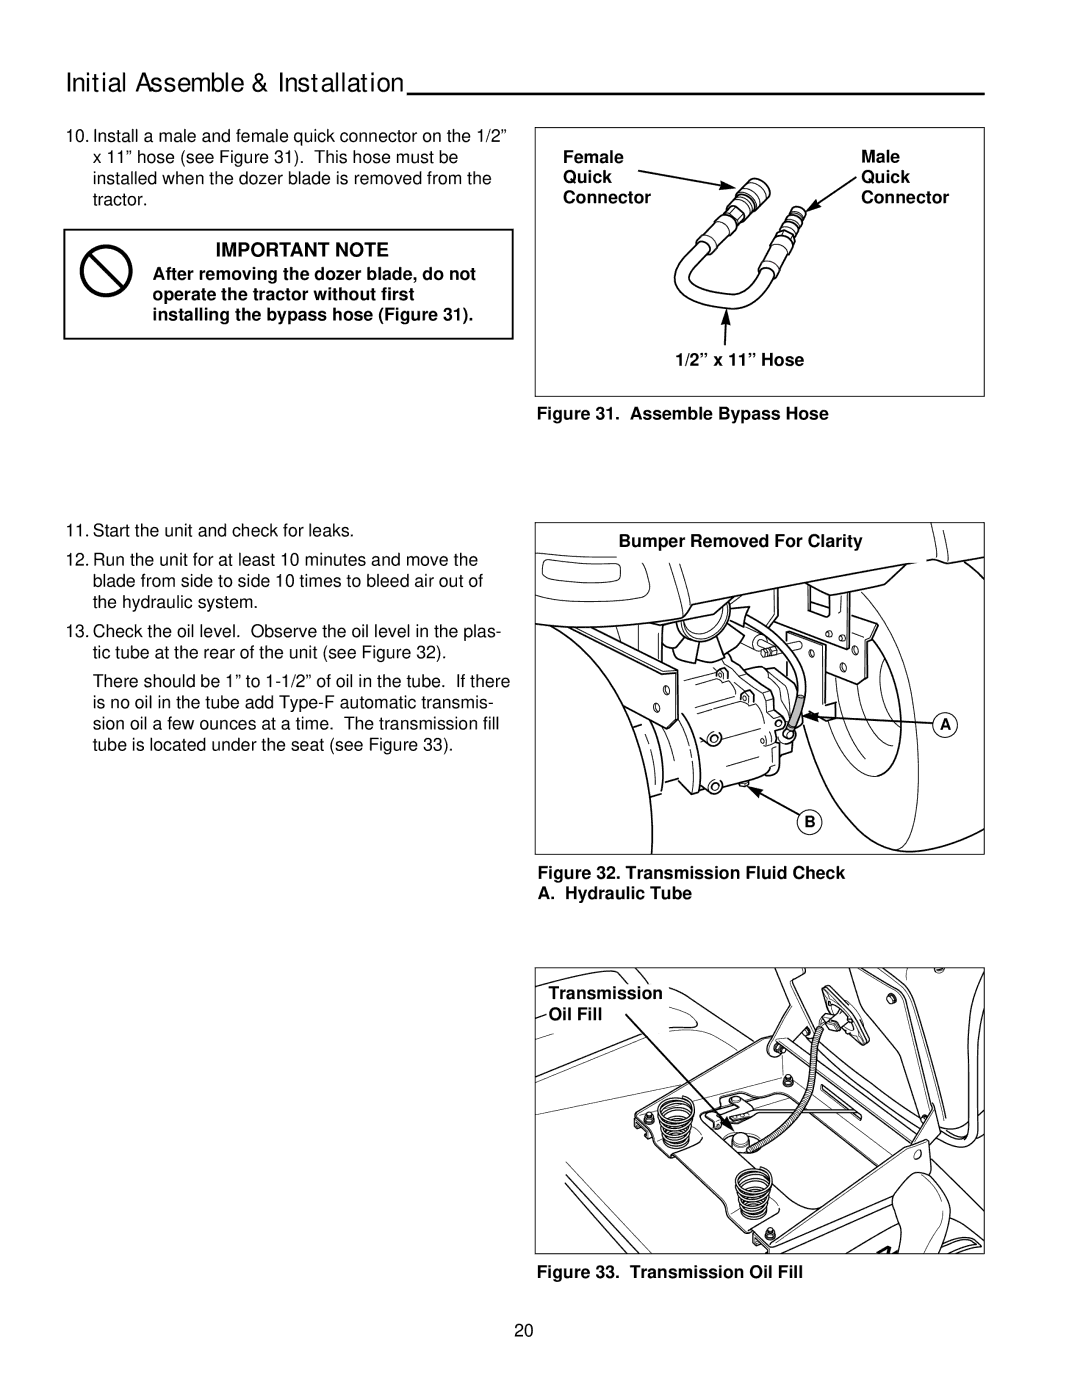
10.Install a male and female quick connector on the 1/2” x 11” hose (see Figure 31). This hose must be installed when the dozer blade is removed from the tractor.
IMPORTANT NOTE
After removing the dozer blade, do not operate the tractor without first installing the bypass hose (Figure 31).
Female | Male |
Quick | Quick |
Connector | Connector |
1/2” x 11” Hose
Figure 31. Assemble Bypass Hose
11. Start the unit and check for leaks. | Bumper Removed For Clarity | |
12. Run the unit for at least 10 minutes and move the | ||
| ||
blade from side to side 10 times to bleed air out of |
| |
the hydraulic system. |
| |
13. Check the oil level. Observe the oil level in the plas- |
| |
tic tube at the rear of the unit (see Figure 32). |
| |
There should be 1” to |
| |
is no oil in the tube add |
| |
sion oil a few ounces at a time. The transmission fill | A | |
tube is located under the seat (see Figure 33). |
| |
| B | |
| Figure 32. Transmission Fluid Check | |
| A. Hydraulic Tube |
Transmission |
Oil Fill |
Figure 33. Transmission Oil Fill
20