6.In the 'Add Address Object' dialog box, create an address object for the X0 interface IP address of the SonicWALL SRA:
Name | Name for NetExtender |
|
|
Zone Assignment | SRA |
|
|
Type | Range |
|
|
Starting IP Address | Start of the NetExtender IP |
| address range, |
| 192.168.200.100 by default |
|
|
Ending IP Address | End of the NetExtender IP |
| address range, |
| 192.168.200.200 by default |
|
|
7.Click Add to create the object. Once done, click Close.
8.On the 'Network > Address Objects' page, in the ‘Address
Groups’ section, click ![]() .
.
9.In the 'Add Address Object Group' dialog box, create a group for the X0 interface IP address of your SonicWALL SRA and the NetExtender IP range:
•Enter a name for the group.
•In the left column, select the two groups you created
and click the right arrow button ![]() .
.
•Click OK to create the group when both objects are in the right column.
10.In the administrative interface, navigate to the Firewall > Access Rules page.
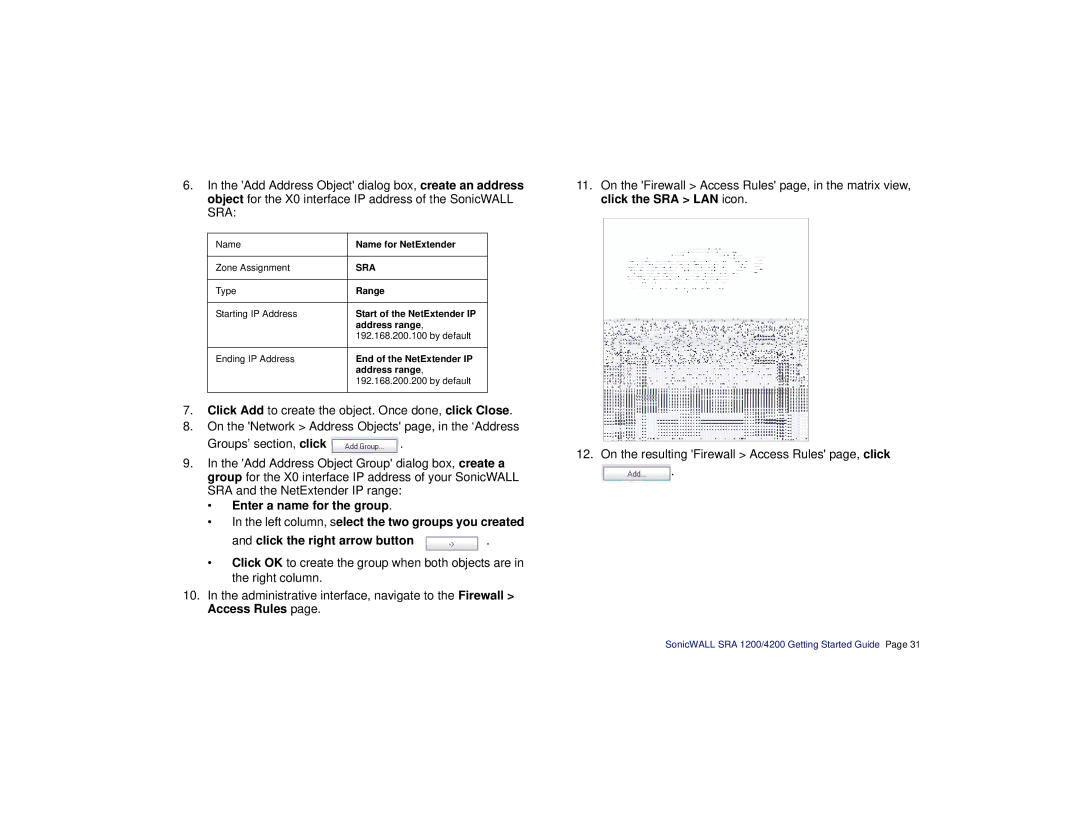
11.On the 'Firewall > Access Rules' page, in the matrix view, click the SRA > LAN icon.
12.On the resulting 'Firewall > Access Rules' page, click
![]() .
.
SonicWALL SRA 1200/4200 Getting Started Guide Page 31