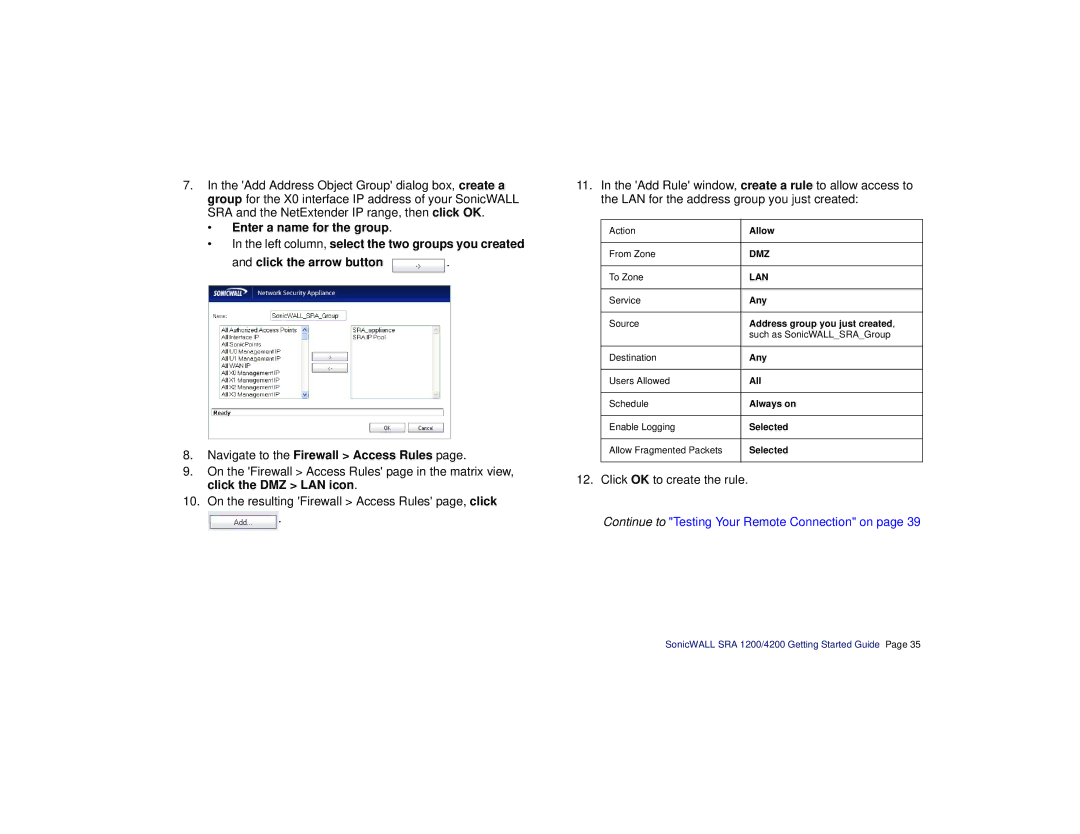
7.In the 'Add Address Object Group' dialog box, create a group for the X0 interface IP address of your SonicWALL SRA and the NetExtender IP range, then click OK.
•Enter a name for the group.
•In the left column, select the two groups you created
and click the arrow button ![]() .
.
8.Navigate to the Firewall > Access Rules page.
9.On the 'Firewall > Access Rules' page in the matrix view, click the DMZ > LAN icon.
10.On the resulting 'Firewall > Access Rules' page, click
![]() .
.
11.In the 'Add Rule' window, create a rule to allow access to the LAN for the address group you just created:
Action | Allow |
|
|
From Zone | DMZ |
|
|
To Zone | LAN |
|
|
Service | Any |
|
|
Source | Address group you just created, |
| such as SonicWALL_SRA_Group |
|
|
Destination | Any |
|
|
Users Allowed | All |
|
|
Schedule | Always on |
|
|
Enable Logging | Selected |
|
|
Allow Fragmented Packets | Selected |
|
|
12. Click OK to create the rule.
Continue to "Testing Your Remote Connection" on page 39
SonicWALL SRA 1200/4200 Getting Started Guide Page 35
