VAIO Notebook User Guide
To install a memory module
1Follow steps 1 to 4 of “To remove a memory module.”
2Remove the memory module from its packaging.
3Install the memory module.
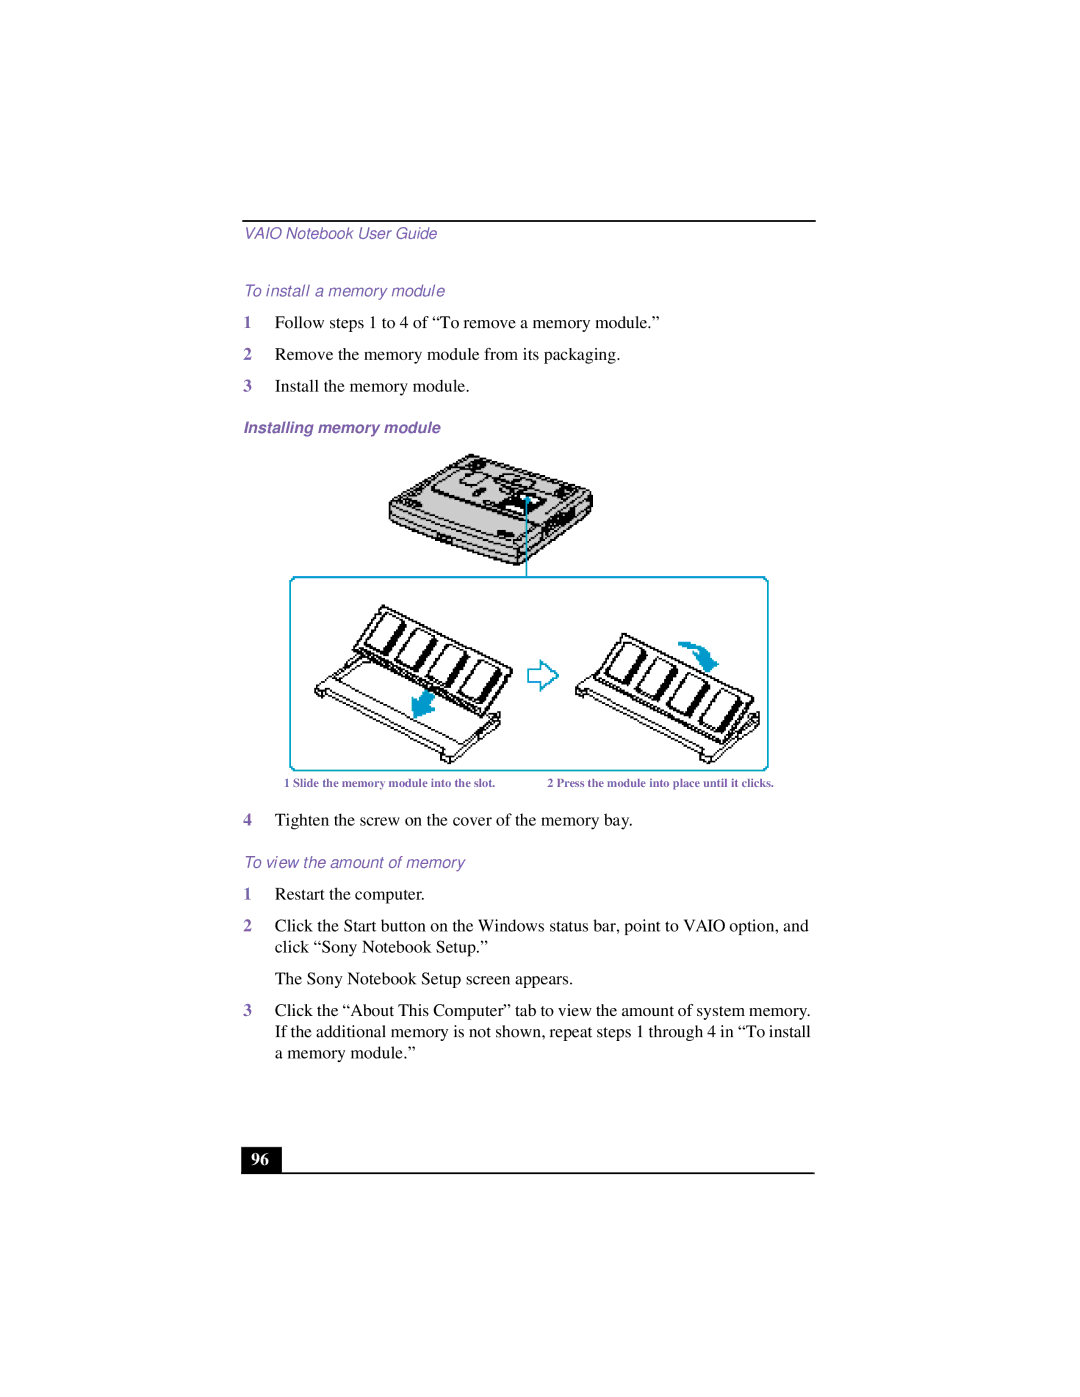
Installing memory module
1 Slide the memory module into the slot. | 2 Press the module into place until it clicks. |
4Tighten the screw on the cover of the memory bay.
To view the amount of memory
1Restart the computer.
2Click the Start button on the Windows status bar, point to VAIO option, and click “Sony Notebook Setup.”
The Sony Notebook Setup screen appears.
3Click the “About This Computer” tab to view the amount of system memory. If the additional memory is not shown, repeat steps 1 through 4 in “To install a memory module.”
96