TA-VA8ES, TA-VA7ES specifications
The Sony TA-VA7ES and TA-VA8ES are high-performance integrated amplifiers that have garnered a reputation for their robust build quality and exceptional audio performance, making them highly sought after in the audiophile community. These models, part of Sony's ES (Elevated Standard) series, are designed to deliver an immersive listening experience while maintaining user-friendly features.One of the primary characteristics of both amplifiers is their power output. The TA-VA7ES is capable of delivering 100 watts per channel at 8 ohms, while the TA-VA8ES improves upon this with 120 watts per channel. This substantial power allows them to drive a wide range of speakers effectively, producing clean and dynamic sound across various musical genres.
The amplifiers utilize Sony's advanced power transistor technology, which includes the S-Master digital amplification system. This technology reduces distortion and enhances audio clarity, ensuring that music is reproduced with incredible fidelity. Additionally, both models feature a sophisticated power supply design that contributes to their excellent transient response, allowing for accurate reproduction of fast musical passages.
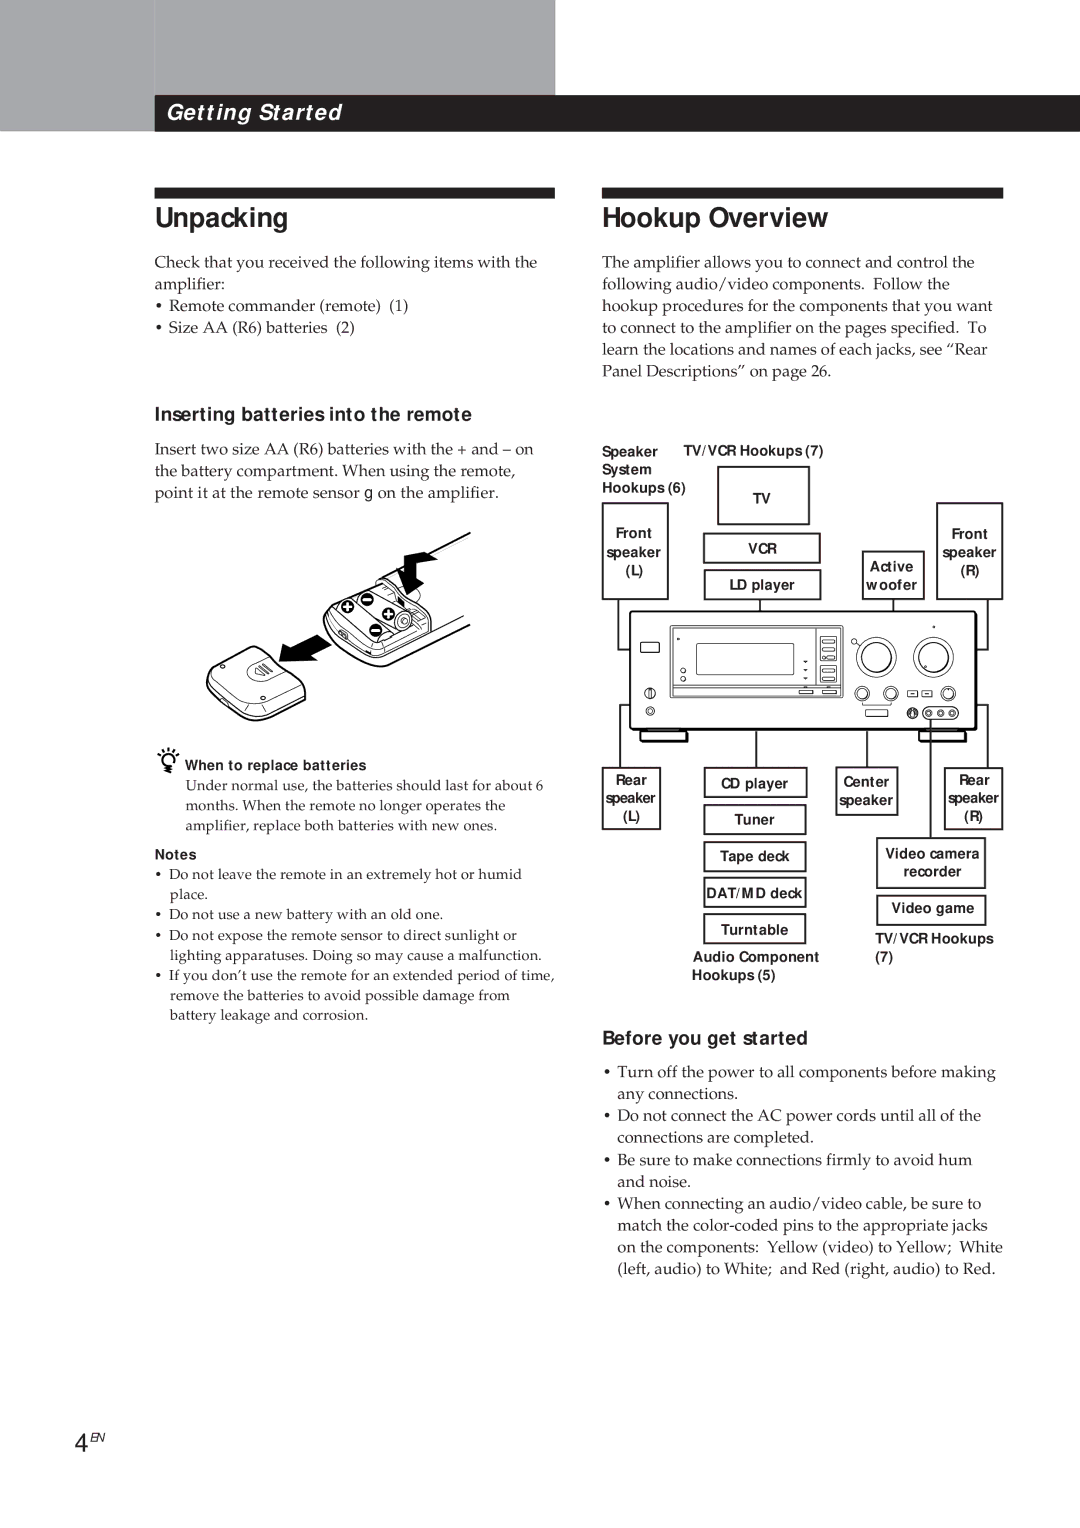
Another key feature of the TA-VA7ES and TA-VA8ES is their comprehensive connectivity options. They come equipped with multiple line-level inputs, allowing users to connect various audio sources effortlessly. This versatility makes them compatible with CD players, turntables, and other audio devices. The inclusion of speaker terminals is also noteworthy; both amplifiers support bi-wiring, which can further enhance soundstage and imaging.
In terms of design, both models boast a classic and robust aesthetic that resonates with audiophiles. The build quality is exceptional, with a heavy chassis that minimizes vibrations and interference, providing a stable platform for audio reproduction. The front panel features intuitive controls, including a large volume knob and source selectors, ensuring ease of use.
Moreover, the TA-VA8ES incorporates some additional modern refinements over the TA-VA7ES, such as improved circuitry for better signal integrity and enhanced tone control options that allow users to tailor the sound to their preferences.
Overall, the Sony TA-VA7ES and TA-VA8ES amplifiers stand out as exemplary models in the realm of audio gear. Their combination of powerful amplification, advanced technologies, versatile connectivity, and solid construction makes them ideal for anyone looking to elevate their home audio experience. These amplifiers not only deliver on performance but also embody the quality and craftsmanship that Sony is known for.

