LCD Video Projector
English
Table of Contents
On safety
Precautions
On installation
On illumination
On cleaning
On repacking
Features
Location and Function of Controls
How to use the adjusters
Front
Location and Function of Controls
Control Panel
Audio in L MONO/R jacks phono type
Connector Panel
Connect to the RGB output of the equipment
Location and Function of Controls Rear
Remote Commander
Control S OUT connector stereo Enter keys Minijack
Volume +/- keys Menu key Joy stick
Input key
Battery installation
Installing the Projector
Horizontal center Vertical positioning side view Screen
Connecting with a VCR
When making connections, be sure to
Main Power
Projecting
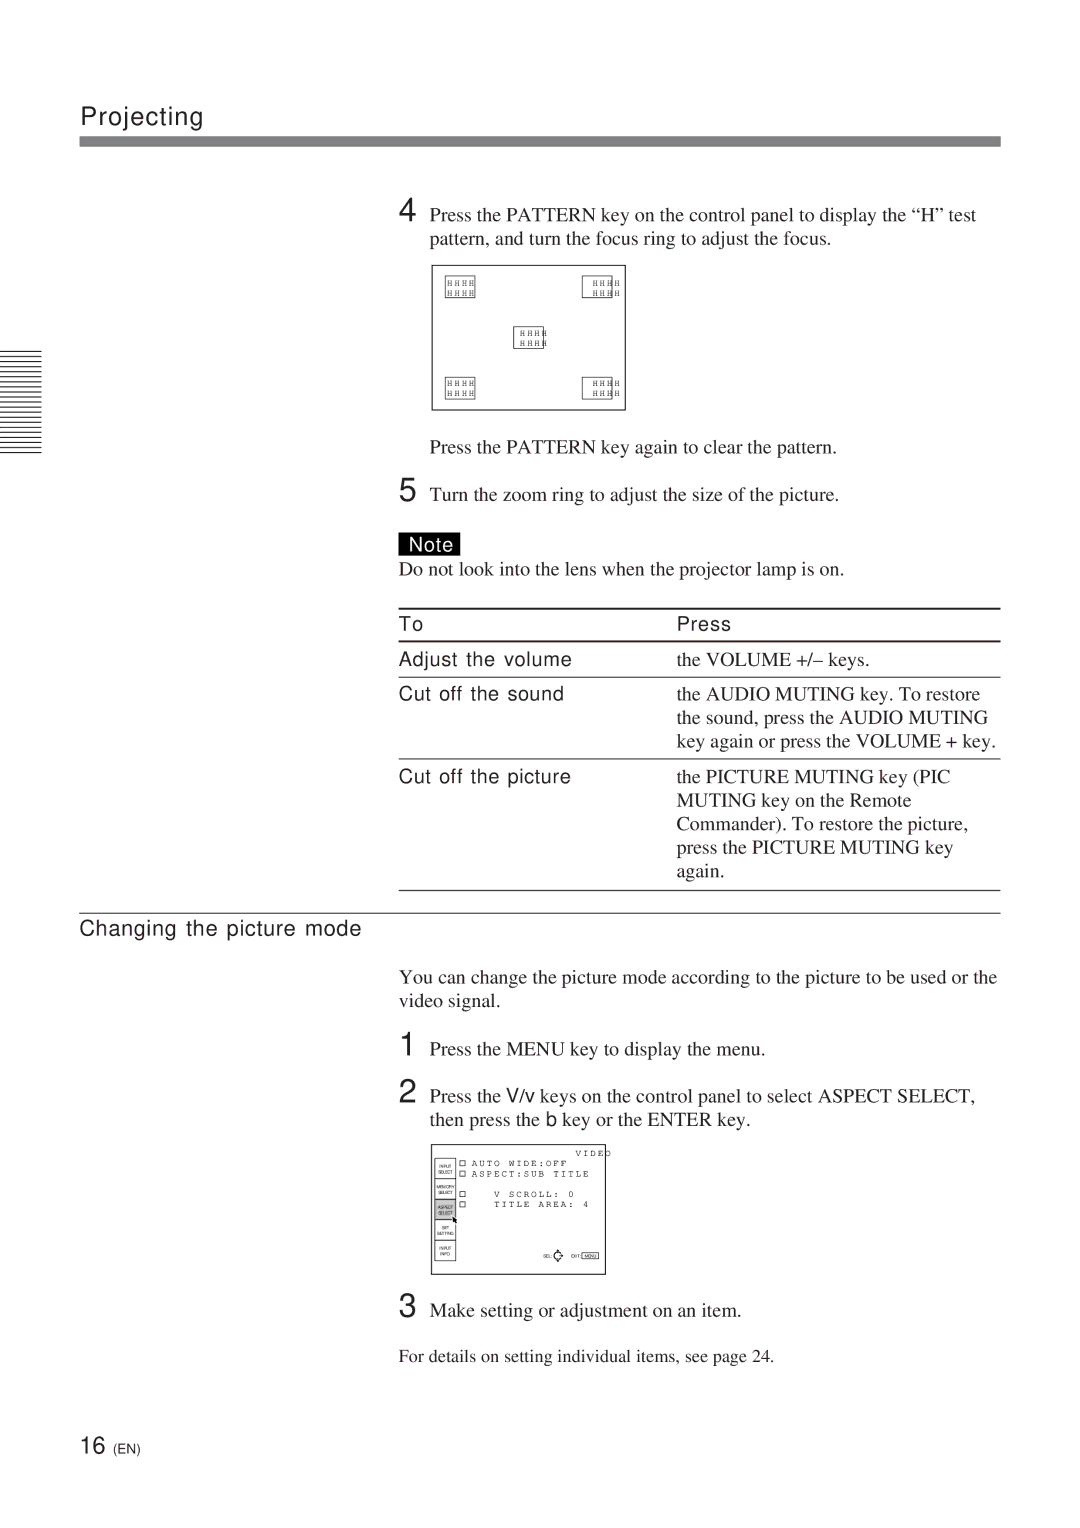
Changing the picture mode
Projecting
Refer to the followings for selecting the screen mode
When the 43 picture is displayed on the 169 screen
Picture size for the screen size
Example The 120 inch screen is used
438 371 829 110 inch picture is displayed
To turn off the power
Using the menu
To reset items that have been adjusted
About the memory of the settings
Settings are automatically stored in the projector memory
Input Select menu is used for selecting the input signal
Input Select Menu
Video
INPUT-A
Memory Select Menu
Memory
Contrast
Bright
Color
Aspect Select menu is used to set the picture mode
Selects the Auto Wide mode
Aspect Select Menu
Auto Wide
Scroll
Aspect
Title Area
Press the Enter or the B key to restore the original screen
SET Setting Menu
Operation Select an item
Status on-screen display
PIC. Muting
Audio Muting
Speaker
SET Setting Menu
Power Saving
Sircs Receiver
Half Tone
Input Info Menu
Input Signal
Memory Select
Installation Examples
Floor Installation
Ceiling Installation
Connecting a BNC connector
Connecting 15k RGB/Component Equipment
Connection Example
Maintenance
Replacing the Lamp Cleaning the Air Filter
Troubleshooting
On-screen messages
No Input
Specifications
Optical characteristics
Electrical characteristics
Input/Output
Pin assignment Video connector 4 pin, mini-DIN
Optional accessories
General
Dimensions
Front Rear
Bottom Top
Side
Index
E, F, G, H
Avertissement
Table des matières
Installation et projection
Aperçu
Précautions
Installation
Sécurité
Aperçu
Eclairage Entretien Remballage
Caractéristiques
Avant
Emplacement et fonction des commandes
Utilisation des pieds réglables
Emplacement et fonction des commandes
Panneau de commande
Prises Audio in L MONO/R type phono
Panneau des connecteurs
Raccordez-le au connecteur de sortie de l’appareil
Emplacement et fonction des commandes Arrière
10 F
Télécommande
11 F
Connecteur Control S OUT miniprise stéréo
Réglez-la sur Menu pour cet appareil
Installation des piles
Remarques sur le fonctionnement de la télécommande sans fil
12 F
Refermez le couvercle
Installation du projecteur
13 F
14 F
Raccordement à un magnétoscope
Lors de l’établissement des connexions
Projection
15 F
Projection
Changement du mode d’image
16 F
17 F
Le format de l’image pour la taille de l’écran
Si une image 43 est affichée sur un écran 169e
Exemple L’écran de 120 pouces est utilisé
18 F
Si une image 169e est affichée sur un écran
Pour mettre le projecteur hors tension
19 F
Remarque à propos de la modification des modes d’image
Utilisation du menu
20 F
Pour désactiver l’écran de menu
Pour restaurer des paramètres modifiés
Le menu SELECT. ENT
21 F
ENT. a
Procédure
22 F
Le menu SELECT. Memoire
Memoire
23 F
24 F
Le menu SELECT. Format
Large Auto
25 F
Format
Defilement
Aire Titre
26 F
Le menu Reglage
Procédure Sélectionnez un paramètre
27 F
SUP. Image
SUP. SON
Entree a
Le menu Reglage
28 F
Entree Signal
Le menu Entree Info
29 F
SELECT. Memoire
Installation au sol
Exemples d’installation
30 F
Installation au plafond
31 F
Exemple de raccordement
Raccordement RVB/composante 15k
32 F
Connexion d’un connecteur BNC
Entretien
Remplacement de la lampe Nettoyage du filtre à air
33 F
Dépannage
34 F
35 F
Messages affichés à l’écran
SpécificationsSpécifications
36 F
Caractéristiques optiques
Caractéristiques électriques
Accessoires en option
37 F
Caractéristiques générales
Attribution des broches
Spécifications
38 F
Avant Arrière
Dessous Dessus
C, D, E
39 F
K, L
Advertencia
Indice
Descripción general
Ejemplos de instalación y Conexión
Mantenimiento
Seguridad
Precauciones
Instalación
Iluminación Limpieza Embalaje
Características
Parte frontal
Ubicación y función de los controles
Empleo de los ajustadores
Ubicación y función de los controles
Panel de control
Panel de conectores
Tomas Audio in L MONO/R tipo fono
Ubicación y función de los controles Parte posterior
10 E
Tecla Reset
Teclas Volume + Tecla Menu Mando universal
Mando a distancia
11 E
Instalación de las pilas
12 E
Notas sobre las pilas
Instalación del proyector
13 E
14 E
Conexión con una videograbadora
Al realizar las conexiones, asegúrese de
Proyección
15 E
16 E
Proyección
Cambio del modo de imagen
17 E
Tamaño de imagen con respecto al tamaño de pantalla
Consulte lo siguiente para seleccionar el modo de pantalla
Si la imagen de 43 se visualiza en la pantalla de
18 E
Para desactivar la alimentación
19 E
Nota sobre el cambio de los modos de imagen
Uso del menú
20 E
Para que desaparezca la pantalla de menú
Para reajustar elementos ajustados
Menú Selec Entra
21 E
Entrada a
Este menú se emplea para seleccionar la señal de entrada
22 E
Menú Selec Memoria
Memoria
23 E
Menú Selec Aspecto
24 E
Ancho Auto
Selecciona el modo Ancho Auto
25 E
Aspecto
Desplazam
Area Titulo
26 E
Menú Ajuste
Funcionamiento Seleccione un elemento
27 E
Menú Ajuste
28 E
Menú Entrad Info
29 E
Sincg
Seleccion Memoria
Instalación en el suelo
Ejemplos de instalación
30 E
Instalación en el techo
31 E
Ejemplo de conexión
Conexión de un equipo RGB 15k/componente
32 E
Al realizar las conexiones, tenga en cuenta lo siguiente
Mantenimiento
Sustitución de la lámpara
Limpieza del filtro de aire
33 E
Solución de problemas
34 E
35 E
Mensajes en pantalla
Especificaciones
36 E
Características ópticas Entrada/salida
Características eléctricas
37 E
Generales
Accesorios opcionales
Asignación de pines
Dimensiones
38 E
Frontal Parte posterior
Base Parte superior
Indice alfabético
39 E

