MICRpoint Feature
Fine positioning of the MICR Line characters is accomplished using the MICRpoint feature. The feature only works with the SMD & SM7 MICR Print Commands using the printer’s resident MICR fonts.
The exact location of the entire MICR Line can be moved left or right, up or down by the printer operator through the printer’s front panel. Only the MICR Line is moved. All other printed information is not affected. This allows the operator, using a MICR Positioning Gauge and the MICRpoint feature, to precisely locate the MICR characters on the specific printer in use to address slight print location variances.
Each value entered by the operator is equal to 1/10th of a Point, a decipoint ( 720 Decipoints = 1 inch ). The maximum value that can be entered is +/- 99 Decipoints allowing the entire MICR Line to move up or down, left or right a maximum of 0.1375 inches from the print data stream’s intended location.
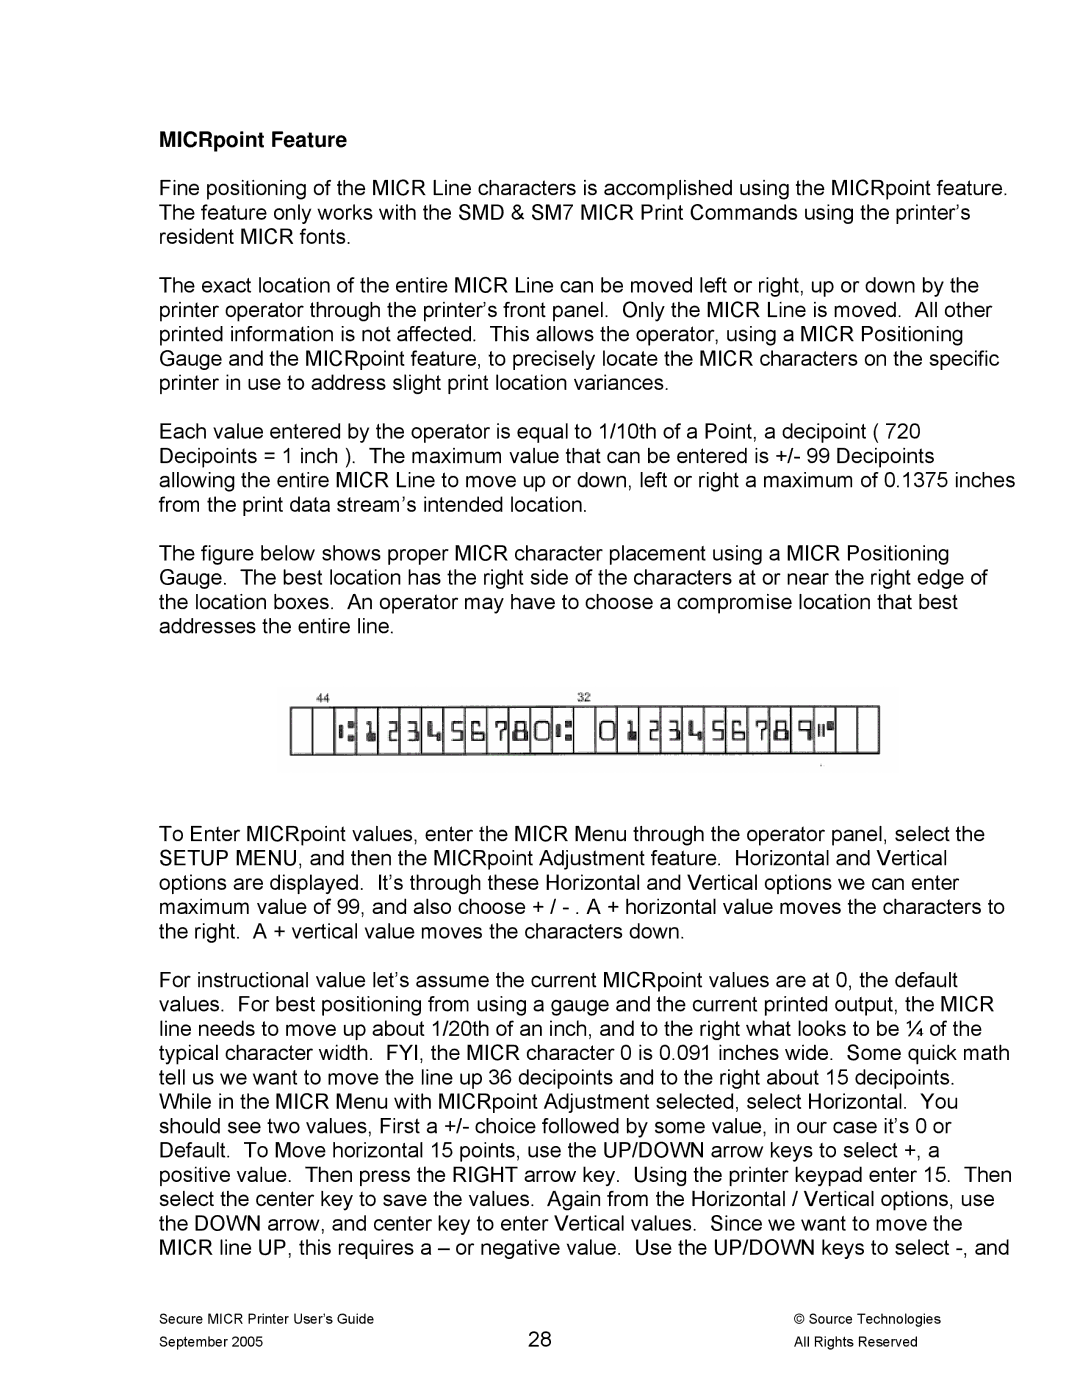
The figure below shows proper MICR character placement using a MICR Positioning Gauge. The best location has the right side of the characters at or near the right edge of the location boxes. An operator may have to choose a compromise location that best addresses the entire line.
To Enter MICRpoint values, enter the MICR Menu through the operator panel, select the SETUP MENU, and then the MICRpoint Adjustment feature. Horizontal and Vertical options are displayed. It’s through these Horizontal and Vertical options we can enter maximum value of 99, and also choose + /
For instructional value let’s assume the current MICRpoint values are at 0, the default values. For best positioning from using a gauge and the current printed output, the MICR line needs to move up about 1/20th of an inch, and to the right what looks to be ¼ of the typical character width. FYI, the MICR character 0 is 0.091 inches wide. Some quick math tell us we want to move the line up 36 decipoints and to the right about 15 decipoints. While in the MICR Menu with MICRpoint Adjustment selected, select Horizontal. You should see two values, First a +/- choice followed by some value, in our case it’s 0 or Default. To Move horizontal 15 points, use the UP/DOWN arrow keys to select +, a positive value. Then press the RIGHT arrow key. Using the printer keypad enter 15. Then select the center key to save the values. Again from the Horizontal / Vertical options, use the DOWN arrow, and center key to enter Vertical values. Since we want to move the MICR line UP, this requires a – or negative value. Use the UP/DOWN keys to select
Secure MICR Printer User’s Guide | 28 | © Source Technologies |
September 2005 | All Rights Reserved |