Speco Technologies DVR-IP4CF user manual Ddns Setting

Models: DVR-IP4CF

1 65
Download 65 pages 38.35 Kb
Page 53
Image 53

1.Power off Network DVR.

2.Connect Network DVR directly to the ADSL modem (using RJ-45 Ethernet port).

3.Power-up Network DVR.

4.Network DVR start dialing.

5.Once connected, mail the IP address information to the preset e-mail address.

6.After 10 times of connection failure, it aborts the operation and the user can reconnect it by LAN to find the cause.

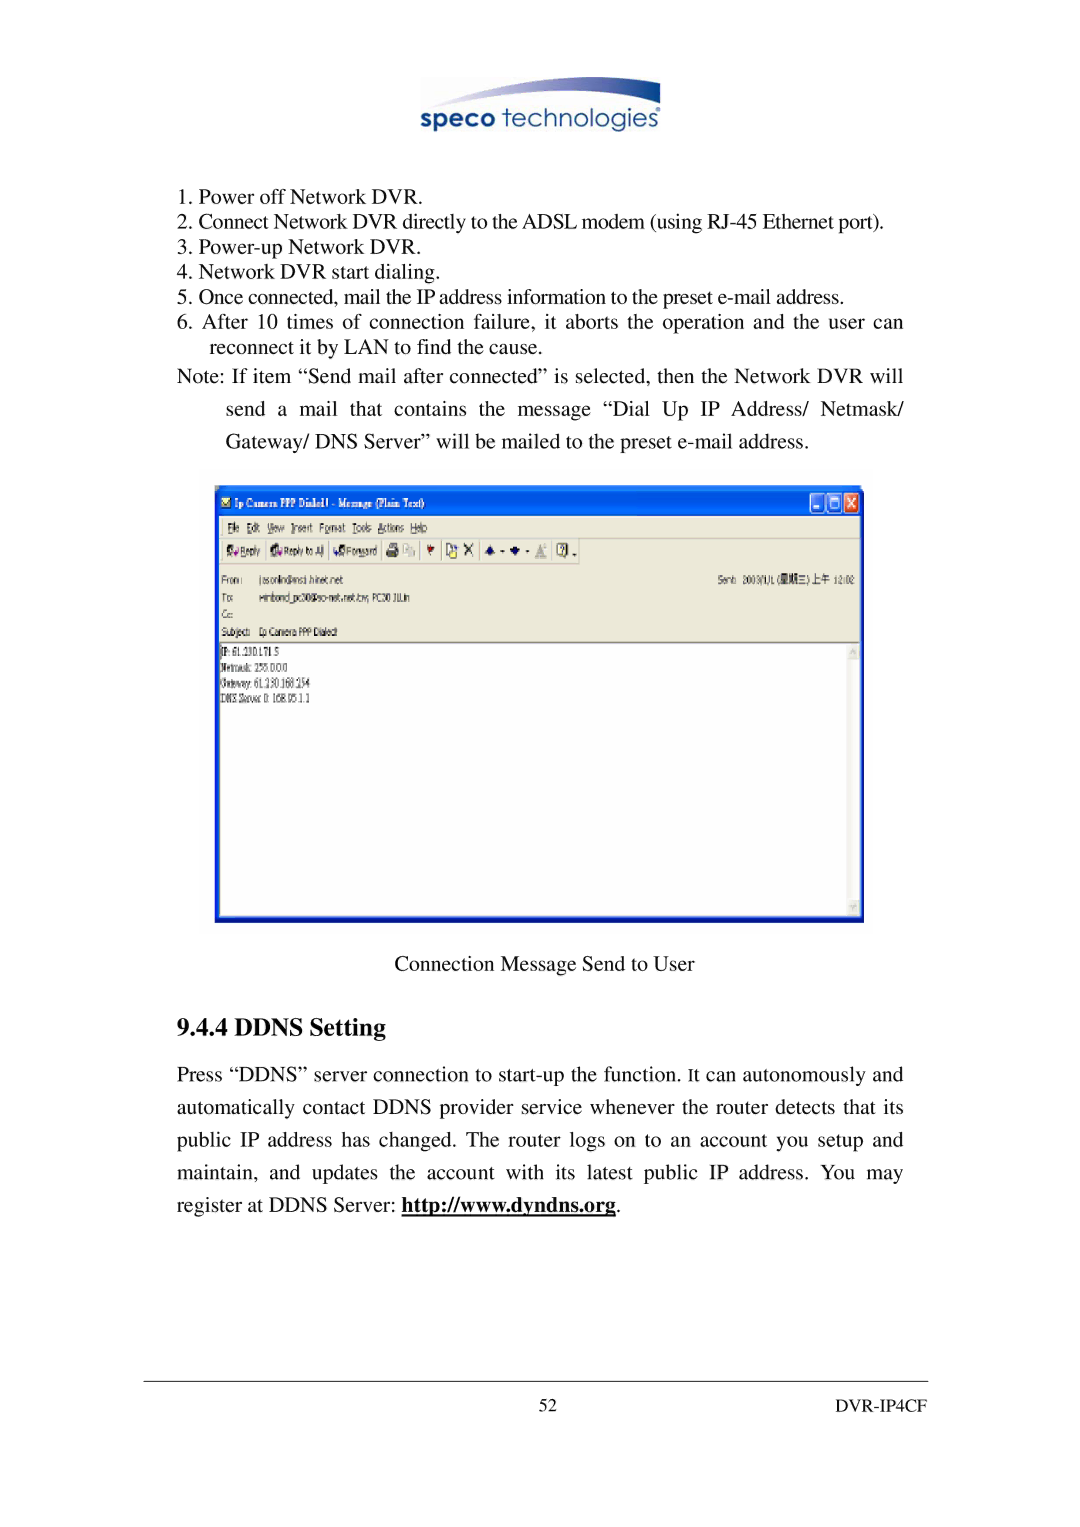
Note: If item “Send mail after connected” is selected, then the Network DVR will send a mail that contains the message “Dial Up IP Address/ Netmask/ Gateway/ DNS Server” will be mailed to the preset e-mail address.

Connection Message Send to User

9.4.4 DDNS Setting

Press “DDNS” server connection to start-up the function. It can autonomously and automatically contact DDNS provider service whenever the router detects that its public IP address has changed. The router logs on to an account you setup and maintain, and updates the account with its latest public IP address. You may register at DDNS Server: http://www.dyndns.org.

52

DVR-IP4CF

Page 53
Image 53
Speco Technologies DVR-IP4CF user manual Ddns Setting