5.4Check Valve Cleaning and Replacement
Many check valve problems are the result of small particles interfering with the operation of the check valve. As a result, most problems can be solved by pumping a strong solution of liquid, laboratory grade detergent through the check valves at a rate of
1 mL/min for one hour. After washing with detergent, pump distilled water through the pump for fifteen minutes. Always direct the output directly to a waste beaker during cleaning. If this does not work, the check valve should be replaced.
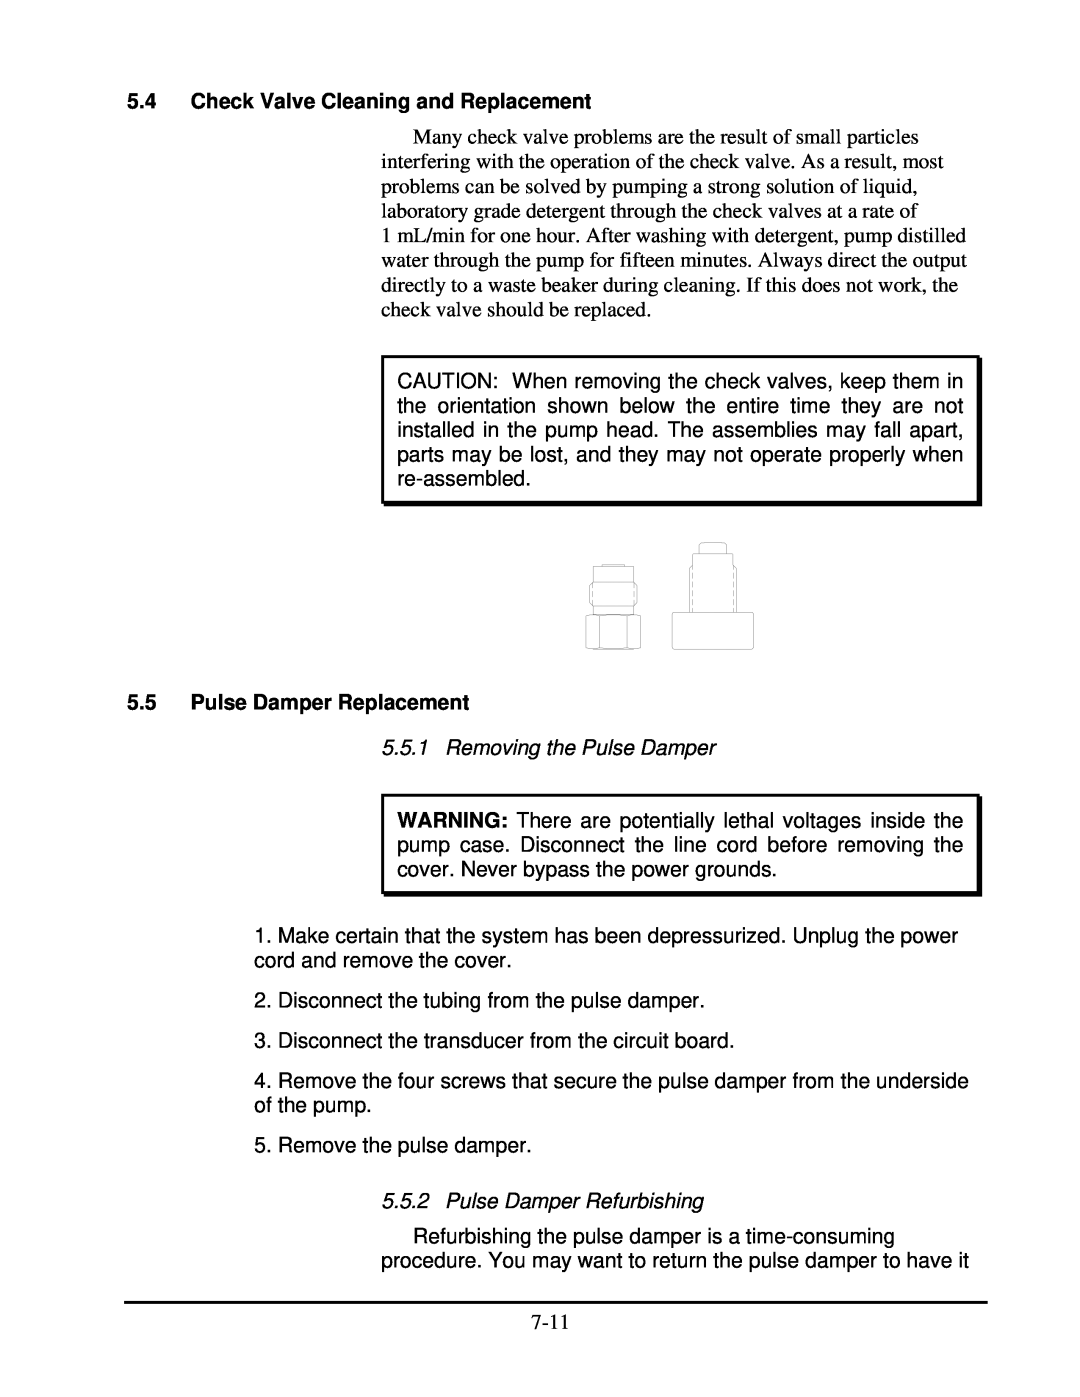
CAUTION: When removing the check valves, keep them in the orientation shown below the entire time they are not installed in the pump head. The assemblies may fall apart, parts may be lost, and they may not operate properly when
5.5Pulse Damper Replacement
5.5.1Removing the Pulse Damper
WARNING: There are potentially lethal voltages inside the pump case. Disconnect the line cord before removing the cover. Never bypass the power grounds.
1.Make certain that the system has been depressurized. Unplug the power cord and remove the cover.
2.Disconnect the tubing from the pulse damper.
3.Disconnect the transducer from the circuit board.
4.Remove the four screws that secure the pulse damper from the underside of the pump.
5.Remove the pulse damper.
5.5.2 Pulse Damper Refurbishing
Refurbishing the pulse damper is a
