5.2.5Replacing the Pump Head
CAUTION: The sapphire piston is fragile. Twisting the pump head during replacement can cause the piston to break. Closely follow instructions during head removal and replacement to avoid breakage.
1.Make sure that the inlet valve is on the bottom and the outlet valve is on the top. Carefully align the
2.Line up the pump head and carefully slide it into place. Be sure that the inlet valve is on the bottom and the outlet valve is on the top. Do not force the pump head into place.
3.Finger tighten both knurled nuts into place. To tighten firmly, alternately turn nuts 1/4 turn while gently wiggling the pump head to center it.
CAUTION: Use care when replacing the pump head.
Twisting the pump head can cause the piston to break.
4.
5.3Conditioning New Seals
NOTE: Use only organic solvents to
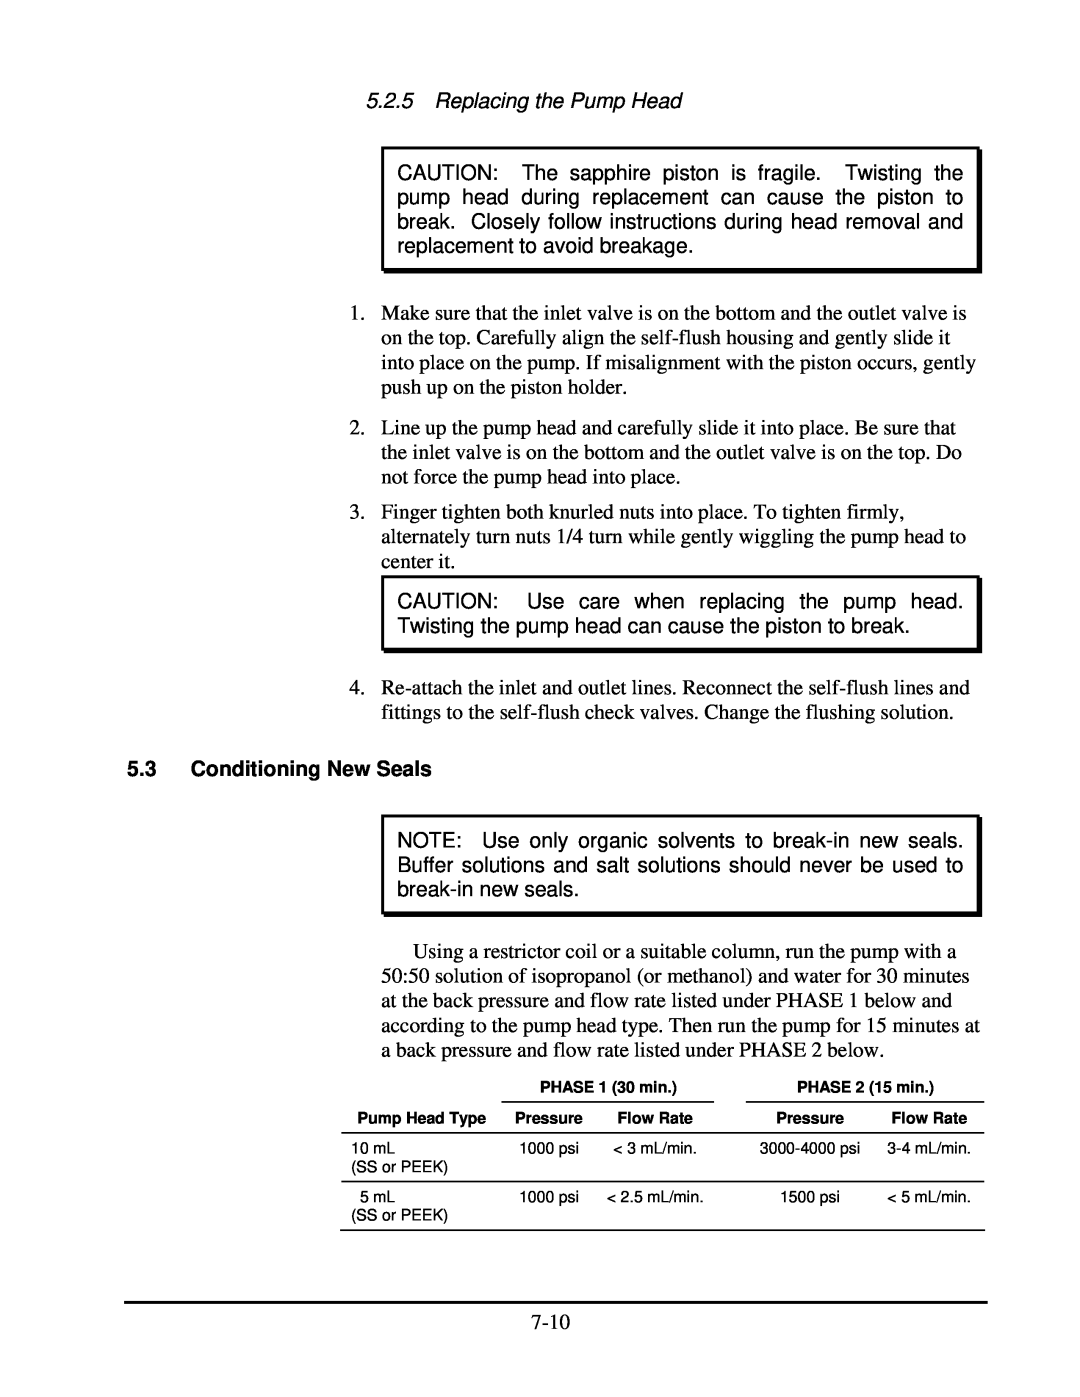
Using a restrictor coil or a suitable column, run the pump with a 50:50 solution of isopropanol (or methanol) and water for 30 minutes at the back pressure and flow rate listed under PHASE 1 below and according to the pump head type. Then run the pump for 15 minutes at a back pressure and flow rate listed under PHASE 2 below.
| PHASE 1 (30 min.) | PHASE 2 (15 min.) | ||
Pump Head Type | Pressure | Flow Rate | Pressure | Flow Rate |
10 mL | 1000 psi | < 3 mL/min. | ||
(SS or PEEK) |
|
|
|
|
5 mL | 1000 psi | < 2.5 mL/min. | 1500 psi | < 5 mL/min. |
(SS or PEEK) |
|
|
|
|
