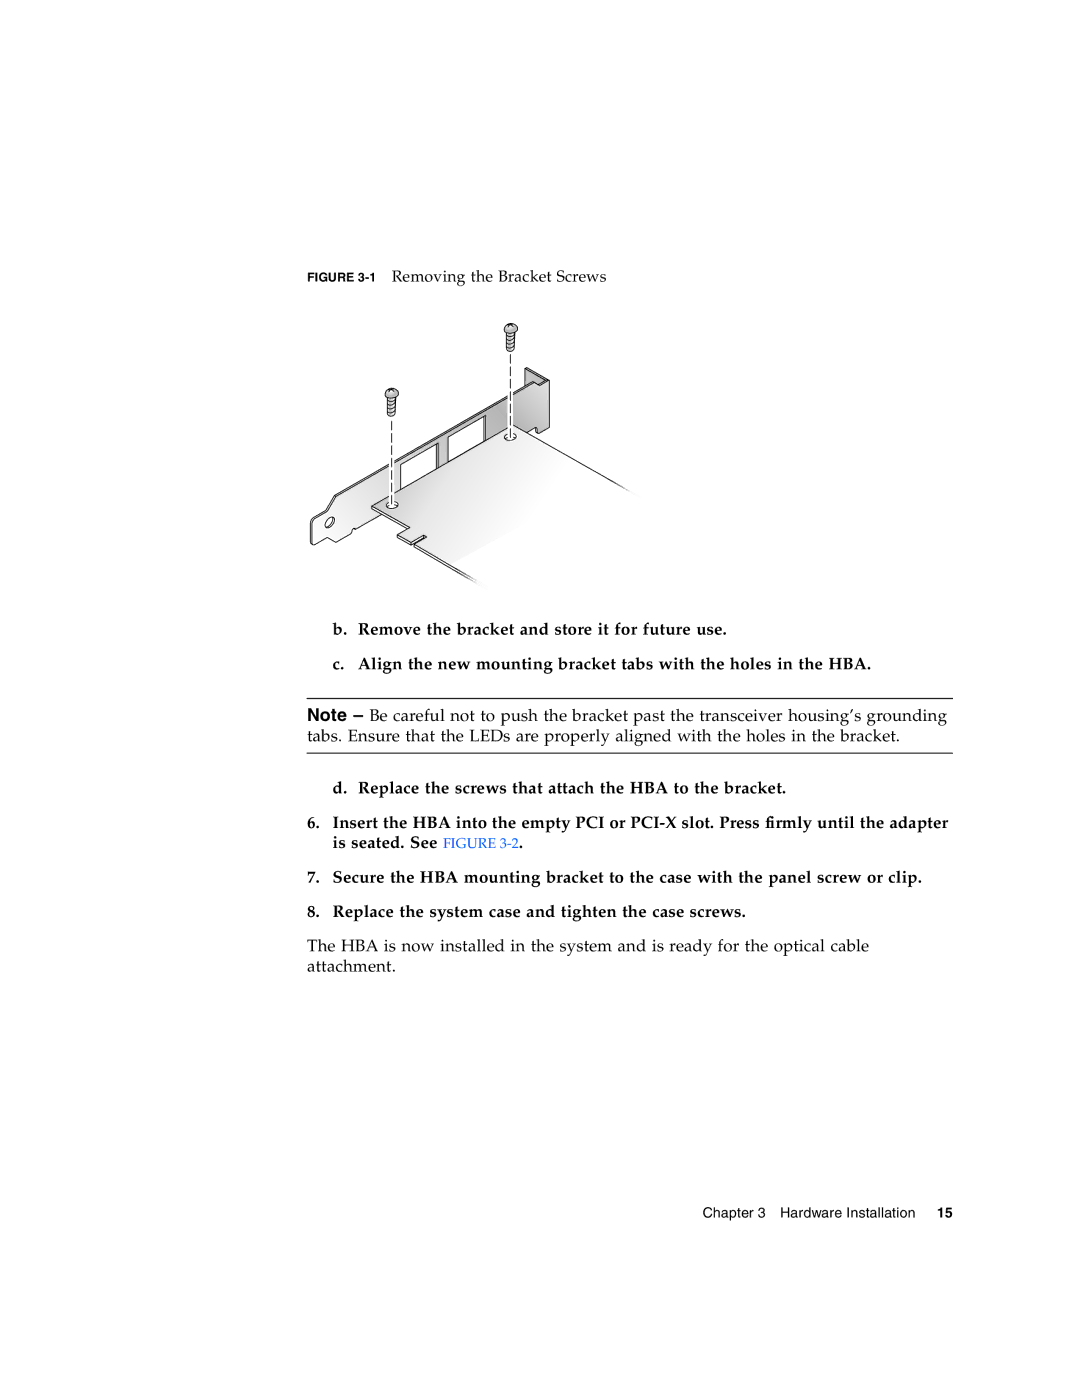
FIGURE 3-1 Removing the Bracket Screws
b.Remove the bracket and store it for future use.
c.Align the new mounting bracket tabs with the holes in the HBA.
Note – Be careful not to push the bracket past the transceiver housing’s grounding tabs. Ensure that the LEDs are properly aligned with the holes in the bracket.
d. Replace the screws that attach the HBA to the bracket.
6.Insert the HBA into the empty PCI or
7.Secure the HBA mounting bracket to the case with the panel screw or clip.
8.Replace the system case and tighten the case screws.
The HBA is now installed in the system and is ready for the optical cable attachment.
Chapter 3 Hardware Installation 15