3.Set the waypoint number with UP/DOWN and press ENTER. The number defines the waypoint location on the route. The name field is activated.
4.Choose the waypoint name with UP/DOWN and press ENTER. The coordinates are activated. If the GPS is on, Suunto X9 displays the current coordinates. If it is off, it displays the coordinates of the last GPS location.
5.Change the coordinates with UP/DOWN and press ENTER. The altitude field is activated.
6.Set the altitude with UP/DOWN and press ENTER. The message ‘WAYPOINT STORED’ is displayed and the waypoint list opens.
7.Scroll to Create WP and repeat the steps
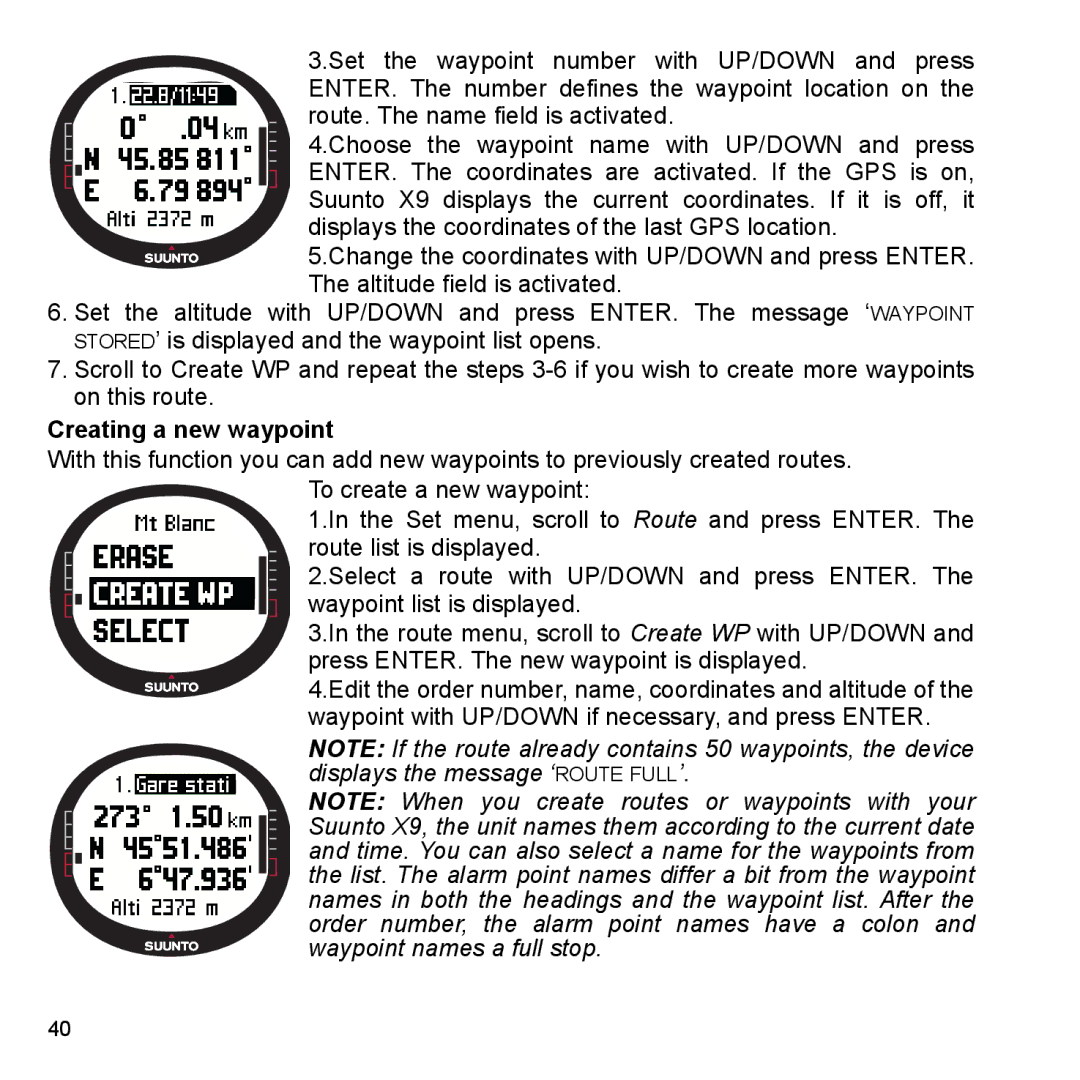
Creating a new waypoint
With this function you can add new waypoints to previously created routes.
To create a new waypoint:
1.In the Set menu, scroll to Route and press ENTER. The route list is displayed.
2.Select a route with UP/DOWN and press ENTER. The
waypoint list is displayed.
3.In the route menu, scroll to Create WP with UP/DOWN and press ENTER. The new waypoint is displayed.
4.Edit the order number, name, coordinates and altitude of the waypoint with UP/DOWN if necessary, and press ENTER.
NOTE: If the route already contains 50 waypoints, the device displays the message ‘ROUTE FULL’.
NOTE: When you create routes or waypoints with your Suunto X9, the unit names them according to the current date and time. You can also select a name for the waypoints from the list. The alarm point names differ a bit from the waypoint names in both the headings and the waypoint list. After the order number, the alarm point names have a colon and waypoint names a full stop.
40