●Multiplexer Title
●How to Display
To display this window, click on the ![]() (Multiplexer Title) button in the main window (p. 65.)
(Multiplexer Title) button in the main window (p. 65.)
●How to Display
Note: This window can be displayed only when "Yes" is selected in the Recorder window. (Refer to p. 66.)
●Parameters
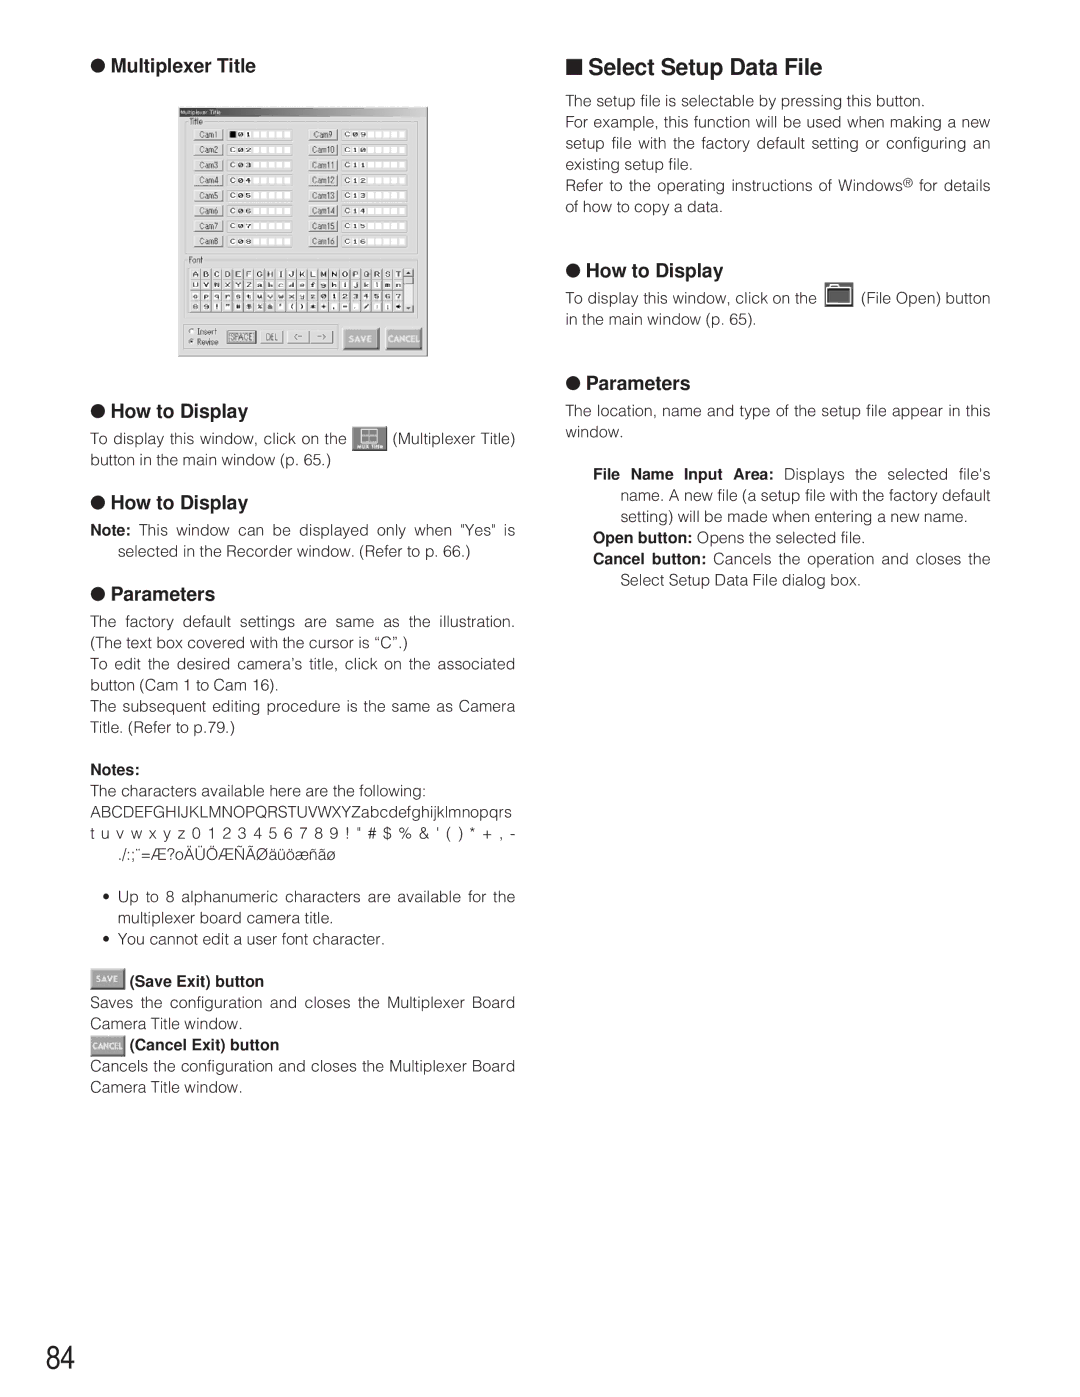
The factory default settings are same as the illustration. (The text box covered with the cursor is “C”.)
To edit the desired camera’s title, click on the associated button (Cam 1 to Cam 16).
The subsequent editing procedure is the same as Camera Title. (Refer to p.79.)
Notes:
The characters available here are the following: ABCDEFGHIJKLMNOPQRSTUVWXYZabcdefghijklmnopqrs t u v w x y z 0 1 2 3 4 5 6 7 8 9 ! " # $ % & ' ( ) * + , -
./:;¨=Æ?oÄÜÖÆÑÃØäüöæñãø
•Up to 8 alphanumeric characters are available for the multiplexer board camera title.
•You cannot edit a user font character.
![]() (Save Exit) button
(Save Exit) button
Saves the configuration and closes the Multiplexer Board Camera Title window.
 (Cancel Exit) button
Cancels the configuration and closes the Multiplexer Board Camera Title window.
■Select Setup Data File
The setup file is selectable by pressing this button.
For example, this function will be used when making a new setup file with the factory default setting or configuring an existing setup file.
Refer to the operating instructions of Windows® for details of how to copy a data.
●How to Display
To display this window, click on the ![]() (File Open) button in the main window (p. 65).
(File Open) button in the main window (p. 65).
●Parameters
The location, name and type of the setup file appear in this window.
File Name Input Area: Displays the selected file's name. A new file (a setup file with the factory default setting) will be made when entering a new name.
Open button: Opens the selected file.
Cancel button: Cancels the operation and closes the Select Setup Data File dialog box.
84
