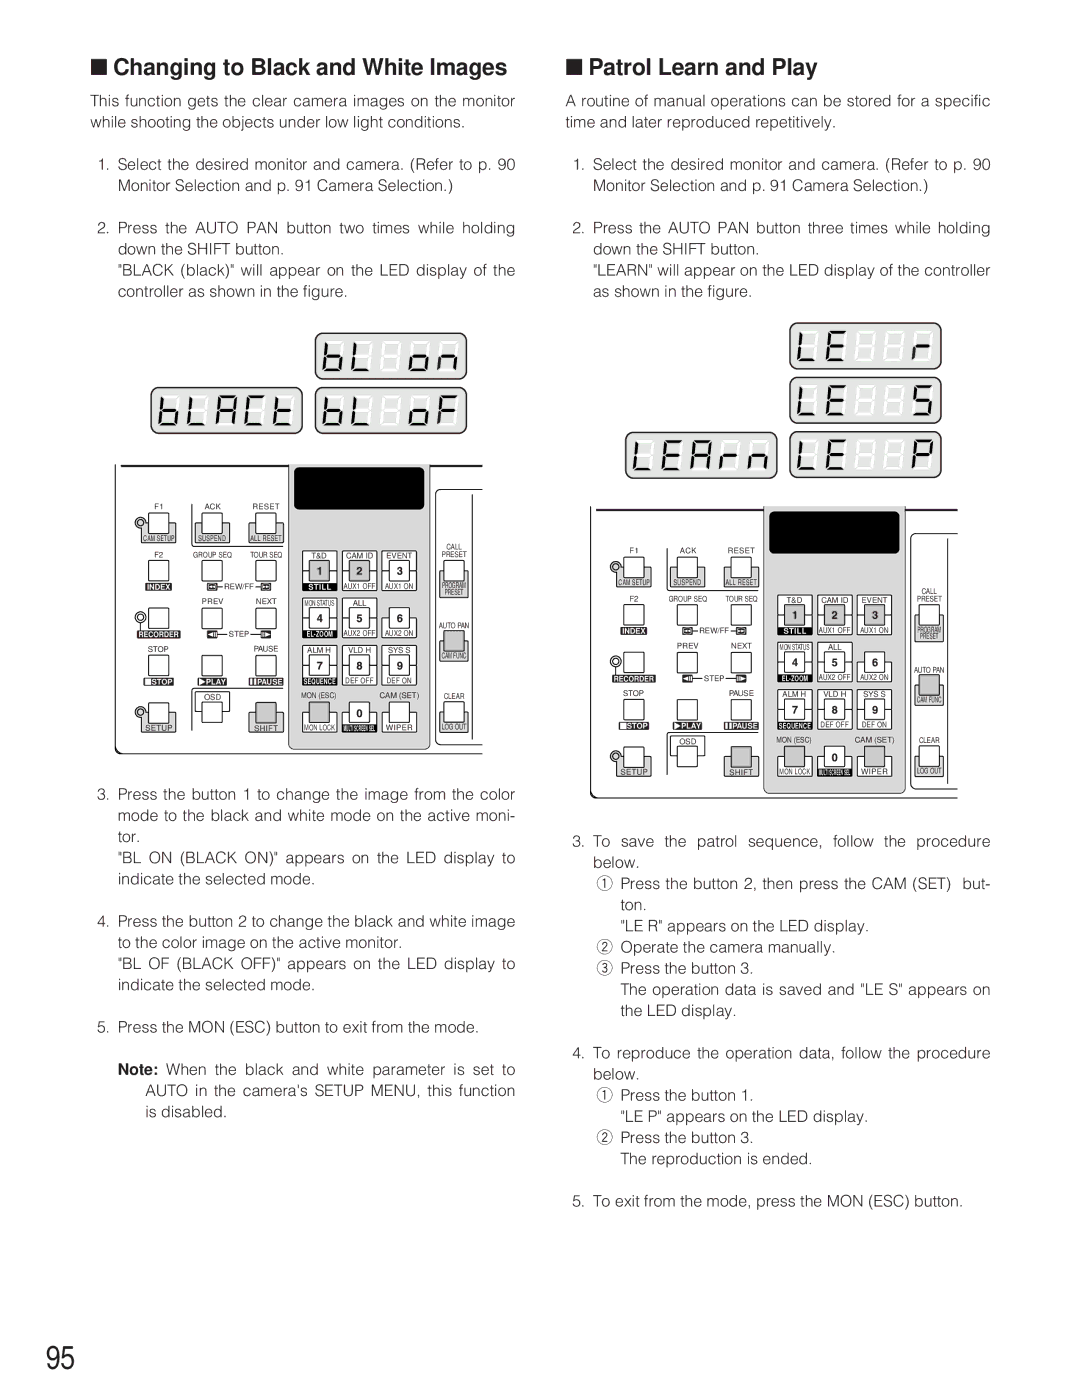
■Changing to Black and White Images
This function gets the clear camera images on the monitor while shooting the objects under low light conditions.
1.Select the desired monitor and camera. (Refer to p. 90 Monitor Selection and p. 91 Camera Selection.)
2.Press the AUTO PAN button two times while holding down the SHIFT button.
"BLACK (black)" will appear on the LED display of the controller as shown in the figure.
■Patrol Learn and Play
A routine of manual operations can be stored for a specific time and later reproduced repetitively.
1.Select the desired monitor and camera. (Refer to p. 90 Monitor Selection and p. 91 Camera Selection.)
2.Press the AUTO PAN button three times while holding down the SHIFT button.
"LEARN" will appear on the LED display of the controller as shown in the figure.
F1 | ACK | RESET |
|
|
|
|
CAM SETUP | SUSPEND | ALL RESET |
|
|
| CALL |
|
|
|
|
|
| |
F2 | GROUP SEQ | TOUR SEQ | T&D | CAM ID | EVENT | PRESET |
INDEX | REW/FF | STILL | AUX1 OFF | AUX1 ON | PROGRAM | |
|
|
|
|
|
| PRESET |
| PREV | NEXT | MON STATUS | ALL |
|
|
| STEP |
| AUX2 OFF | AUX2 ON | AUTO PAN | |
RECORDER |
|
| ||||
STOP |
| PAUSE | ALM H | VLD H | SYS S | CAM FUNC |
|
|
|
|
|
| |
STOP | PLAY | PAUSE | SEQUENCE | DEF OFF | DEF ON |
|
| OSD |
| MON (ESC) |
| CAM (SET) | CLEAR |
SETUP |
| SHIFT | MON LOCK | MULTI SCREEN SEL | WIPER | LOG OUT |
3.Press the button 1 to change the image from the color mode to the black and white mode on the active moni- tor.
"BL ON (BLACK ON)" appears on the LED display to indicate the selected mode.
4.Press the button 2 to change the black and white image to the color image on the active monitor.
"BL OF (BLACK OFF)" appears on the LED display to indicate the selected mode.
5.Press the MON (ESC) button to exit from the mode.
Note: When the black and white parameter is set to AUTO in the camera's SETUP MENU, this function is disabled.
F1 | ACK | RESET |
|
|
|
|
CAM SETUP | SUSPEND | ALL RESET |
|
|
| CALL |
|
|
|
|
|
| |
F2 | GROUP SEQ | TOUR SEQ | T&D | CAM ID | EVENT | PRESET |
INDEX | REW/FF | STILL | AUX1 OFF | AUX1 ON | PROGRAM | |
|
|
|
|
|
| PRESET |
| PREV | NEXT | MON STATUS | ALL |
|
|
| STEP |
| AUX2 OFF | AUX2 ON | AUTO PAN | |
RECORDER |
|
| ||||
STOP |
| PAUSE | ALM H | VLD H | SYS S | CAM FUNC |
|
|
|
|
|
| |
STOP | PLAY | PAUSE | SEQUENCE | DEF OFF | DEF ON |
|
| OSD |
| MON (ESC) |
| CAM (SET) | CLEAR |
SETUP |
| SHIFT | MON LOCK | MULTI SCREEN SEL | WIPER | LOG OUT |
3.To save the patrol sequence, follow the procedure below.
q Press the button 2, then press the CAM (SET) but- ton.
"LE R" appears on the LED display. w Operate the camera manually.
e Press the button 3.
The operation data is saved and "LE S" appears on the LED display.
4.To reproduce the operation data, follow the procedure below.
q Press the button 1.
"LE P" appears on the LED display. w Press the button 3.
The reproduction is ended.
5.To exit from the mode, press the MON (ESC) button.
95