Digital Video Recorder User Manual
It is the IP configure of the DVR. There are three options to choose: STATIC, DHCP and PPPoE. Take Static IP address as example.
STEP1 Press "Up", "Down", "Left" and "Right" buttons to move the cursor. STEP2 Input IP Address, Subnet Mask and Gateway.
STEP3 Press "OK" button to modify the IP Configuration menu.
If select DHCP, the IP address will be automatically assigned by local network. After selecting DHCP, you need to be patient for waiting 30 second. The automatic assigned IP will be displayed on the system information window.
If select PPPoE, you need to set username and password when DVR need to connect internet. If you forget username and password, Please contact with ISP.
If you press "INFO" button, the System Information menu can be displayed on the screen when DVR connects the network successfully (referred Fig3.21 System Information).
![]() Notice: • If the network of DVR is subjected to the following items, we recommend using Dynamic IP.
Notice: • If the network of DVR is subjected to the following items, we recommend using Dynamic IP.
1.The local area network has DHCP server.
2.DVR can get IP address automatically from internet.
•Before you set PPPoE, you’d better reboot the modem. After setting the PPPoE, you need wait for a while.
DDNS CONFIGURATION
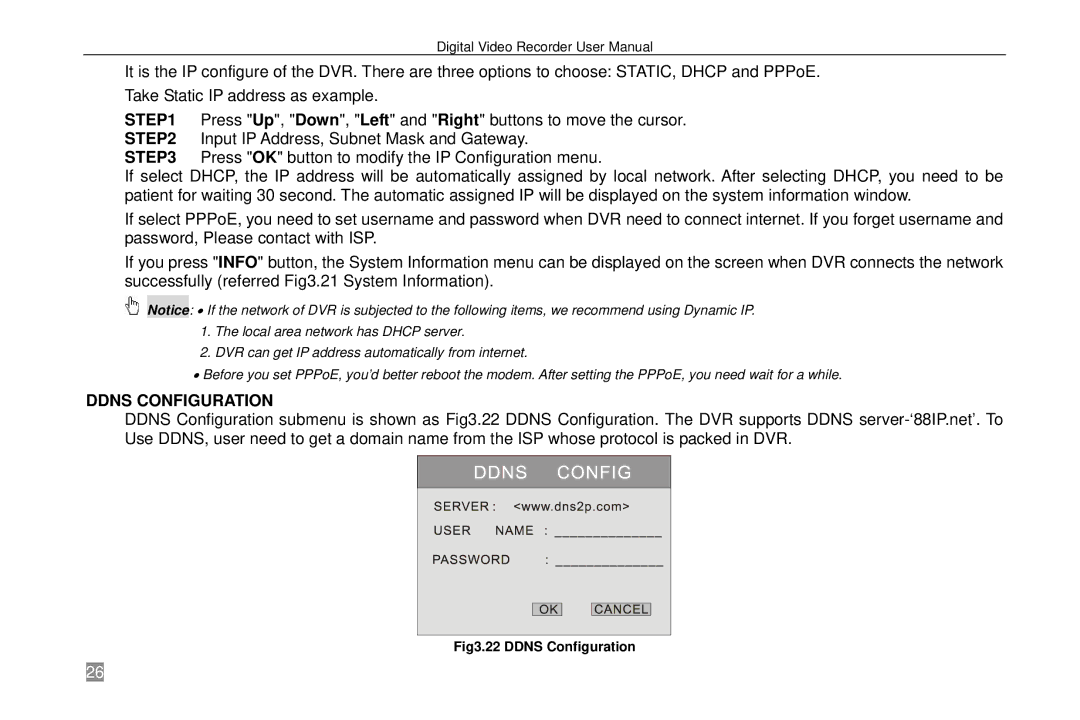
DDNS Configuration submenu is shown as Fig3.22 DDNS Configuration. The DVR supports DDNS
Fig3.22 DDNS Configuration
26
