Digital Video Recorder User Manual
(3) START TIME
Start recording time to backup. The first line is hour, and the second line is minute. You must choose the date firstly and choose the time secondly.
(4) END TIME
End recording time to backup. The first line is hour, the second line is minute. You must choose the date firstly and choose the time secondly.
(5) CHANNEL
If you want to backup one or more channels, please select the channels which you want to backup.
(6) EVENTS
There are two options to choose: motion and sensor. If you want to backup all records, please select "ALL".
(7) BACKUP
After selecting of BACKUP MEDIA, BACKUP FILE, CHANNEL, START TIME, END TIME and EVENTS, DVR is ready to backup.
STEP1 Enter the menu after
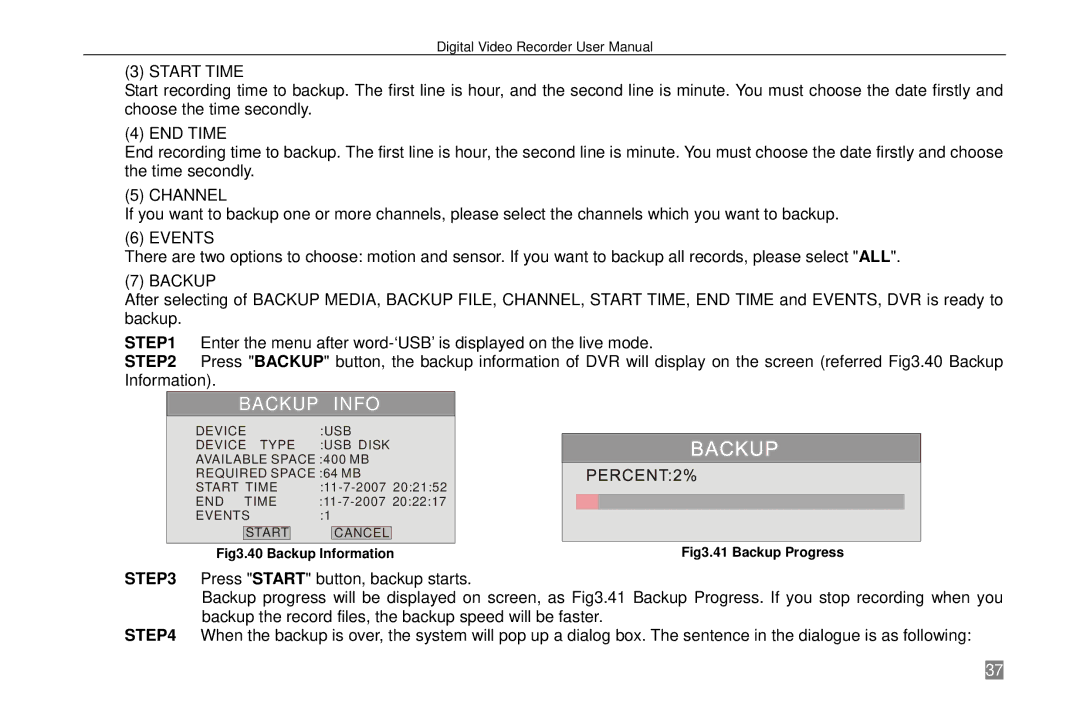
STEP2 Press "BACKUP" button, the backup information of DVR will display on the screen (referred Fig3.40 Backup Information).
BACKUP |
| INFO | |||
DEVICE | :USB | ||||
DEVICE TYPE | :USB DISK | ||||
AVAILABLE SPACE :400 MB | |||||
REQUIRED SPACE :64 MB | |||||
START TIME | |||||
END TIME | |||||
EVENTS | :1 |
|
| ||
| START |
|
| CANCEL |
|
|
|
|
|
|
|
Fig3.40 Backup Information
Fig3.41 Backup Progress
STEP3 Press "START" button, backup starts.
Backup progress will be displayed on screen, as Fig3.41 Backup Progress. If you stop recording when you backup the record files, the backup speed will be faster.
STEP4 When the backup is over, the system will pop up a dialog box. The sentence in the dialogue is as following:
37