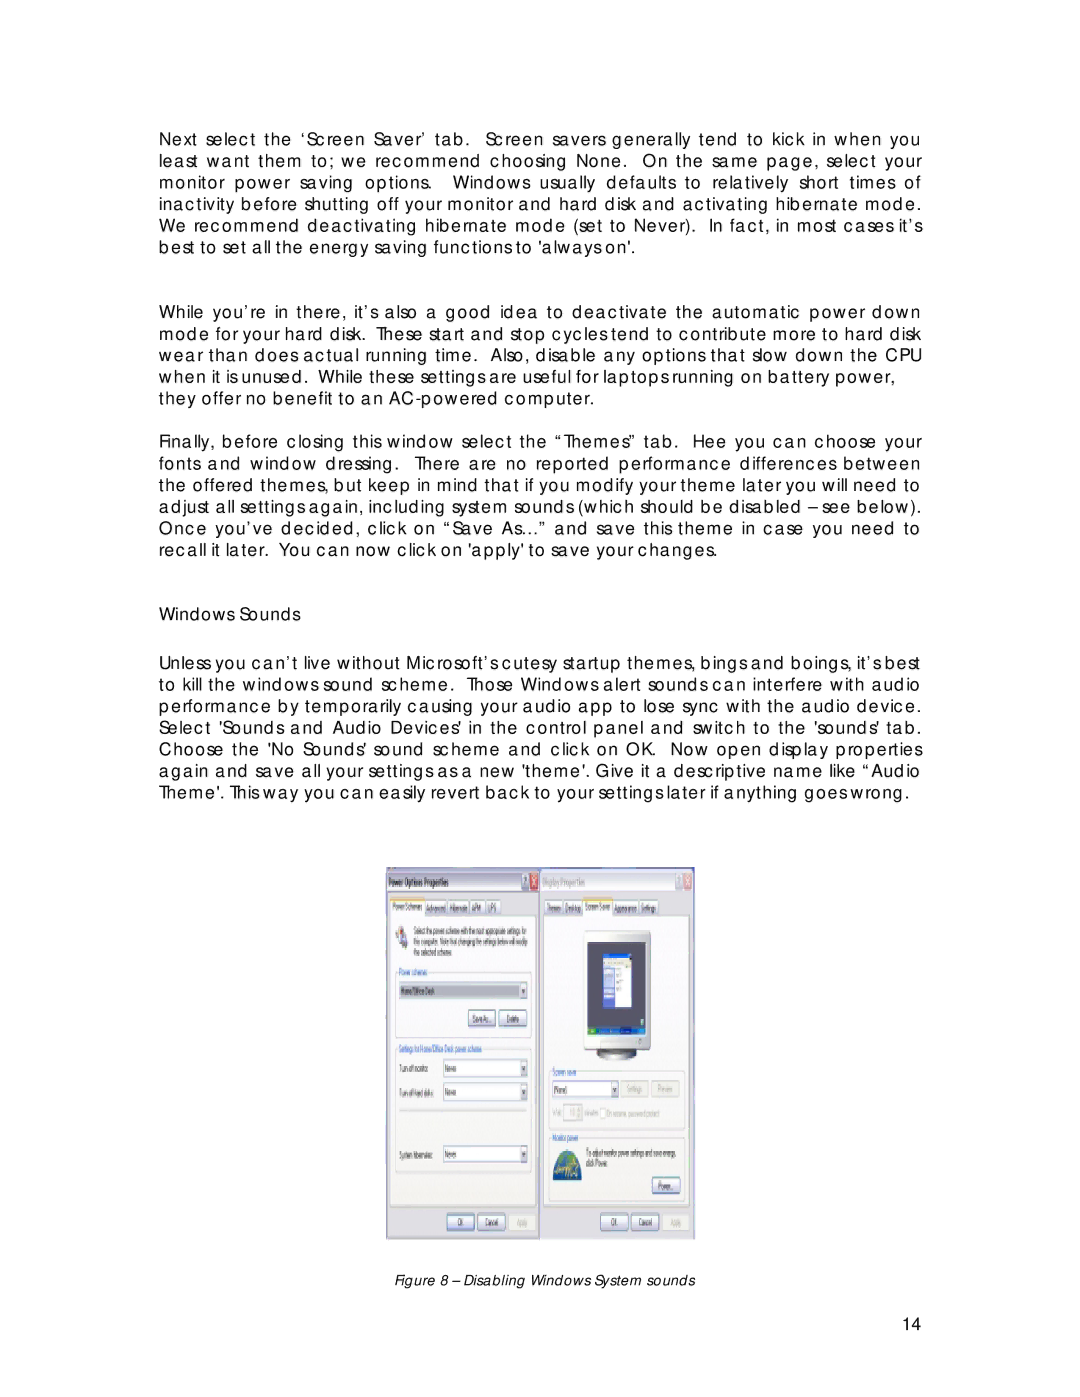
Next select the ‘Screen Saver’ tab. Screen savers generally tend to kick in when you least want them to; we recommend choosing None. On the same page, select your monitor power saving options. Windows usually defaults to relatively short times of inactivity before shutting off your monitor and hard disk and activating hibernate mode. We recommend deactivating hibernate mode (set to Never). In fact, in most cases it’s best to set all the energy saving functions to 'always on'.
While you’re in there, it’s also a good idea to deactivate the automatic power down mode for your hard disk. These start and stop cycles tend to contribute more to hard disk wear than does actual running time. Also, disable any options that slow down the CPU when it is unused. While these settings are useful for laptops running on battery power, they offer no benefit to an
Finally, before closing this window select the “Themes” tab. Hee you can choose your fonts and window dressing. There are no reported performance differences between the offered themes, but keep in mind that if you modify your theme later you will need to adjust all settings again, including system sounds (which should be disabled – see below). Once you’ve decided, click on “Save As…” and save this theme in case you need to recall it later. You can now click on 'apply' to save your changes.
Windows Sounds
Unless you can’t live without Microsoft’s cutesy startup themes, bings and boings, it’s best to kill the windows sound scheme. Those Windows alert sounds can interfere with audio performance by temporarily causing your audio app to lose sync with the audio device. Select 'Sounds and Audio Devices' in the control panel and switch to the 'sounds' tab. Choose the 'No Sounds' sound scheme and click on OK. Now open display properties again and save all your settings as a new 'theme'. Give it a descriptive name like “Audio Theme'. This way you can easily revert back to your settings later if anything goes wrong.
Figure 8 – Disabling Windows System sounds
14
