performance of background services” to ensure lowest latency with
W2K: Right click on My Computer and choose Properties. Select the Advanced Tab, then click the Performance Button. Change the mode from Application Response to Background Services
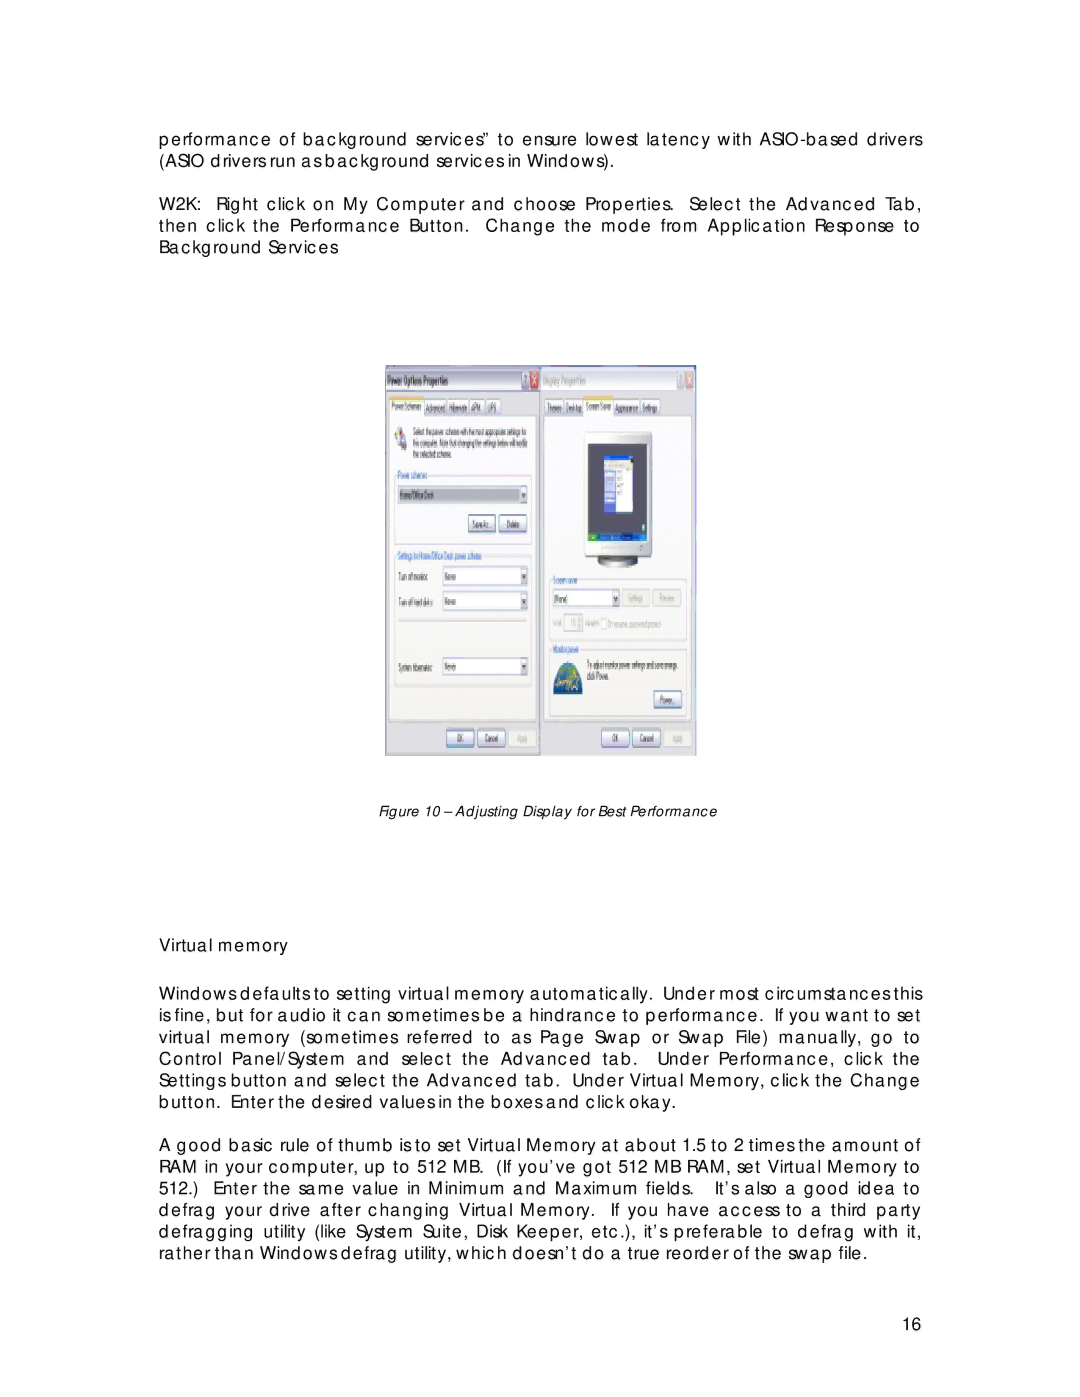
Figure 10 – Adjusting Display for Best Performance
Virtual memory
Windows defaults to setting virtual memory automatically. Under most circumstances this is fine, but for audio it can sometimes be a hindrance to performance. If you want to set virtual memory (sometimes referred to as Page Swap or Swap File) manually, go to Control Panel/System and select the Advanced tab. Under Performance, click the Settings button and select the Advanced tab. Under Virtual Memory, click the Change button. Enter the desired values in the boxes and click okay.
A good basic rule of thumb is to set Virtual Memory at about 1.5 to 2 times the amount of RAM in your computer, up to 512 MB. (If you’ve got 512 MB RAM, set Virtual Memory to 512.) Enter the same value in Minimum and Maximum fields. It’s also a good idea to defrag your drive after changing Virtual Memory. If you have access to a third party defragging utility (like System Suite, Disk Keeper, etc.), it’s preferable to defrag with it, rather than Windows defrag utility, which doesn’t do a true reorder of the swap file.
16
