Useful Tips for Recording
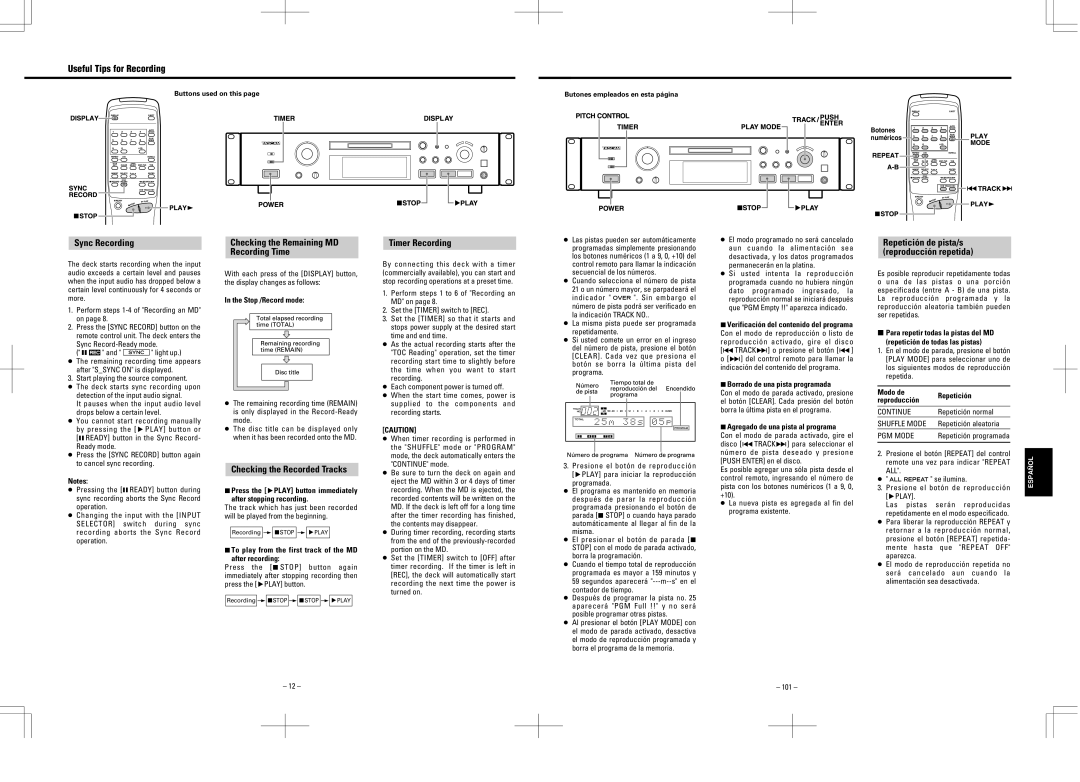
Buttons used on this page | Butones empleados en esta página |
Botones ![]()
![]()
![]()
![]()
![]() numéricos
numéricos ![]()
![]()
![]()
![]()
![]()
![]()
![]()
![]()
Sync Recording
The deck starts recording when the input audio exceeds a certain level and pauses when the input audio has dropped below a certain level continuously for 4 seconds or more.
1.Perform steps
2.Press the [SYNC RECORD] button on the remote control unit. The deck enters the Sync
(" ![]()
![]() " and "
" and " ![]() " light up.)
" light up.)
…The remaining recording time appears
after "S_SYNC ON" is displayed.
3. Start playing the source component.
…The deck starts sync recording upon detection of the input audio signal.
It pauses when the input audio level drops below a certain level.
…You cannot start recording manually by pressing the [¥PLAY] button or [πREADY] button in the Sync Record- Ready mode.
…Press the [SYNC RECORD] button again to cancel sync recording.
Notes:
…Pressing the [πREADY] button during sync recording aborts the Sync Record operation.
…Changing the input with the [INPUT SELECTOR] switch during sync recording aborts the Sync Record operation.
Checking the Remaining MD Recording Time
With each press of the [DISPLAY] button, the display changes as follows:
In the Stop /Record mode:
…The remaining recording time (REMAIN) is only displayed in the
…The disc title can be displayed only when it has been recorded onto the MD.
Checking the Recorded Tracks
ªPress the [¥PLAY] button immediately
after stopping recording.
The track which has just been recorded will be played from the beginning.
Recording ∑ ªSTOP ∑ ¥PLAY
ªTo play from the first track of the MD after recording:
Press the [ª STOP] button again immediately after stopping recording then press the [¥PLAY] button.
Recording ∑ ªSTOP ∑ ªSTOP ∑ ¥PLAY
Timer Recording
By connecting this deck with a timer (commercially available), you can start and stop recording operations at a preset time.
1.Perform steps 1 to 6 of "Recording an MD" on page 8.
2.Set the [TIMER] switch to [REC].
3.Set the [TIMER] so that it starts and
stops power supply at the desired start time and end time.
…As the actual recording starts after the "TOC Reading" operation, set the timer recording start time to slightly before the time when you want to start recording.
…Each component power is turned off.
…When the start time comes, power is supplied to the components and recording starts.
[CAUTION]
…When timer recording is performed in the "SHUFFLE" mode or "PROGRAM" mode, the deck automatically enters the "CONTINUE" mode.
…Be sure to turn the deck on again and eject the MD within 3 or 4 days of timer recording. When the MD is ejected, the recorded contents will be written on the MD. If the deck is left off for a long time after the timer recording has finished, the contents may disappear.
…During timer recording, recording starts from the end of the
…Set the [TIMER] switch to [OFF] after timer recording. If the timer is left in [REC], the deck will automatically start recording the next time the power is turned on.
…Las pistas pueden ser automáticamente programadas simplemente presionando los botones numéricos (1 a 9, 0, +10) del control remoto para llamar la indicación secuencial de los números.
…Cuando selecciona el número de pista 21 o un número mayor, se parpadeará el
indicador " ![]() ". Sin embargo el número de pista podrá ser verificado en la indicación TRACK NO..
". Sin embargo el número de pista podrá ser verificado en la indicación TRACK NO..
…La misma pista puede ser programada repetidamente.
…Si usted comete un error en el ingreso del número de pista, presione el botón [CLEAR]. Cada vez que presiona el botón se borra la última pista del programa.
3.Presione el botón de reproducción [¥PLAY] para iniciar la reproducción
programada.
…El programa es mantenido en memoria después de parar la reproducción programada presionando el botón de parada [ª STOP] o cuando haya parado automáticamente al llegar al fin de la misma.
…El presionar el botón de parada [ª STOP] con el modo de parada activado, borra la programación.
…Cuando el tiempo total de reproducción programada es mayor a 159 minutos y 59 segundos aparecerá
…Después de programar la pista no. 25 aparecerá "PGM Full !!" y no será posible programar otras pistas.
…Al presionar el botón [PLAY MODE] con el modo de parada activado, desactiva el modo de reproducción programada y borra el programa de la memoria.
…El modo programado no será cancelado aun cuando la alimentación sea desactivada, y los datos programados permanecerán en la platina.
…Si usted intenta la reproducción programada cuando no hubiera ningún dato programado ingresado, la reproducción normal se iniciará después que "PGM Empty !!" aparezca indicado.
ªVerificación del contenido del programa Con el modo de reproducción o listo de reproducción activado, gire el disco [µTRACK≤] o presione el botón [µ] o [≤] del control remoto para llamar la indicación del contenido del programa.
ªBorrado de una pista programada
Con el modo de parada activado, presione el botón [CLEAR]. Cada presión del botón borra la última pista en el programa.
ªAgregado de una pista al programa
Con el modo de parada activado, gire el disco [µTRACK≤] para seleccionar el número de pista deseado y presione [PUSH ENTER] en el disco.
Es posible agregar una sóla pista desde el control remoto, ingresando el número de pista con los botones numéricos (1 a 9, 0, +10).
…La nueva pista es agregada al fin del programa existente.
Repetición de pista/s (reproducción repetida)
Es posible reproducir repetidamente todas
ouna de las pistas o una porción especificada (entre A - B) de una pista. La reproducción programada y la reproducción aleatoria también pueden ser repetidas.
ªPara repetir todas la pistas del MD
(repetición de todas las pistas)
1.En el modo de parada, presione el botón [PLAY MODE] para seleccionar uno de los siguientes modos de reproducción repetida.
Modo de | Repetición | |
reproducción | ||
| ||
CONTINUE | Repetición normal | |
SHUFFLE MODE | Repetición aleatoria | |
PGM MODE | Repetición programada | |
|
|
2.Presione el botón [REPEAT] del control remote una vez para indicar "REPEAT
ALL".
…" ![]() " se ilumina.
" se ilumina.
3.Presione el botón de reproducción [¥PLAY].
Las pistas serán reproducidas
repetidamente en el modo especificado.
…Para liberar la reproducción REPEAT y retornar a la reproducción normal, presione el botón [REPEAT] repetida- mente hasta que "REPEAT OFF" aparezca.
…El modo de reproducción repetida no será cancelado aun cuando la alimentación sea desactivada.
ESPAÑOL
– 12 – |
|
|
|
| – 101 – | ||
|
|
|
|
|
|
|
|
|
|
|
|
|
|
|
|
|
|
|
|
|
|
|
|