Timer Controlled Operation
By using this unit with an audio timer, tapes can be recorded or played back at any preset time.
Timer Recording | Timer Playback |
Recording a broadcast program |
|
1.Connect this unit and stereo system to a commercially available audio timer.
2.Set the power switches of all components to ON.
3.Load a recordable cassette tape(s) in TAPE I or ll (or both decks for continuous recording).
4.Set the REV MODE switch to the required position.
Ä: SideA
Ë: SideA ∑ SideB
ä: Continuous Recording (TAPE I to TAPE II)
5. Set the TIMER switch to the REC position.
6. Tune to the broadcasting station to be recorded.
7.Press the RECORD button of the deck to be recorded to set the deck to the record- pause mode.
8.Adjust the recording level.
9.Set the DOLBY NR switch as required.
10.Set the tape running direction of TAPE l and/or II.
11.Set the audio timer to the required start (power on) and stop (power off) times. When this setting is completed, the power to all components will be switched off .
When the preset start time is reached, power will be supplied and recording will start automatically.
…By using the timer, continuous recording with cassette tapes loaded in both TAPE I and ll, and the REV MODE switch in the ä position, is possible. For continuous recording, see page 11.
1.Connect this unit and stereo system to a commercially available audio timer.
2.Set the power switches of all components to ON.
3.Load a prerecorded cassette tape in TAPE I or ll (or both decks for continuous playback).
4.Set the REV MODE switch to the required position.
Ä: SideA
Ë: SideA ∑ SideB ∑ Stop
ä: Continuous Playing (TAPE I to TAPE II)
5. Set the TIMER switch to the PLAY position.
6. Set the DOLBY NR switch as desired.
7. Set the tape running direction in which playback is to start for TAPE I and/or ll.
8.Set the audio timer to the required start (power on) and stop (power off) times.
When this setting is completed, the power to all components will be switched off.
When the preset start time is reached, power will be supplied and playback will start automatically.
Notes:
…When cassette tapes are loaded in both decks with the REV MODE switch in either Ä or Ë position, TAPE I will start playback first because it has priority.
…When cassette tapes are loaded in both decks with the REV MODE switch in the ä position, continuous playback is possible. See page 7.
…Be sure to set the TIMER switch to the OFF position after timer operation is completed.
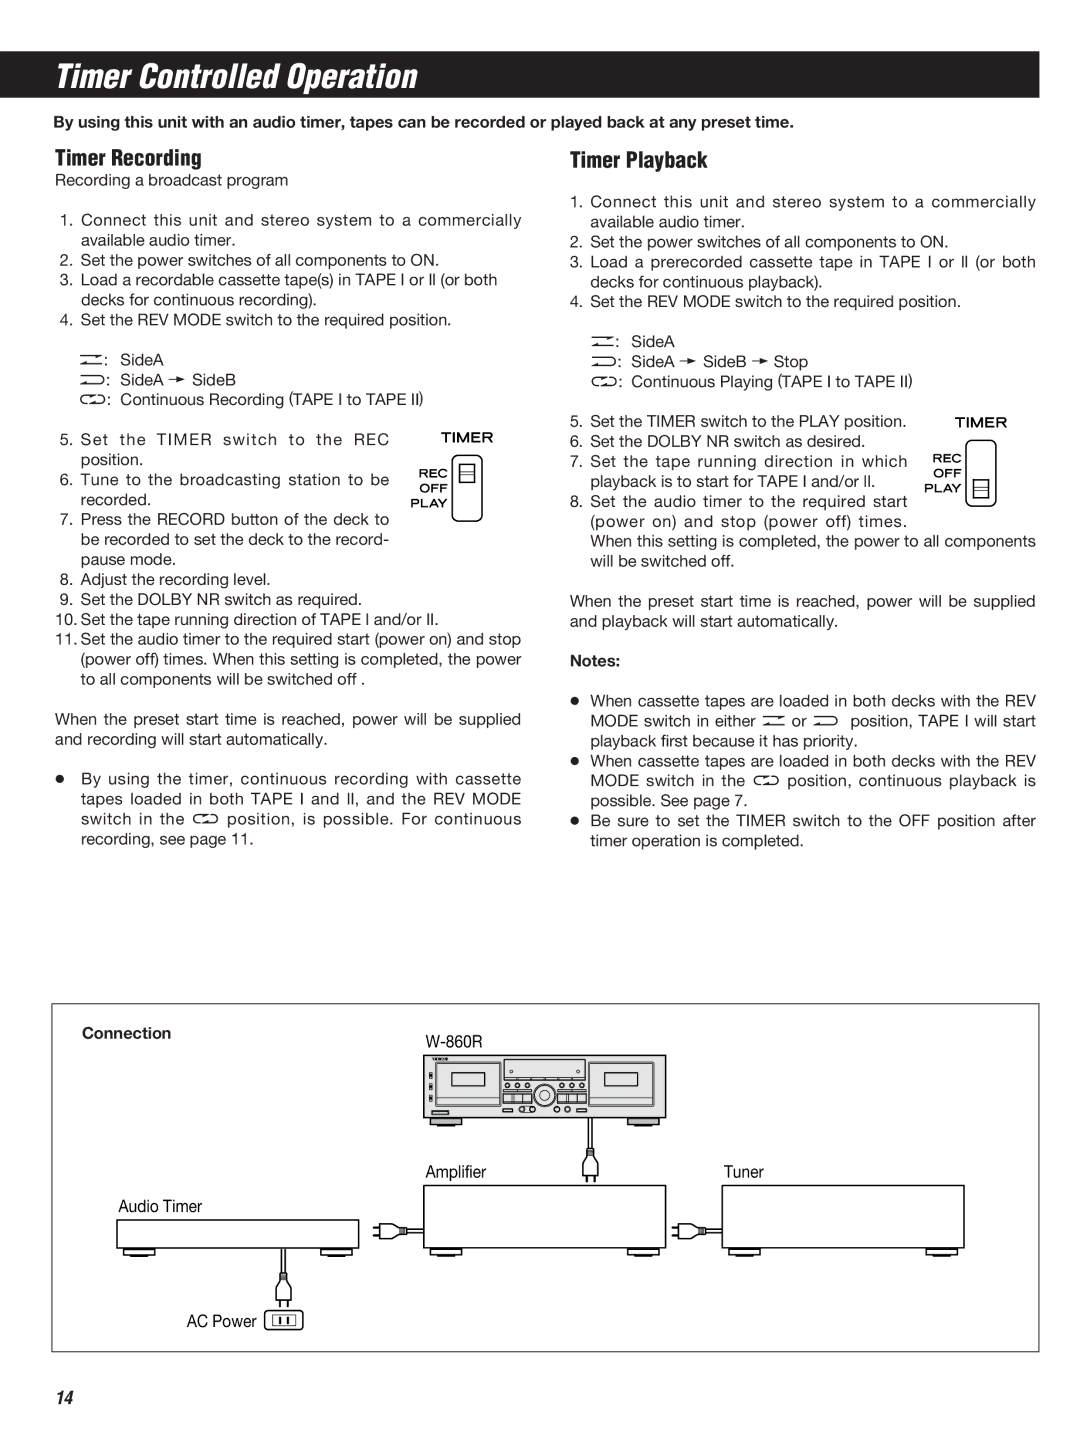
Connection | |
|
Amplifier | Tuner |
Audio Timer
AC Power ![]()
14