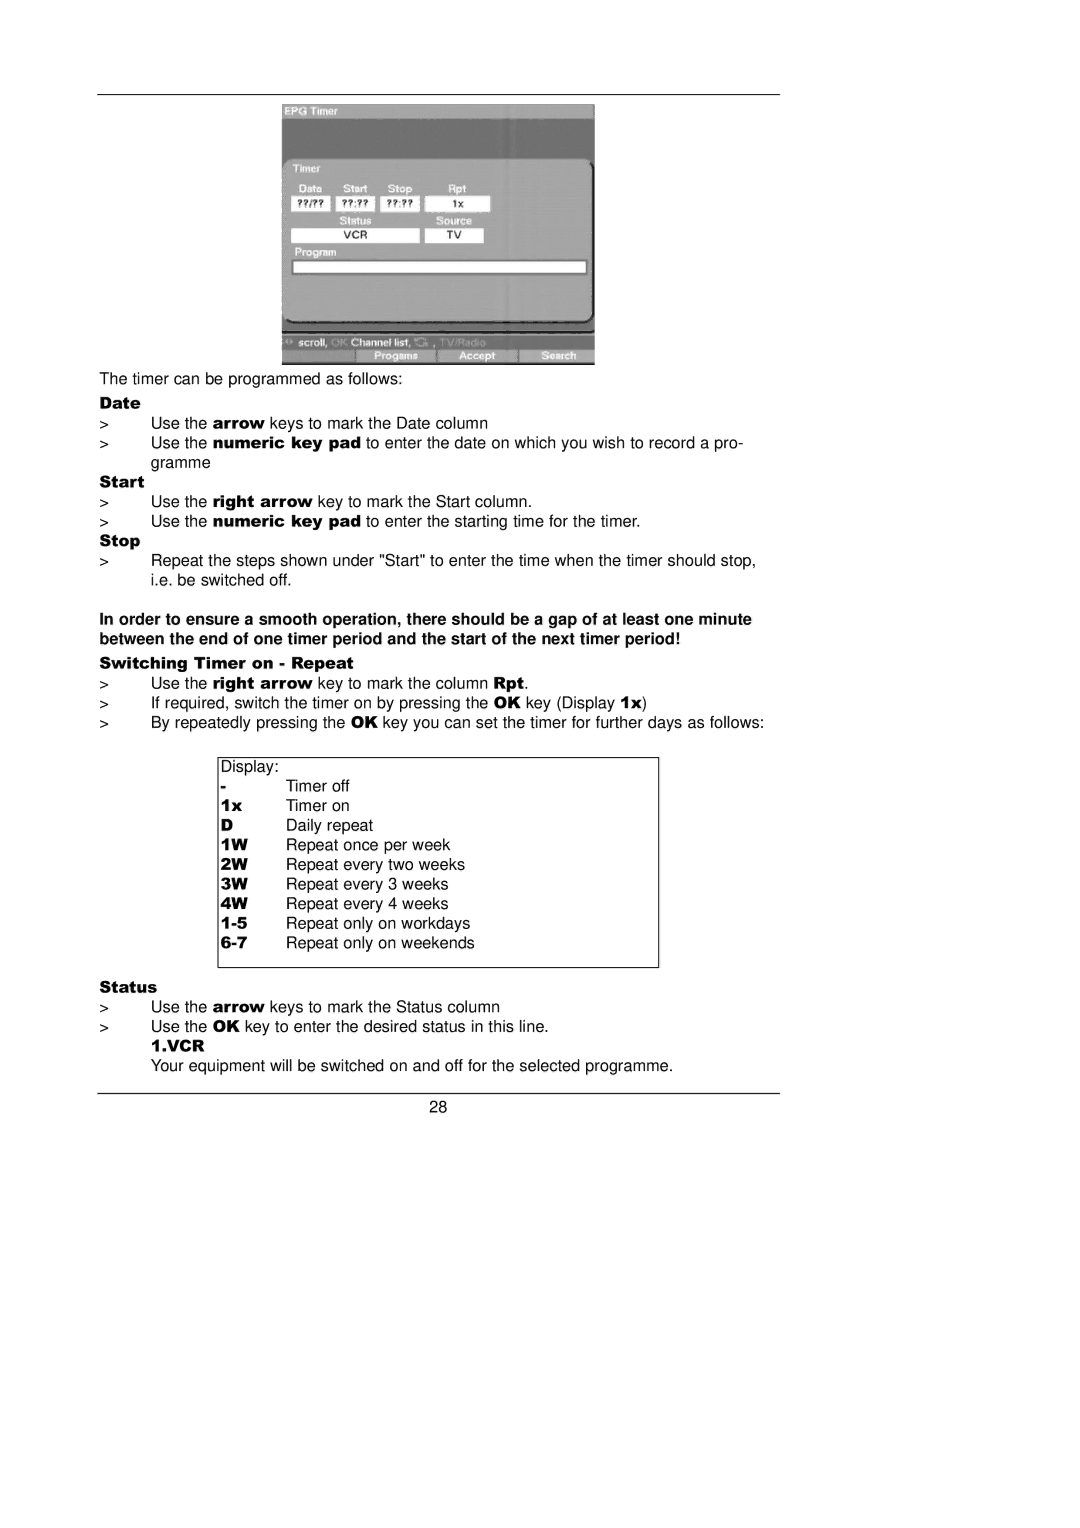
The timer can be programmed as follows:
Date
>Use the arrow keys to mark the Date column
>Use the numeric key pad to enter the date on which you wish to record a pro-
gramme
Start
>Use the right arrow key to mark the Start column.
>Use the numeric key pad to enter the starting time for the timer.
Stop
>Repeat the steps shown under "Start" to enter the time when the timer should stop, i.e. be switched off.
In order to ensure a smooth operation, there should be a gap of at least one minute between the end of one timer period and the start of the next timer period!
Switching Timer on - Repeat
>Use the right arrow key to mark the column Rpt.
>If required, switch the timer on by pressing the OK key (Display 1x)
>By repeatedly pressing the OK key you can set the timer for further days as follows:
Display:
-Timer off
1x | Timer on |
DDaily repeat
1W Repeat once per week
2W Repeat every two weeks
3W Repeat every 3 weeks
4W Repeat every 4 weeks
Status
>Use the arrow keys to mark the Status column
>Use the OK key to enter the desired status in this line.
1.VCR
Your equipment will be switched on and off for the selected programme.
28
