In this way, you can continue to customise the Menu>Settings>LNB until all the informa-
tion in this menu correspond to those of your receiving unit. For those switiching criteria you do not require you should select the setting No Satellite.
5.4.3Additional Settings
Now that the switching matrix of your DVB receiver has been adjusted to conform to your external reception equipment, you should also check on the other settings for your receiving equipment, and adjust the settings where necessary.
>Use the left/right arrow keys to mark the entry Check LNB.
>Using the up/down arrow keys to move around the field Check LNB, select the satellite position
>Confirm by pressing OK.
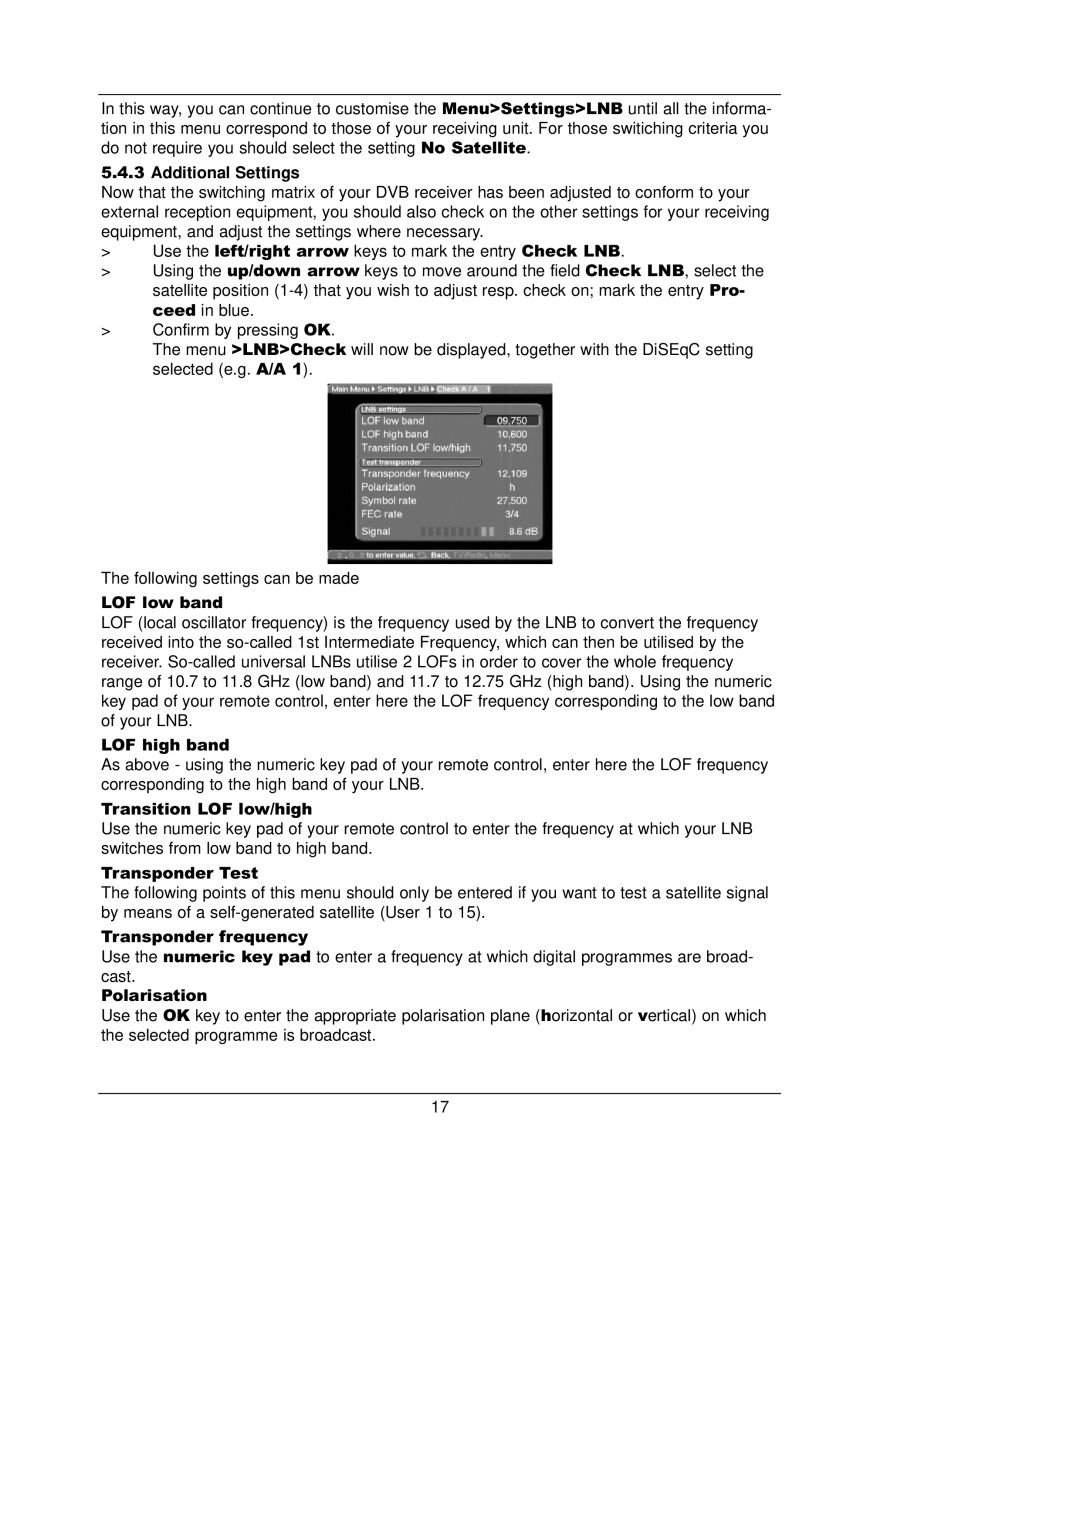
The menu >LNB>Check will now be displayed, together with the DiSEqC setting selected (e.g. A/A 1).
The following settings can be made
LOF low band
LOF (local oscillator frequency) is the frequency used by the LNB to convert the frequency received into the
LOF high band
As above - using the numeric key pad of your remote control, enter here the LOF frequency corresponding to the high band of your LNB.
Transition LOF low/high
Use the numeric key pad of your remote control to enter the frequency at which your LNB switches from low band to high band.
Transponder Test
The following points of this menu should only be entered if you want to test a satellite signal by means of a
Transponder frequency
Use the numeric key pad to enter a frequency at which digital programmes are broad-
cast. Polarisation
Use the OK key to enter the appropriate polarisation plane (horizontal or vertical) on which the selected programme is broadcast.
17