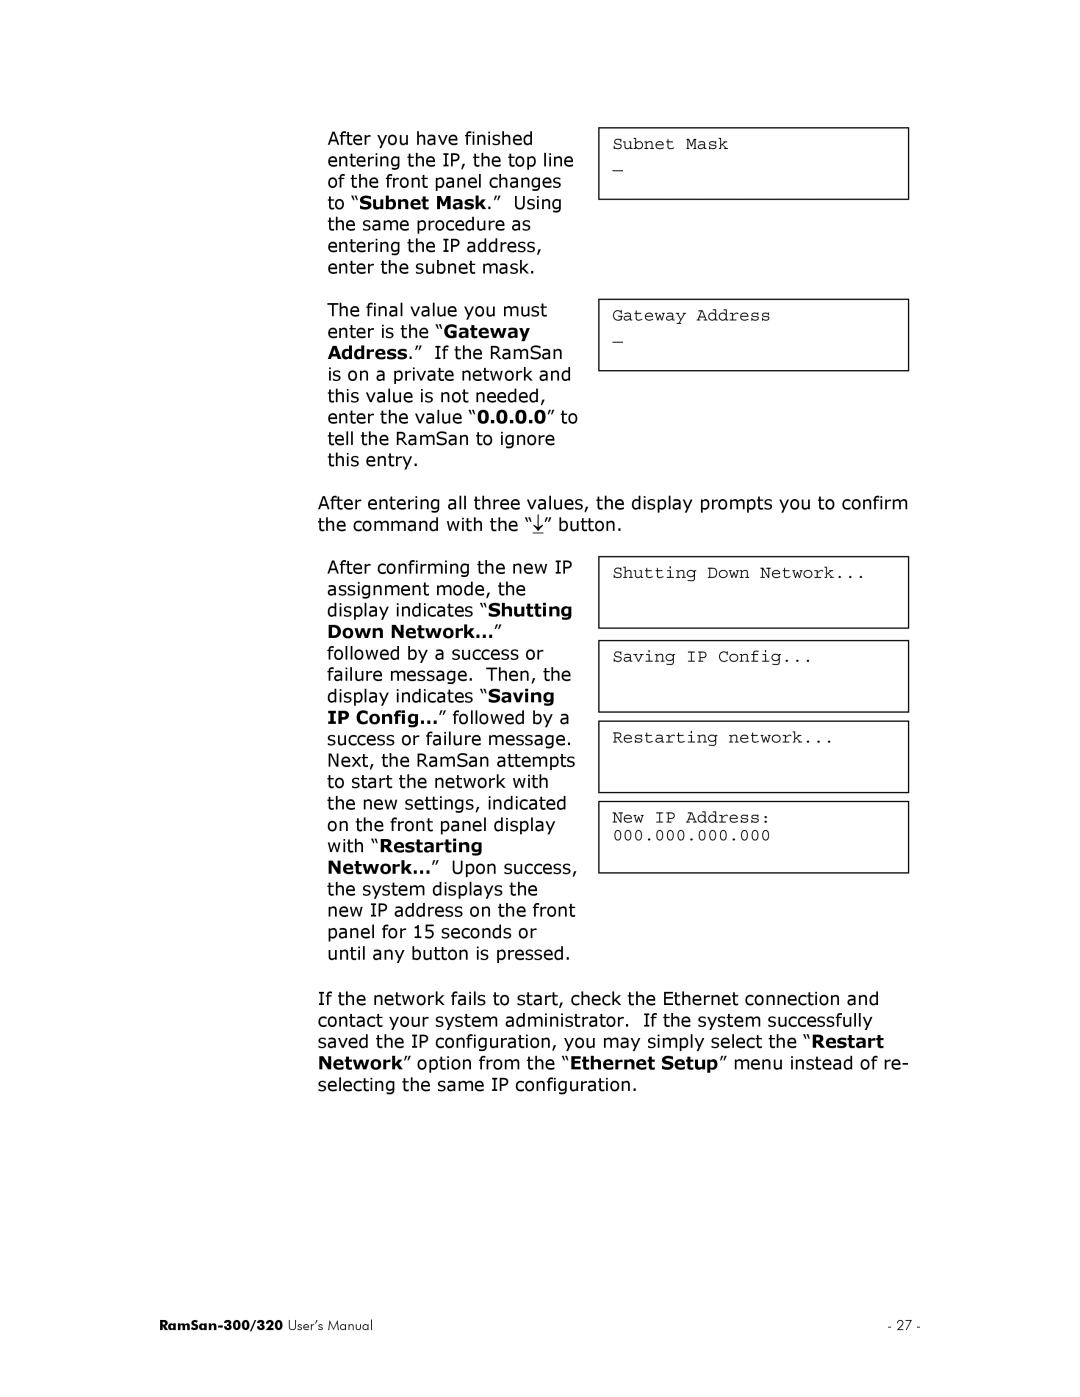
After you have finished entering the IP, the top line of the front panel changes to “Subnet Mask.” Using the same procedure as entering the IP address, enter the subnet mask.
Subnet Mask
_
The final value you must enter is the “Gateway Address.” If the RamSan is on a private network and this value is not needed, enter the value “0.0.0.0” to tell the RamSan to ignore this entry.
Gateway Address
_
After entering all three values, the display prompts you to confirm the command with the “↓” button.
After confirming the new IP assignment mode, the display indicates “Shutting Down Network…” followed by a success or failure message. Then, the display indicates “Saving IP Config…” followed by a success or failure message. Next, the RamSan attempts to start the network with the new settings, indicated on the front panel display with “Restarting Network…” Upon success, the system displays the new IP address on the front panel for 15 seconds or until any button is pressed.
Shutting Down Network...
Saving IP Config...
Restarting network...
New IP Address: 000.000.000.000
If the network fails to start, check the Ethernet connection and contact your system administrator. If the system successfully saved the IP configuration, you may simply select the “Restart Network” option from the “Ethernet Setup” menu instead of re- selecting the same IP configuration.
| - 27 - |