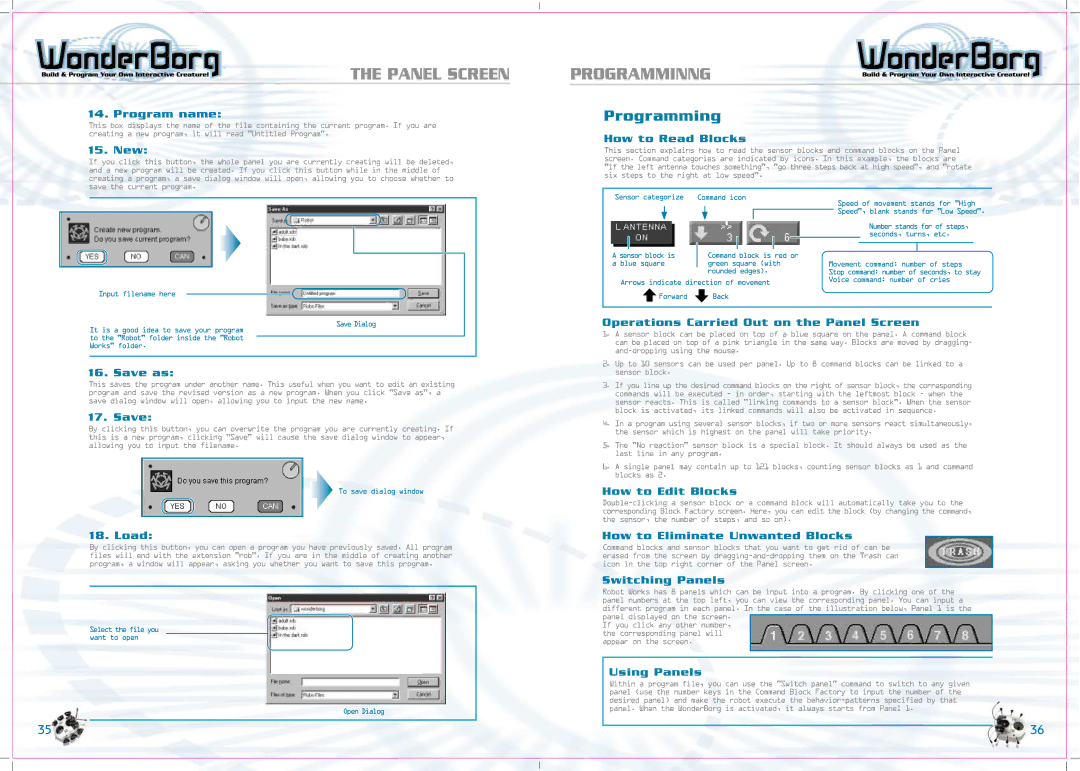
THE PANEL SCREEN
14. Program name:
This box displays the name of the file containing the current program. If you are creating a new program, it will read "Untitled Program".
15. New:
If you click this button, the whole panel you are currently creating will be deleted, and a new program will be created. If you click this button while in the middle of creating a program, a save dialog window will open, allowing you to choose whether to save the current program.
Input filename here
Save Dialog
It is a good idea to save your program to the "Robot" folder inside the "Robot Works" folder.
16. Save as:
This saves the program under another name. This useful when you want to edit an existing program and save the revised version as a new program. When you click "Save as", a save dialog window will open, allowing you to input the new name.
17. Save:
By clicking this button, you can overwrite the program you are currently creating. If this is a new program, clicking "Save" will cause the save dialog window to appear, allowing you to input the filename.
To save dialog window
18. Load:
By clicking this button, you can open a program you have previously saved. All program files will end with the extension "rob". If you are in the middle of creating another program, a window will appear, asking you whether you want to save this program.
Select the file you want to open
Open Dialog
35
PROGRAMMINNG
Programming
How to Read Blocks
This section explains how to read the sensor blocks and command blocks on the Panel screen. Command categories are indicated by icons. In this example, the blocks are "if the left antenna touches something", "go three steps back at high speed", and "rotate six steps to the right at low speed".
Sensor categorize | Command icon |
| Speed of movement stands for "High | ||||||||
|
|
|
|
|
|
|
|
|
| ||
|
|
|
|
|
|
|
|
|
| Speed", blank stands for "Low Speed". | |
|
|
|
|
|
|
|
|
|
|
| Number stands for of steps, |
|
|
|
|
|
|
|
|
|
|
| |
|
|
|
|
|
|
|
|
|
|
| seconds, turns, etc. |
|
|
|
|
|
|
|
|
|
| ||
|
|
|
|
|
|
|
|
| |||
A sensor block is |
| Command block is red or |
|
|
| ||||||
a blue square |
| green square (with | Movement command: number of steps | ||||||||
|
|
|
| rounded edges). | Stop command: number of seconds, to stay | ||||||
Arrows indicate direction of movement | Voice command: number of cries | ||||||||||
|
|
| |||||||||
| Forward |
| Back |
|
|
| |||||
|
|
|
|
|
|
|
|
|
|
|
|
Operations Carried Out on the Panel Screen
1.A sensor block can be placed on top of a blue square on the panel. A command block can be placed on top of a pink triangle in the same way. Blocks are moved by dragging-
2.Up to 10 sensors can be used per panel. Up to 8 command blocks can be linked to a sensor block.
3.If you line up the desired command blocks on the right of sensor block, the corresponding commands will be executed - in order, starting with the leftmost block - when the sensor reacts. This is called "linking commands to a sensor block". When the sensor block is activated, its linked commands will also be activated in sequence.
4.In a program using several sensor blocks, if two or more sensors react simultaneously, the sensor which is highest on the panel will take priority.
5.The "No reaction" sensor block is a special block. It should always be used as the last line in any program.
6.A single panel may contain up to 121 blocks, counting sensor blocks as 1 and command blocks as 2.
How to Edit Blocks
How to Eliminate Unwanted Blocks
Command blocks and sensor blocks that you want to get rid of can be erased from the screen by
Switching Panels
Robot Works has 8 panels which can be input into a program. By clicking one of the panel numbers at the top left, you can view the corresponding panel. You can input a different program in each panel. In the case of the illustration below, Panel 1 is the panel displayed on the screen.
If you click any other number, the corresponding panel will appear on the screen.
Using Panels
Within a program file, you can use the "Switch panel" command to switch to any given panel (use the number keys in the Command Block Factory to input the number of the desired panel) and make the robot execute the
36
