30 | Customizing |
Customizing
This section describes the various setting options of this
1Press the SETTING button in stop mode to display the setup screen.
2Press OK to enter the Setting menu.
3Use the /button to select an option and press OK.
4Press the button or the BACK button to return to the previous menu.
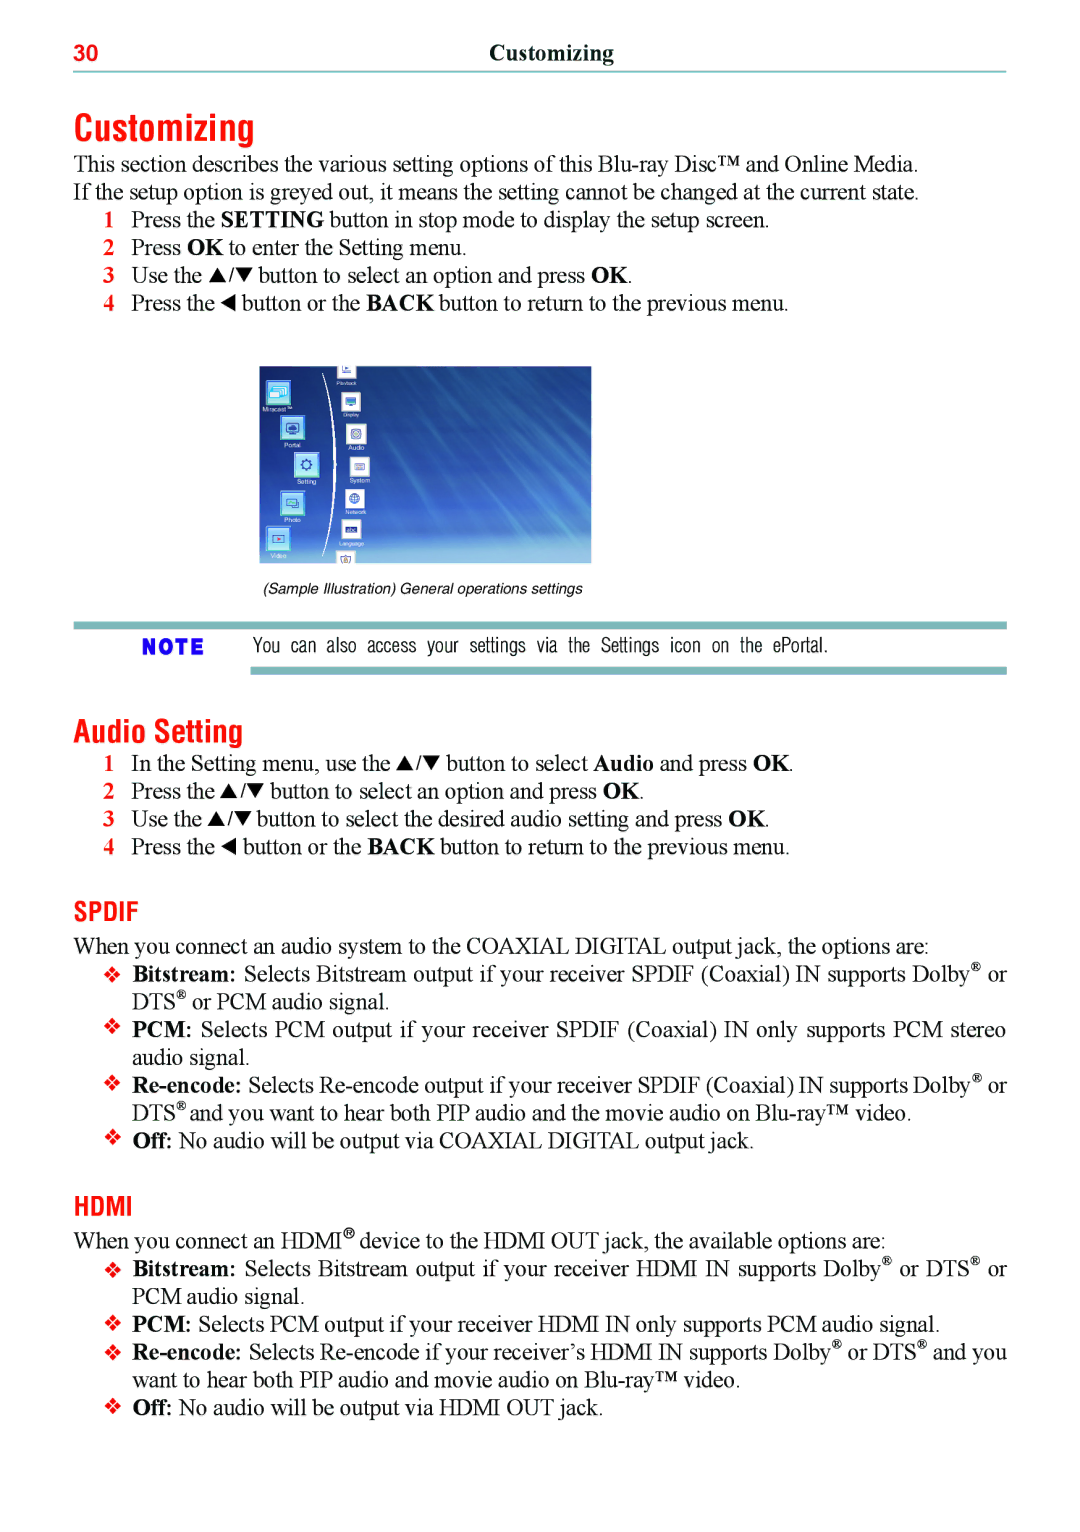
Playback
Miracast
PortalAudio
Setting System
Network
Photo
Language
Video
(Sample Illustration) General operations settings
You can also access your settings via the Settings icon on the ePortal.
Audio Setting
1In the Setting menu, use the / button to select Audio and press OK.
2Press the / button to select an option and press OK.
3Use the /button to select the desired audio setting and press OK.
4Press the button or the BACK button to return to the previous menu.
SPDIF
When you connect an audio system to the COAXIAL DIGITAL output jack, the options are: Bitstream: Selects Bitstream output if your receiver SPDIF (Coaxial) IN supports Dolby® or DTS® or PCM audio signal.
![]() PCM: Selects PCM output if your receiver SPDIF (Coaxial) IN only supports PCM stereo audio signal.
PCM: Selects PCM output if your receiver SPDIF (Coaxial) IN only supports PCM stereo audio signal.
![]()
![]() Off: No audio will be output via COAXIAL DIGITAL output jack.
Off: No audio will be output via COAXIAL DIGITAL output jack.
HDMI
When you connect an HDMI® device to the HDMI OUT jack, the available options are:
Bitstream: Selects Bitstream output if your receiver HDMI IN supports Dolby® or DTS® or PCM audio signal.
PCM: Selects PCM output if your receiver HDMI IN only supports PCM audio signal.
![]() Off: No audio will be output via HDMI OUT jack.
Off: No audio will be output via HDMI OUT jack.