
 Picture projection with the document imaging camera (continued)
CONTENTS | 57 |
Remote control
3 | INPUT |
| ON/STANDBY |
|
| LASER |
|
| KEYSTONE | AUTO | SET |
|
|
VOLUME/ADJUST
3 CAMERA
INPUT
INPUT
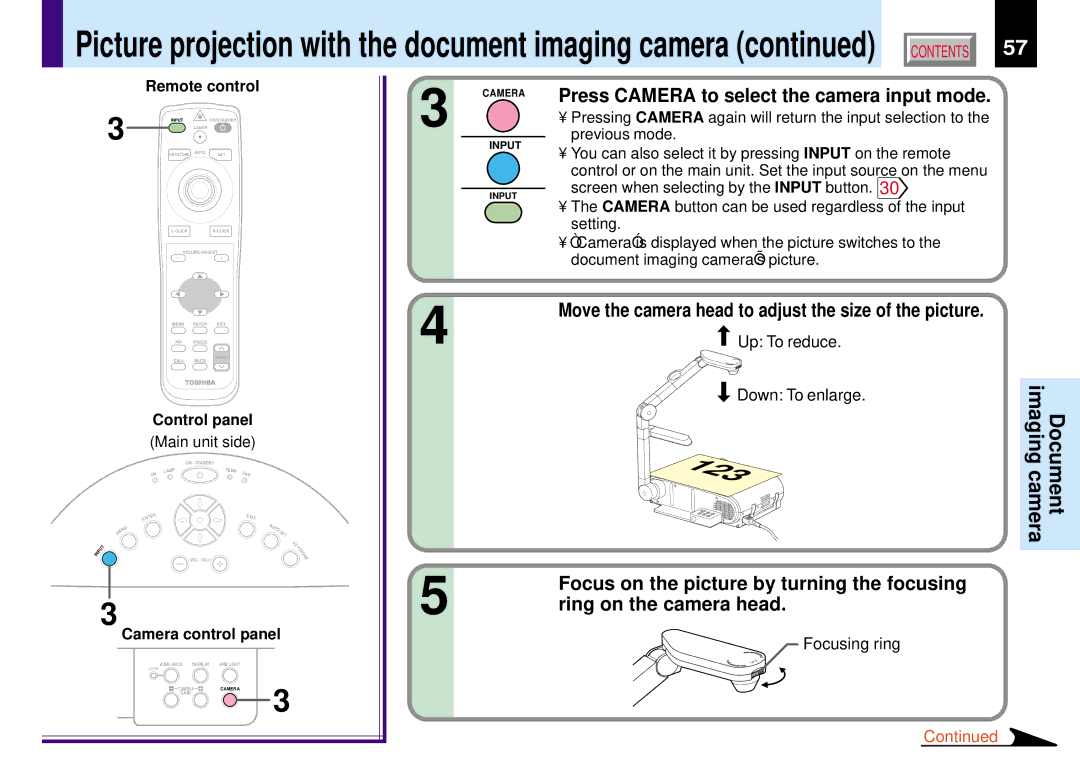
Press CAMERA to select the camera input mode.
•Pressing CAMERA again will return the input selection to the previous mode.
•You can also select it by pressing INPUT on the remote
control or on the main unit. Set the input source on the menu screen when selecting by the INPUT button. 30![]()
•The CAMERA button can be used regardless of the input setting.
•“Camera” is displayed when the picture switches to the document imaging camera’s picture.
MENU ENTER EXIT
PIP FREEZE
RESIZE
CALL MUTE
Control panel (Main unit side)
|
|
|
|
|
|
| ON / STANDBY |
|
|
|
|
|
|
|
|
|
| P |
| T | EMP |
|
|
|
|
|
|
| ON | LAM |
|
| F |
| |
|
|
|
|
|
|
|
|
| AN |
| |
|
|
|
| TE |
|
|
|
| EXI |
| |
|
|
|
| EN | R |
|
|
|
| T |
|
|
|
|
| U |
|
|
|
|
| A |
|
|
|
|
|
|
|
|
|
| UT |
| |
|
|
|
| N |
|
|
|
|
| O | S |
|
|
|
| E |
|
|
|
|
|
| |
|
|
|
| M |
|
|
|
|
|
| ET |
|
|
|
|
|
|
|
|
|
|
| K |
|
|
|
| T |
|
|
|
|
|
| E |
|
|
|
|
|
|
|
|
|
| S | |
|
|
| U |
|
|
|
|
|
|
| Y |
| N | P |
|
|
|
|
|
|
| T | |
I |
|
|
|
|
|
|
|
| O | ||
|
|
|
|
|
|
|
|
| N | ||
|
|
|
|
|
| VOL / ADJ |
|
|
| E | |
|
|
|
|
|
|
|
|
|
|
| |
3
Camera control panel
W.BALANCE OVERLAY | ARM LIGHT |
|
LOCK |
|
|
CAMERA | CAMERA | 3 |
GAIN |
| |
|
|
4 | Move the camera head to adjust the size of the picture. |
|
|
Up: To reduce. | imagingcamera | Document | |
| Down: To enlarge. | ||
|
|
| |
| 123 |
|
|
5 | Focus on the picture by turning the focusing |
|
|
ring on the camera head. |
|
|
![]() Focusing ring
Focusing ring
Continued
