2.2 Easy Installation
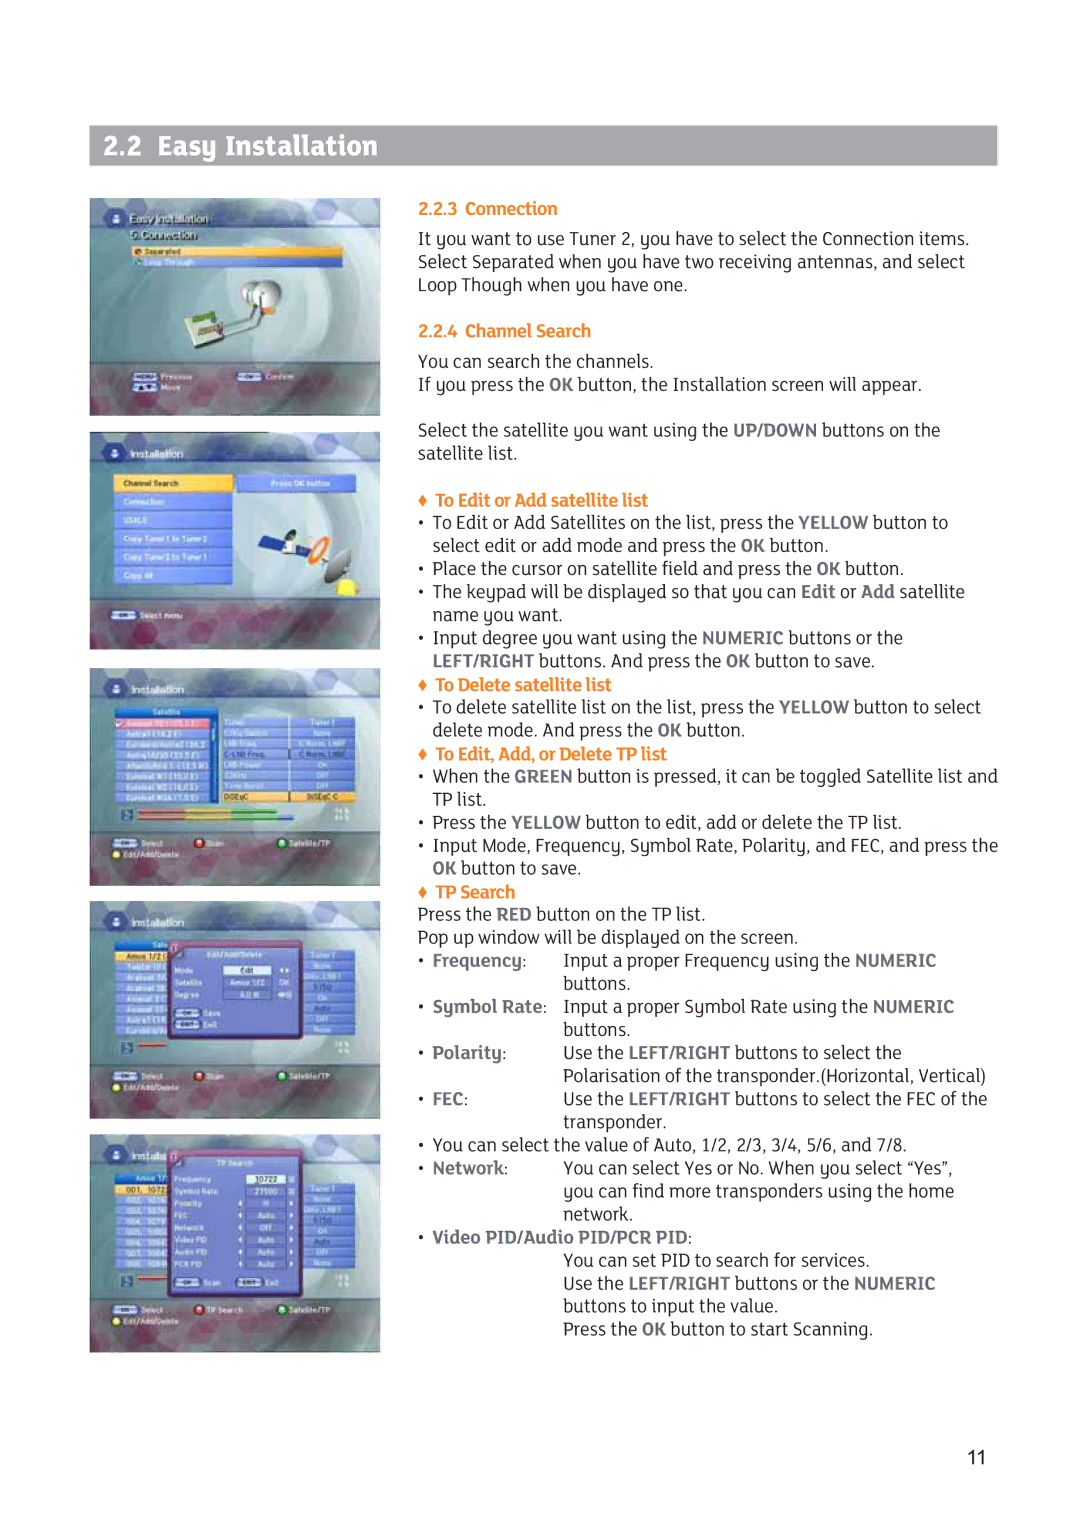
2.2.3 Connection
It you want to use Tuner 2, you have to select the Connection items.
Select Separated when you have two receiving antennas, and select
Loop Though when you have one.
2.2.4 Channel Search
You can search the channels.
If you press the OK button, the Installation screen will appear.
Select the satellite you want using the UP/DOWN buttons on the satellite list.
ƇTo Edit or Add satellite list
•To Edit or Add Satellites on the list, press the YELLOW button to select edit or add mode and press the OK button.
•Place the cursor on satellite field and press the OK button.
•The keypad will be displayed so that you can Edit or Add satellite name you want.
•Input degree you want using the NUMERIC buttons or the LEFT/RIGHT buttons. And press the OK button to save.
ƇTo Delete satellite list
•To delete satellite list on the list, press the YELLOW button to select delete mode. And press the OK button.
ƇTo Edit, Add, or Delete TP list
•When the GREEN button is pressed, it can be toggled Satellite list and TP list.
•Press the YELLOW button to edit, add or delete the TP list.
•Input Mode, Frequency, Symbol Rate, Polarity, and FEC, and press the OK button to save.
ƇTP Search
Press the RED button on the TP list.
Pop up window will be displayed on the screen.
•Frequency: Input a proper Frequency using the NUMERIC buttons.
•Symbol Rate: Input a proper Symbol Rate using the NUMERIC buttons.
•Polarity: Use the LEFT/RIGHT buttons to select the Polarisation of the transponder.(Horizontal, Vertical)
•FEC:Use the LEFT/RIGHT buttons to select the FEC of the transponder.
•You can select the value of Auto, 1/2, 2/3, 3/4, 5/6, and 7/8.
•Network: You can select Yes or No. When you select “Yes”, you can find more transponders using the home network.
•Video PID/Audio PID/PCR PID:
You can set PID to search for services.
Use the LEFT/RIGHT buttons or the NUMERIC buttons to input the value.
Press the OK button to start Scanning.
11