Menu Operations
4.Installation
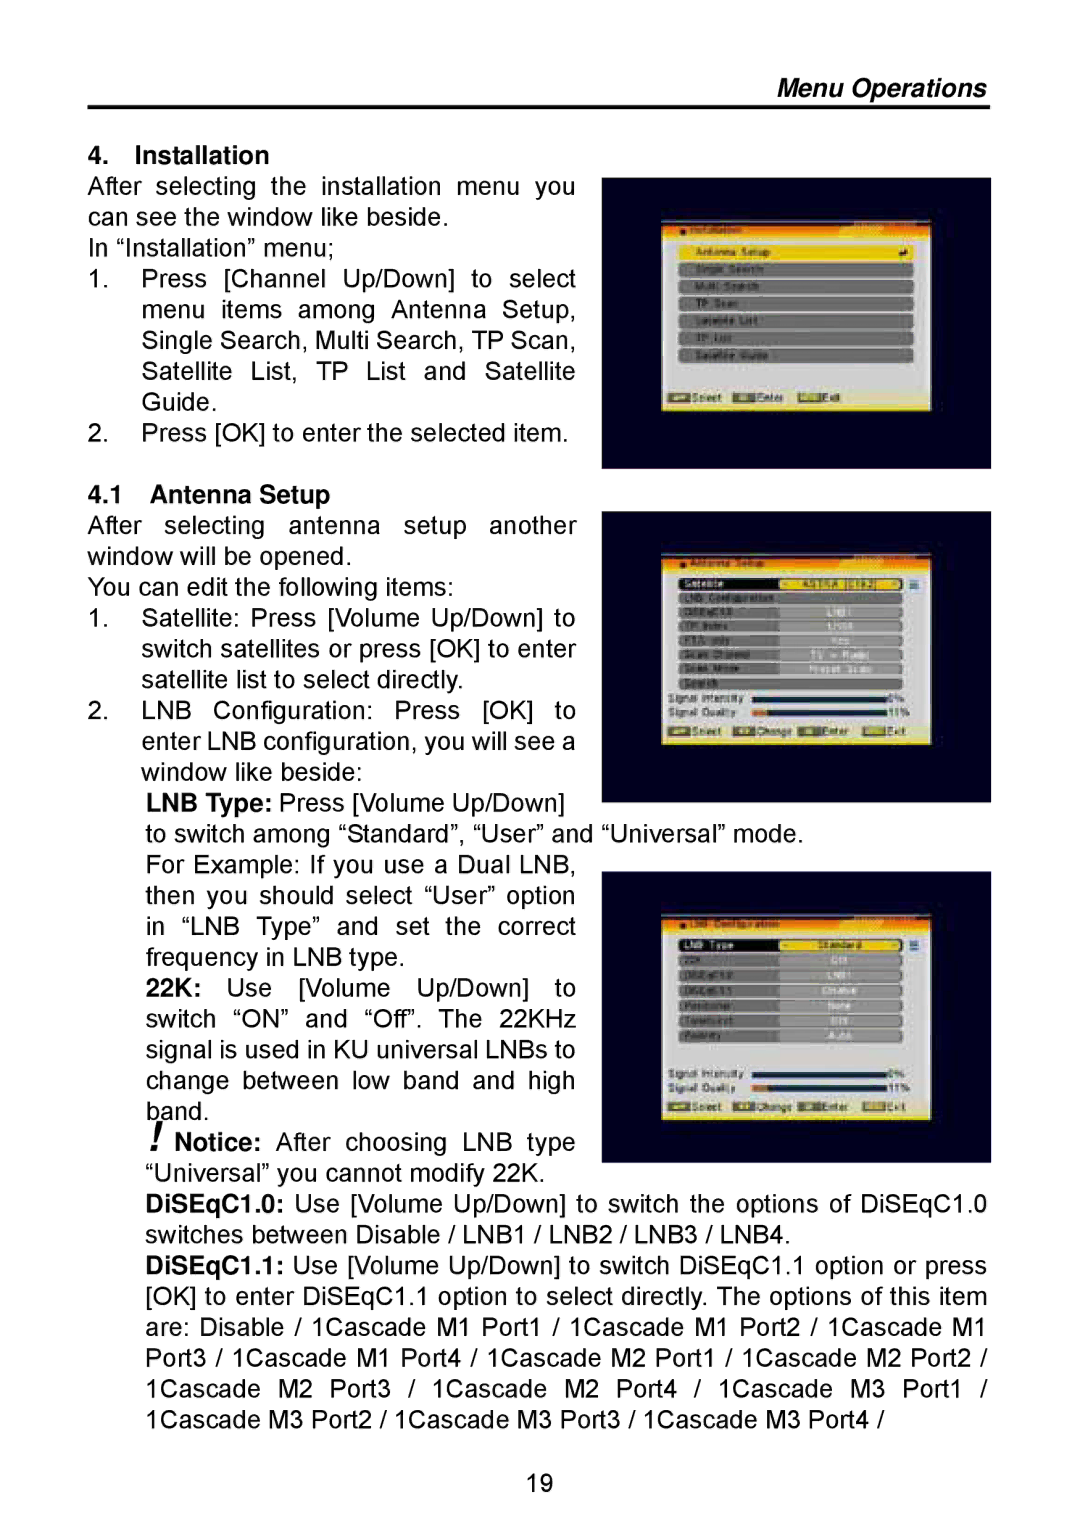
After selecting the installation menu you can see the window like beside.
In “Installation” menu;
1.Press [Channel Up/Down] to select menu items among Antenna Setup, Single Search, Multi Search, TP Scan, Satellite List, TP List and Satellite Guide.
2.Press [OK] to enter the selected item.
4.1Antenna Setup
After selecting antenna setup another window will be opened.
You can edit the following items:
1.Satellite: Press [Volume Up/Down] to switch satellites or press [OK] to enter satellite list to select directly.
2.LNB Configuration: Press [OK] to enter LNB configuration, you will see a window like beside:
LNB Type: Press [Volume Up/Down]
to switch among “Standard”, “User” and “Universal” mode. For Example: If you use a Dual LNB,
then you should select “User” option in “LNB Type” and set the correct frequency in LNB type.
22K: Use [Volume Up/Down] to switch “ON” and “Off”. The 22KHz signal is used in KU universal LNBs to change between low band and high band.
!Notice: After choosing LNB type
“Universal” you cannot modify 22K.
DiSEqC1.0: Use [Volume Up/Down] to switch the options of DiSEqC1.0 switches between Disable / LNB1 / LNB2 / LNB3 / LNB4.
DiSEqC1.1: Use [Volume Up/Down] to switch DiSEqC1.1 option or press [OK] to enter DiSEqC1.1 option to select directly. The options of this item are: Disable / 1Cascade M1 Port1 / 1Cascade M1 Port2 / 1Cascade M1 Port3 / 1Cascade M1 Port4 / 1Cascade M2 Port1 / 1Cascade M2 Port2 / 1Cascade M2 Port3 / 1Cascade M2 Port4 / 1Cascade M3 Port1 / 1Cascade M3 Port2 / 1Cascade M3 Port3 / 1Cascade M3 Port4 /
19