Installation
Rackmount Warnings
•Before working on the rack, make sure that the stabilizers are secured to the rack, extended to the floor, and that the full weight of the rack rests on the floor. Install front and side stabilizers on a single rack or front stabilizers for joined multiple racks before working on the rack.
•Always load the rack from the bottom up, and load the heaviest item in the rack first.
•Make sure that the rack is level and stable before extending a device from the rack.
•Use caution when pressing the device rail release latches and sliding a device into or out of a rack; the slide rails can pinch your fingers.
•After a device is inserted into the rack, carefully extend the rail into a locking position, and then slide the device into the rack.
•Do not overload the AC supply branch circuit that provides power to the rack. The total rack load should not exceed 80 percent of the branch circuit rating.
•Make sure that all equipment used on the rack, including power strips and other electrical connectors, is properly grounded.
•Ensure that proper airflow is provided for devices in the rack.
•Ensure that the operating ambient temperature of the rack environment does not exceed the maximum ambient temperature specified for the equipment by the manufacturer.
•Do not step on or stand on any device when servicing other devices in the rack.
Stacking
The KVM switch can be placed on any level surface that can safely support its weight plus the weight of attached cables. When placing the KVM switch on a desktop, remove the backing material from the rubber feet that came with this package and affix them to the switch’s bottom panel at the corners. Note: To ensure adequate ventilation, allow at least 5 cm on each side, and 13 cm at the back for power cord and cable clearance.
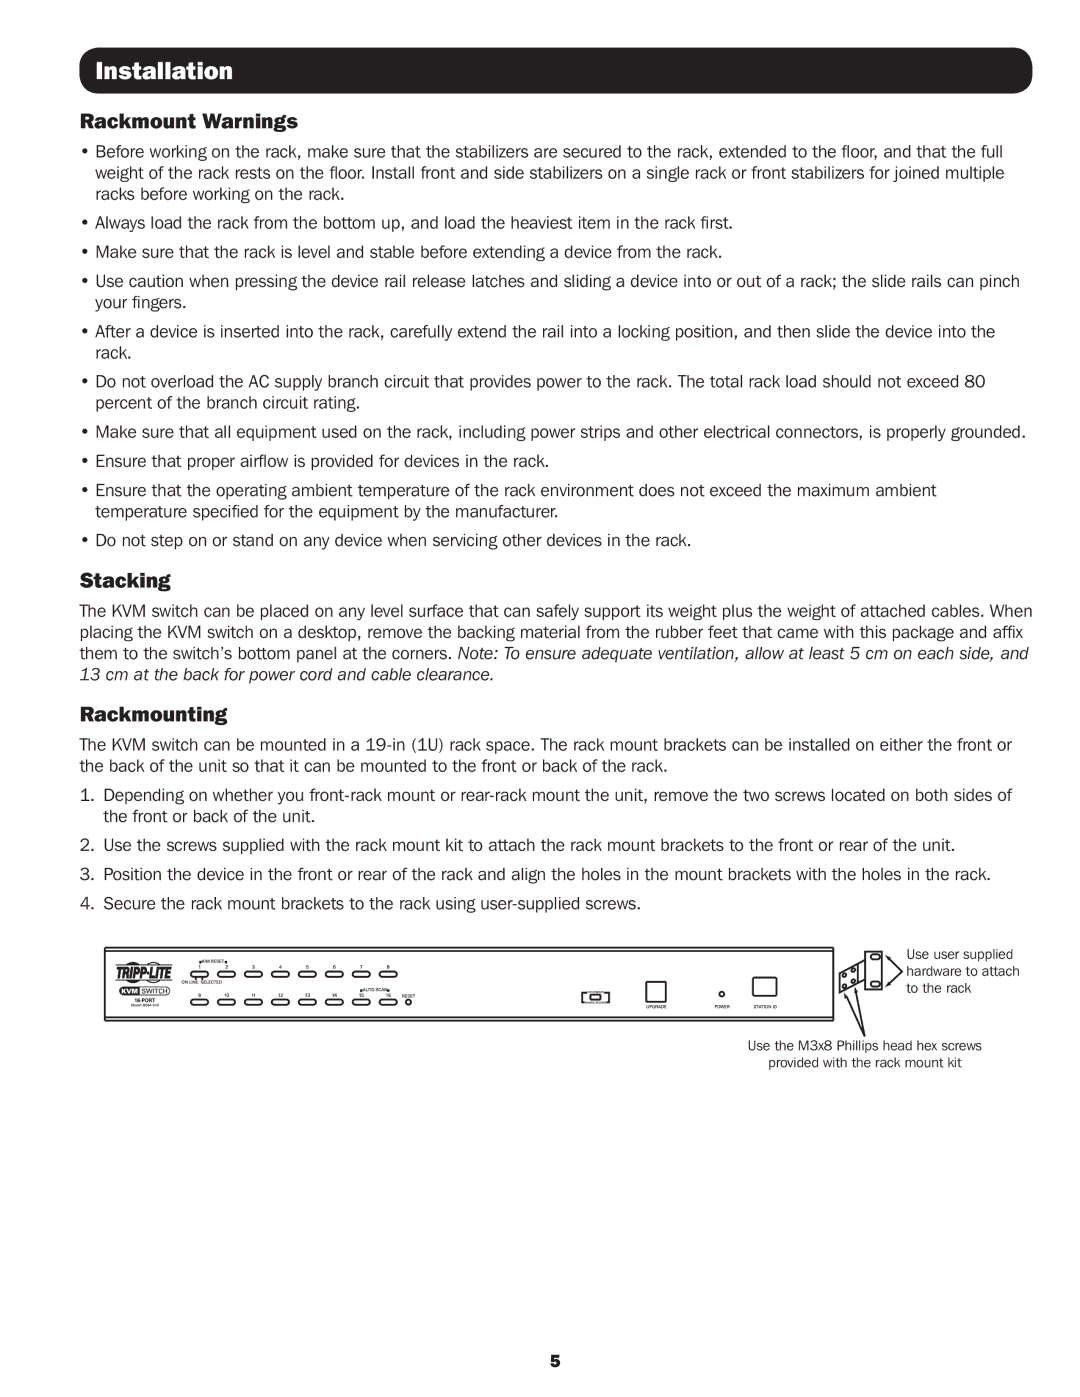
Rackmounting
The KVM switch can be mounted in a
1.Depending on whether you
2.Use the screws supplied with the rack mount kit to attach the rack mount brackets to the front or rear of the unit.
3.Position the device in the front or rear of the rack and align the holes in the mount brackets with the holes in the rack.
4.Secure the rack mount brackets to the rack using
Use user supplied hardware to attach to the rack
Use the M3x8 Phillips head hex screws
provided with the rack mount kit
5