Section 4: Operation
Starting the engine
1.Review the
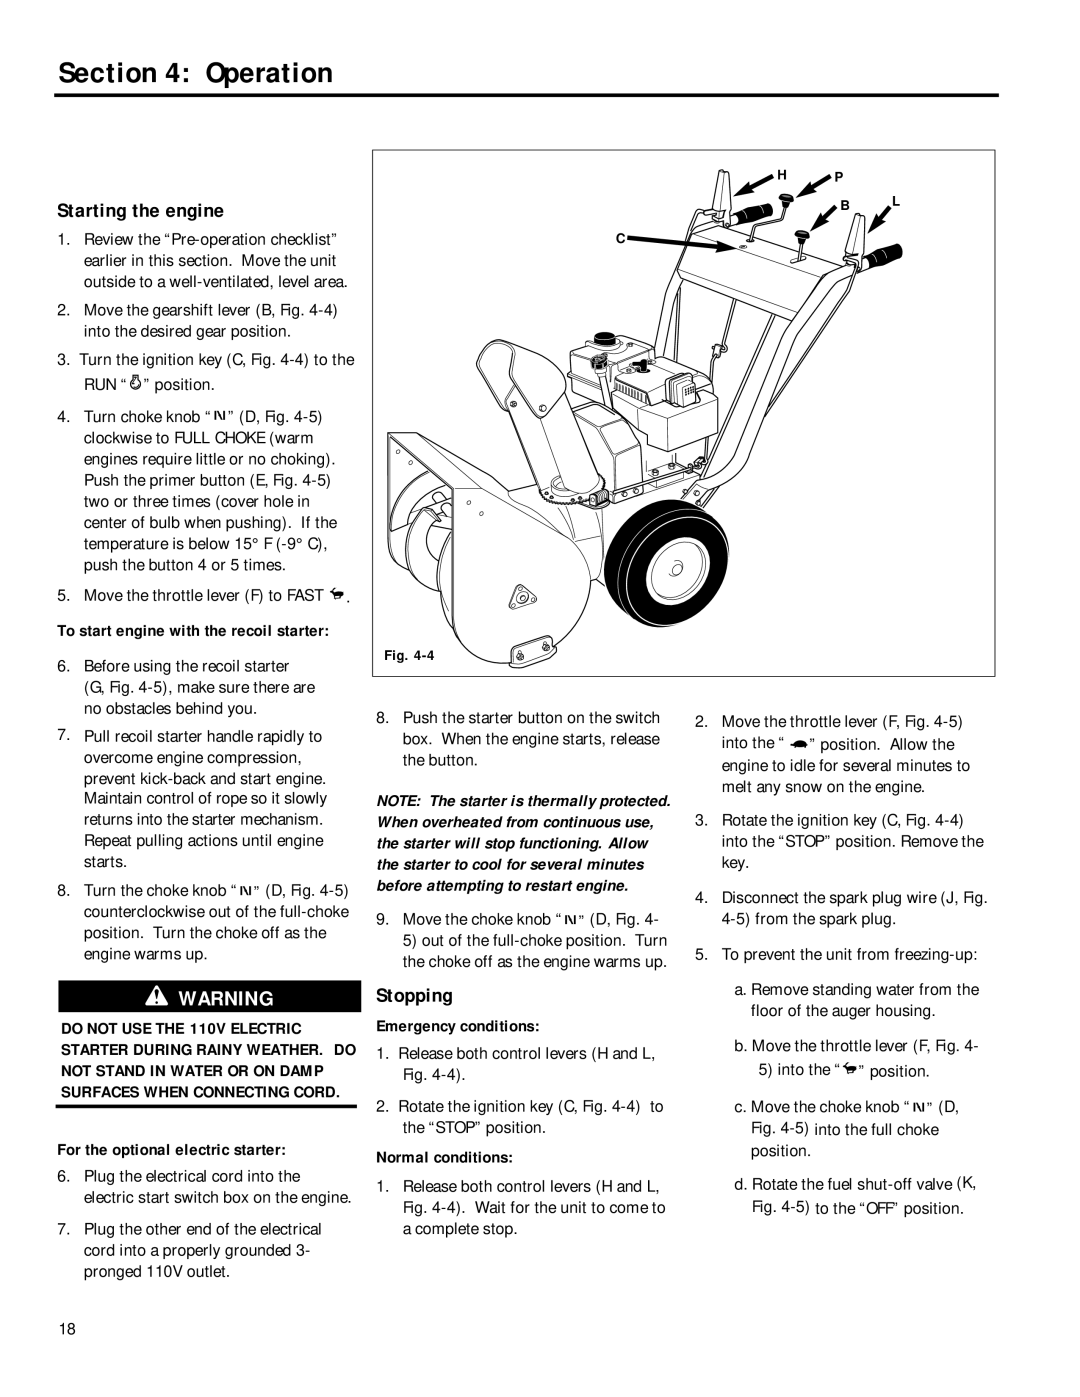
2.Move the gearshift lever (B, Fig.
3.Turn the ignition key (C, Fig. 4-4) to the RUN “  ” position.
4.Turn choke knob “ ![]()
![]()
![]() ” (D, Fig.
” (D, Fig.
5.Move the throttle lever (F) to FAST ![]() .
.
To start engine with the recoil starter:
6. Before using the recoil starter |
(G, Fig. |
no obstacles behind you. |
H | P |
|
| B | L |
C |
|
|
Fig. |
|
|
7. Pull recoil starter handle rapidly to |
overcome engine compression, |
prevent |
Maintain control of rope so it slowly |
returns into the starter mechanism. |
Repeat pulling actions until engine |
starts. |
8. Turn the choke knob “ ” (D, Fig. |
counterclockwise out of the |
position. Turn the choke off as the |
engine warms up. |
WARNING
DO NOT USE THE 110V ELECTRIC STARTER DURING RAINY WEATHER. DO NOT STAND IN WATER OR ON DAMP SURFACES WHEN CONNECTING CORD.
For the optional electric starter:
6.Plug the electrical cord into the electric start switch box on the engine.
7.Plug the other end of the electrical cord into a properly grounded 3- pronged 110V outlet.
8.Push the starter button on the switch box. When the engine starts, release the button.
NOTE: The starter is thermally protected. When overheated from continuous use, the starter will stop functioning. Allow the starter to cool for several minutes before attempting to restart engine.
9.Move the choke knob “ ![]()
![]()
![]() ” (D, Fig. 4- 5) out of the
” (D, Fig. 4- 5) out of the
Stopping
Emergency conditions:
1.Release both control levers (H and L, Fig.
2.Rotate the ignition key (C, Fig.
Normal conditions:
1.Release both control levers (H and L, Fig.
2.Move the throttle lever (F, Fig. ![]() ” position. Allow the engine to idle for several minutes to melt any snow on the engine.
” position. Allow the engine to idle for several minutes to melt any snow on the engine.
3.Rotate the ignition key (C, Fig.
4.Disconnect the spark plug wire (J, Fig.
5.To prevent the unit from
a.Remove standing water from the floor of the auger housing.
b.Move the throttle lever (F, Fig. 4-
5)into the “ ![]() ” position.
” position.
c.Move the choke knob “ ![]()
![]()
![]() ” (D, Fig.
” (D, Fig.
d.Rotate the fuel
18
