O W N E R ' S M A N U A L • T 1 0
POWER CORD AND GROUNDING
INSTRUCTIONS
Plug the socket end of the power cord into the treadmill at the left front corner. Before connecting the device to a power source, make sure that local voltage matches that indicated on the type plate. The treadmill operates at 110 V or 230 V.
This treadmill must be grounded. If it should malfunction or breakdown, grounding provides a path of least resistance for electrical current to reduce the risk of electrical shock. This product is equipped with a cord having an
DANGER! Improper connection of the equipment- grounding conductor can result in a risk of electric shock. Check with a qualified electrician or serviceman, if you are in doubt as to whether the product is properly grounded. Do not modify the plug provided with the product - if it will not fit the outlet, have a proper outlet installed by a qualified electrician.
SAFETY TETHER KEY
The treadmill cannot be used if the tether key is not properly installed on the console; if the key is removed from its place, the treadmill will immediately stop. Place the safety tether key in its place on the console. Ensure that the clip of the safety tether key is properly attached to your clothing; as the cord tightens, make sure the clip does not detach itself from your clothing before the safety tether key disconnects from the console.
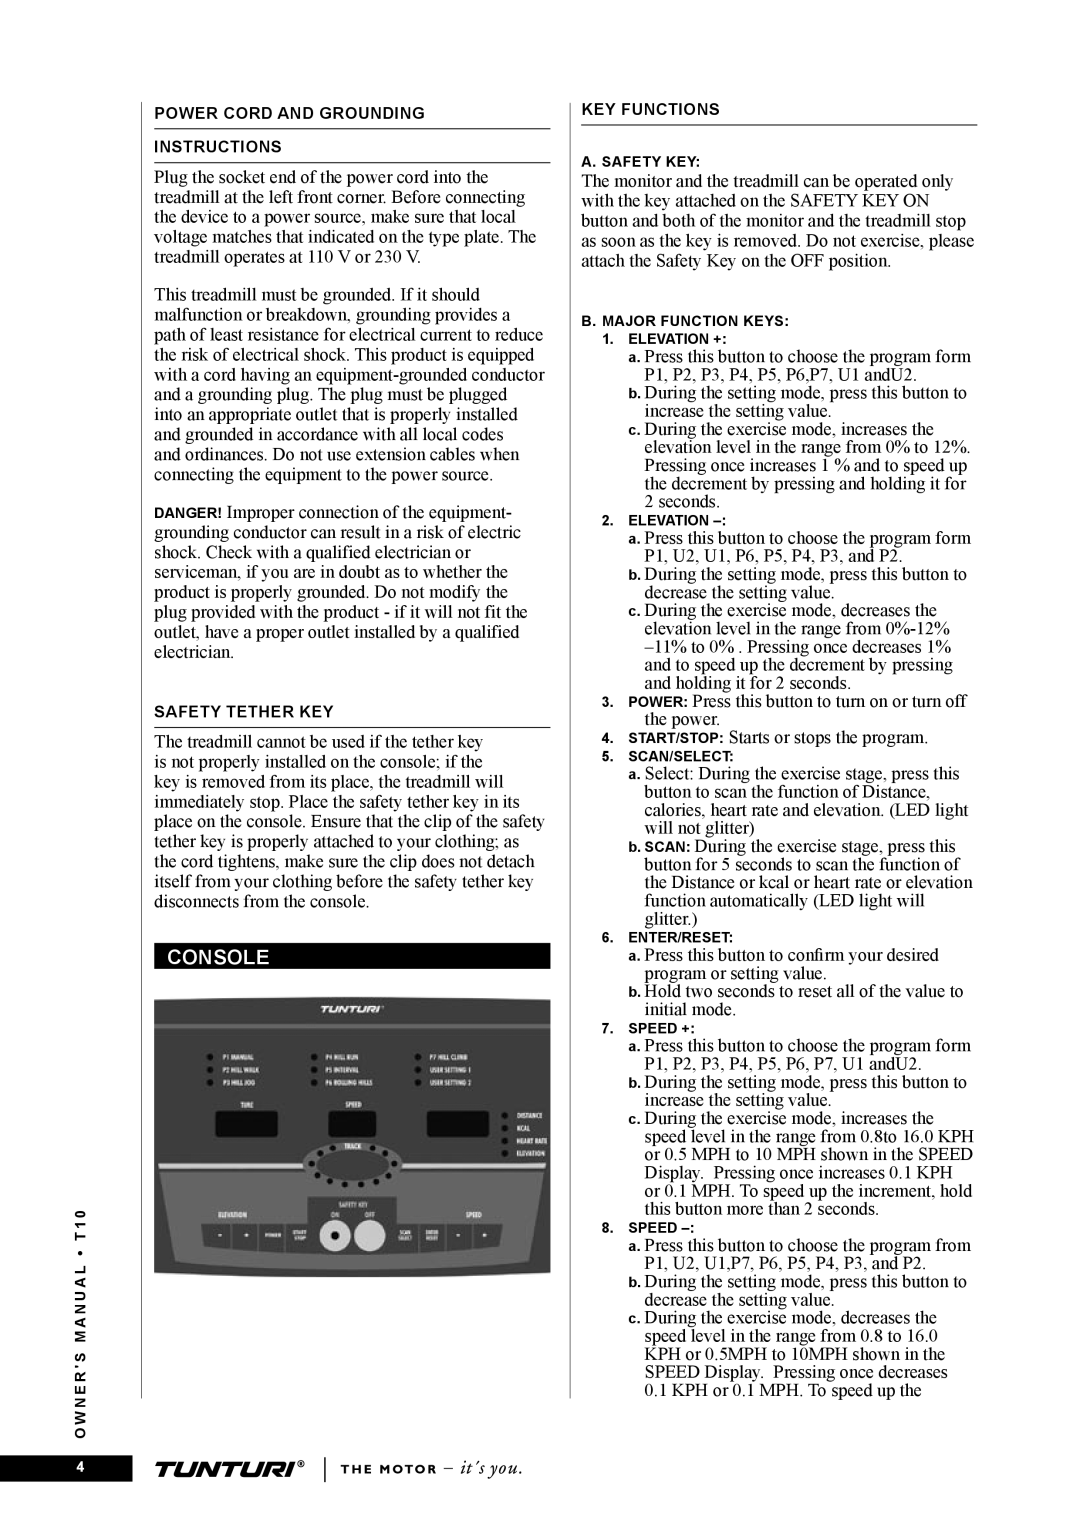
CONSOLE
KEY FUNCTIONS
A. SAFETY KEY:
The monitor and the treadmill can be operated only with the key attached on the SAFETY KEY ON button and both of the monitor and the treadmill stop as soon as the key is removed. Do not exercise, please attach the Safety Key on the OFF position.
B. MAJOR FUNCTION KEYS:
1. ELEVATION +:
a. Press this button to choose the program form P1, P2, P3, P4, P5, P6,P7, U1 andU2.
b. During the setting mode, press this button to increase the setting value.
c. During the exercise mode, increases the elevation level in the range from 0% to 12%. Pressing once increases 1 % and to speed up the decrement by pressing and holding it for 2 seconds.
2. ELEVATION
a. Press this button to choose the program form P1, U2, U1, P6, P5, P4, P3, and P2.
b. During the setting mode, press this button to decrease the setting value.
c. During the exercise mode, decreases the elevation level in the range from
3. POWER: Press this button to turn on or turn off the power.
4.START/STOP:
5.SCAN/SELECT:
a.Select: During the exercise stage, press this button to scan the function of Distance, calories, heart rate and elevation. (LED light will not glitter)
b.SCAN: During the exercise stage, press this button for 5 seconds to scan the function of the Distance or kcal or heart rate or elevation function automatically (LED light will glitter.)
6.ENTER/RESET:
a.Press this button to confirm your desired program or setting value.
b.Hold two seconds to reset all of the value to initial mode.
7.SPEED +:
a.Press this button to choose the program form P1, P2, P3, P4, P5, P6, P7, U1 andU2.
b.During the setting mode, press this button to increase the setting value.
c.During the exercise mode, increases the speed level in the range from 0.8to 16.0 KPH or 0.5 MPH to 10 MPH shown in the SPEED Display. Pressing once increases 0.1 KPH or 0.1 MPH. To speed up the increment, hold this button more than 2 seconds.
8.SPEED
a.Press this button to choose the program from P1, U2, U1,P7, P6, P5, P4, P3, and P2.
b.During the setting mode, press this button to decrease the setting value.
c.During the exercise mode, decreases the speed level in the range from 0.8 to 16.0 KPH or 0.5MPH to 10MPH shown in the SPEED Display. Pressing once decreases 0.1 KPH or 0.1 MPH. To speed up theStarts or stops the program.
4