Programming and Receiving
Trunked Systems
Programming Trunking Frequencies
The first step in tracking a trunked system is storing the frequencies in one of the 10 available banks in your scanner. Remember that you can only store one trunking system in each bank.
Important: If you are programming an EDACS or LTR trunked system, you must enter the frequencies in a specific order. Check the frequency guide included with the scanner for the frequencies in your area.
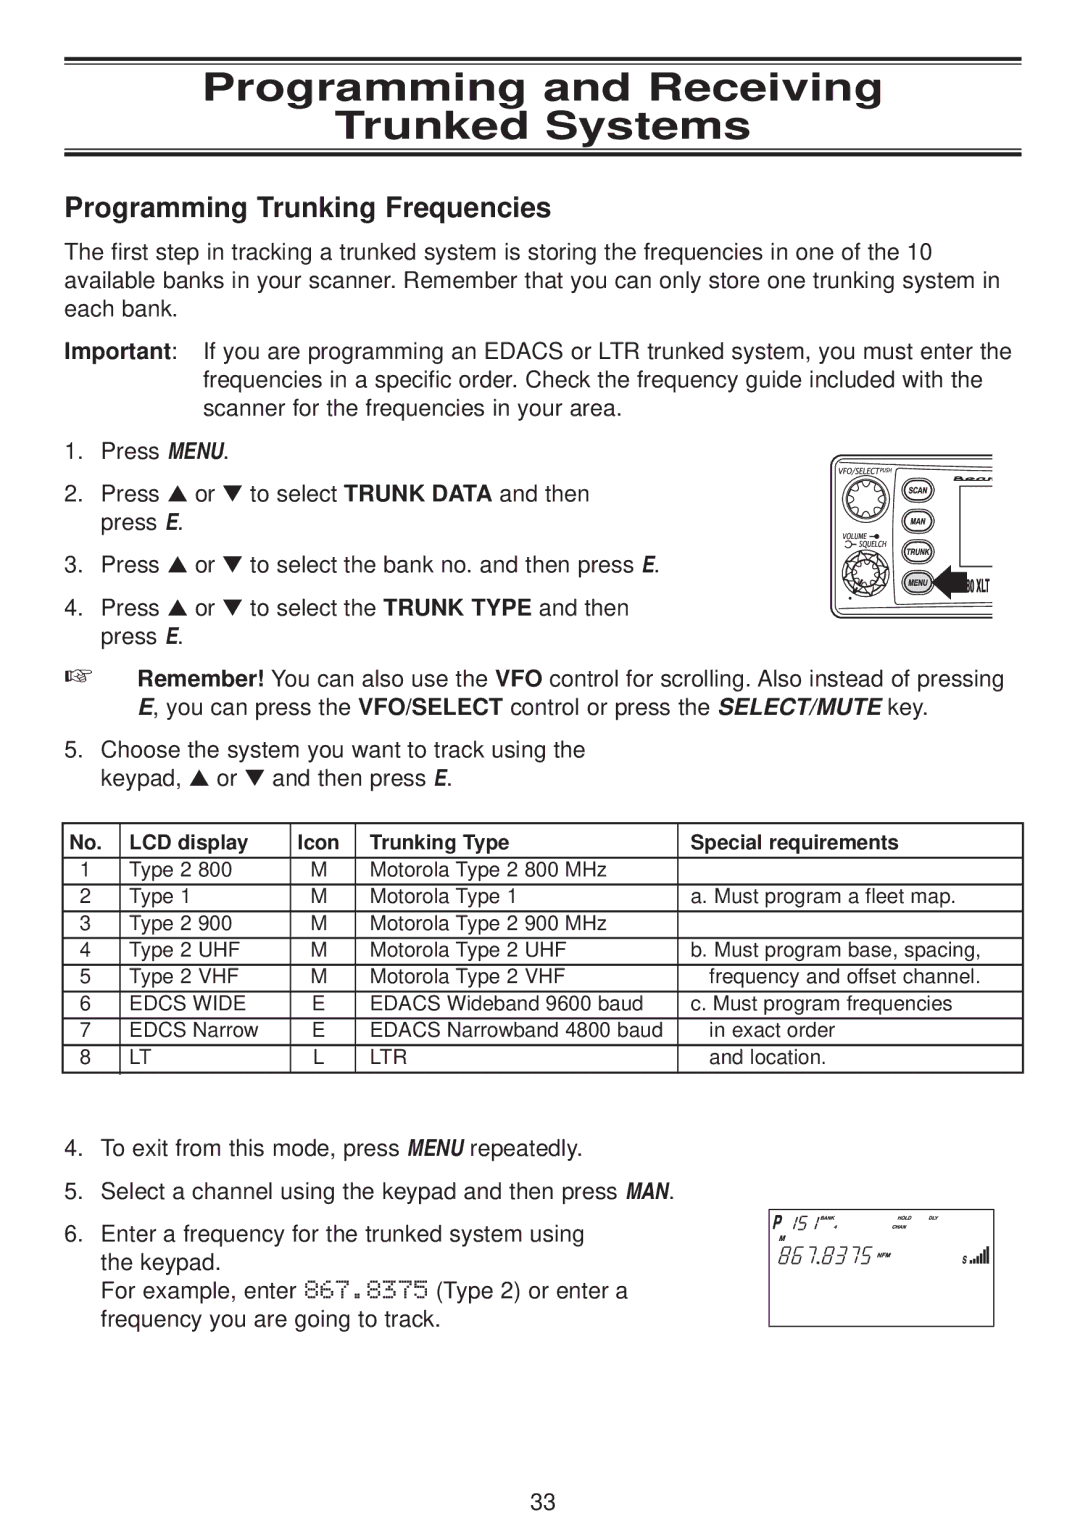
1. Press MENU.
2. Press ▲ or ▼ to select TRUNK DATA and then press E.
3. Press ▲ or ▼ to select the bank no. and then press E.
4.Press ▲ or ▼ to select the TRUNK TYPE and then press E.
☞Remember! You can also use the VFO control for scrolling. Also instead of pressing E, you can press the VFO/SELECT control or press the SELECT/MUTE key.
5.Choose the system you want to track using the keypad, ▲ or ▼ and then press E.
No. | LCD display | Icon | Trunking Type | Special requirements |
1 | Type 2 800 | M | Motorola Type 2 800 MHz |
|
2 | Type 1 | M | Motorola Type 1 | a. Must program a fleet map. |
3 | Type 2 900 | M | Motorola Type 2 900 MHz |
|
4 | Type 2 UHF | M | Motorola Type 2 UHF | b. Must program base, spacing, |
5 | Type 2 VHF | M | Motorola Type 2 VHF | frequency and offset channel. |
6 | EDCS WIDE | E | EDACS Wideband 9600 baud | c. Must program frequencies |
7 | EDCS Narrow | E | EDACS Narrowband 4800 baud | in exact order |
8 | LT | L | LTR | and location. |
4.To exit from this mode, press MENU repeatedly.
5.Select a channel using the keypad and then press MAN.
6. Enter a frequency for the trunked system using the keypad.
For example, enter 867.8375 (Type 2) or enter a frequency you are going to track.
33
