Setting Priority in Trunking Mode
You can set priority in your trunking lists, just as you do in your conventional ones. You can set the priority by pressing and holding PRI for 2 seconds. After you’ve set up your Scan List, press PRI to activate it.
It’s very similar to conventional priority although there is no “interrupt” during the transmissions. Priorities are checked in between transmissions.
With Priority on, you can hold on an ID in your Scan List, such as Scan List 6, memory position 7, and the scanner will check all the priorities in all the active Scan Lists every few seconds and in between any transmissions on the ID on which you’re holding. The lowest numbered priority will be checked first. For example, the priority ID in List 1 will be checked before the priority in List 2, etc.
Note: This function does not work in LTR tracking.
Programming Scan Lists During Search
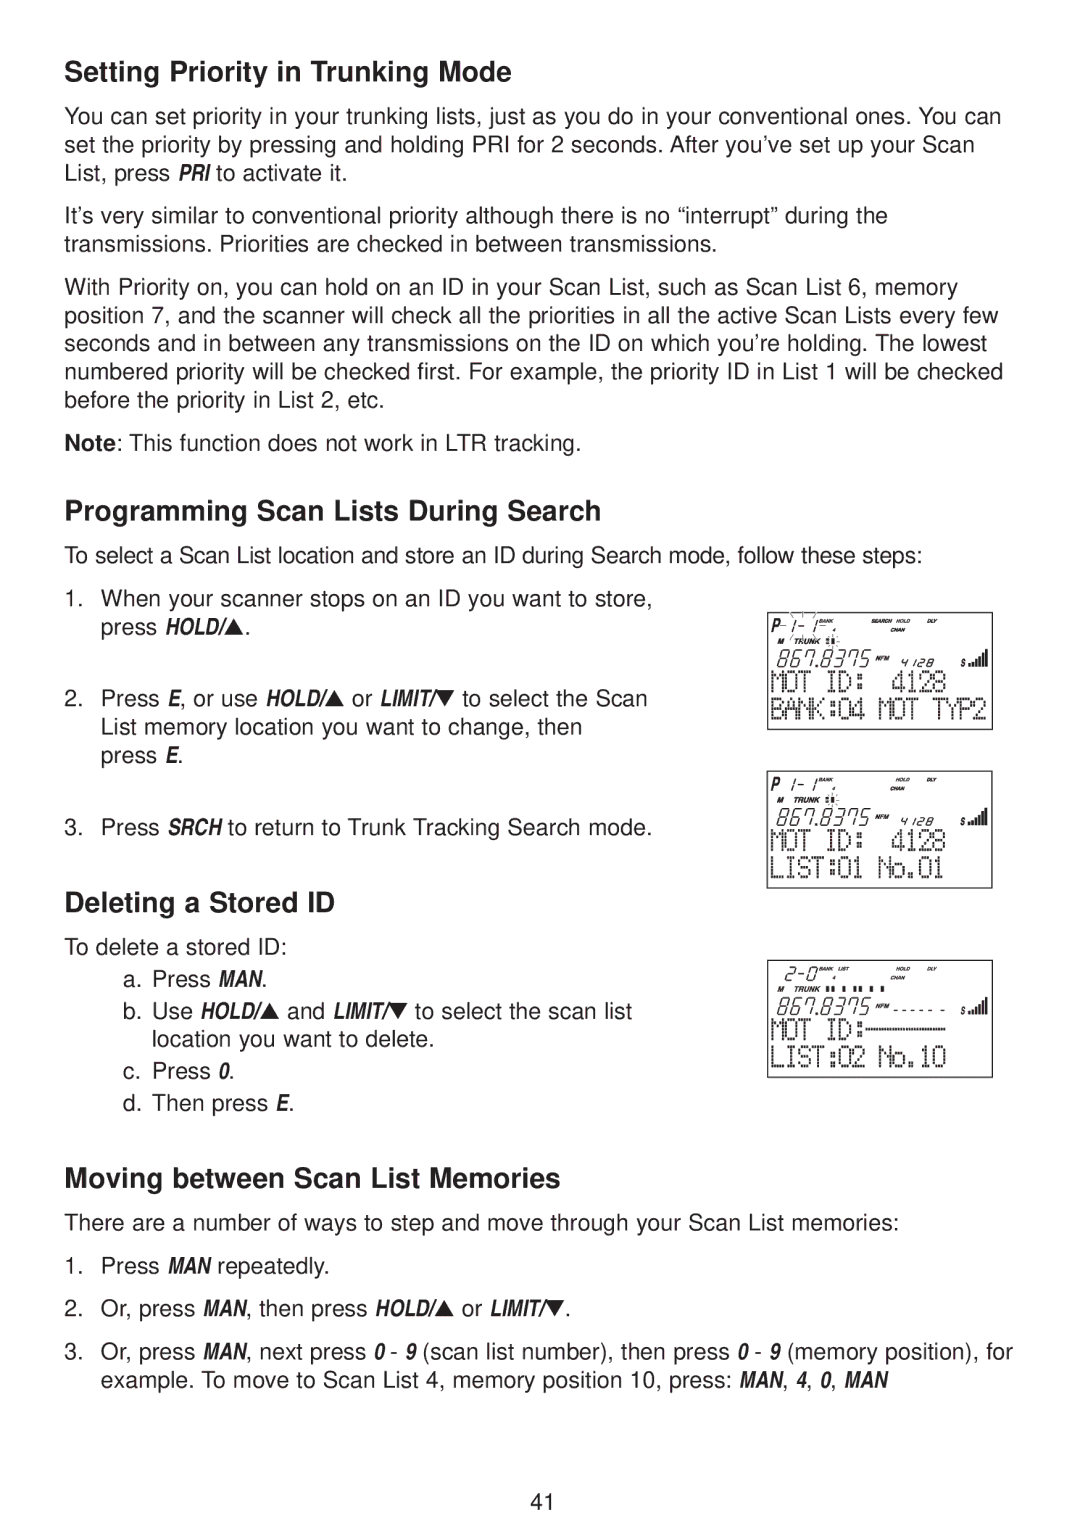
To select a Scan List location and store an ID during Search mode, follow these steps:
1. When your scanner stops on an ID you want to store, press HOLD/▲.
2. Press E, or use HOLD/▲ or LIMIT/▼ to select the Scan List memory location you want to change, then press E.
3. Press SRCH to return to Trunk Tracking Search mode.
Deleting a Stored ID
To delete a stored ID: a. Press MAN.
b. Use HOLD/▲ and LIMIT/▼ to select the scan list location you want to delete.
c.Press 0.
d.Then press E.
Moving between Scan List Memories
There are a number of ways to step and move through your Scan List memories:
1.Press MAN repeatedly.
2.Or, press MAN, then press HOLD/▲ or LIMIT/▼.
3.Or, press MAN, next press 0 - 9 (scan list number), then press 0 - 9 (memory position), for example. To move to Scan List 4, memory position 10, press: MAN, 4, 0, MAN
41
