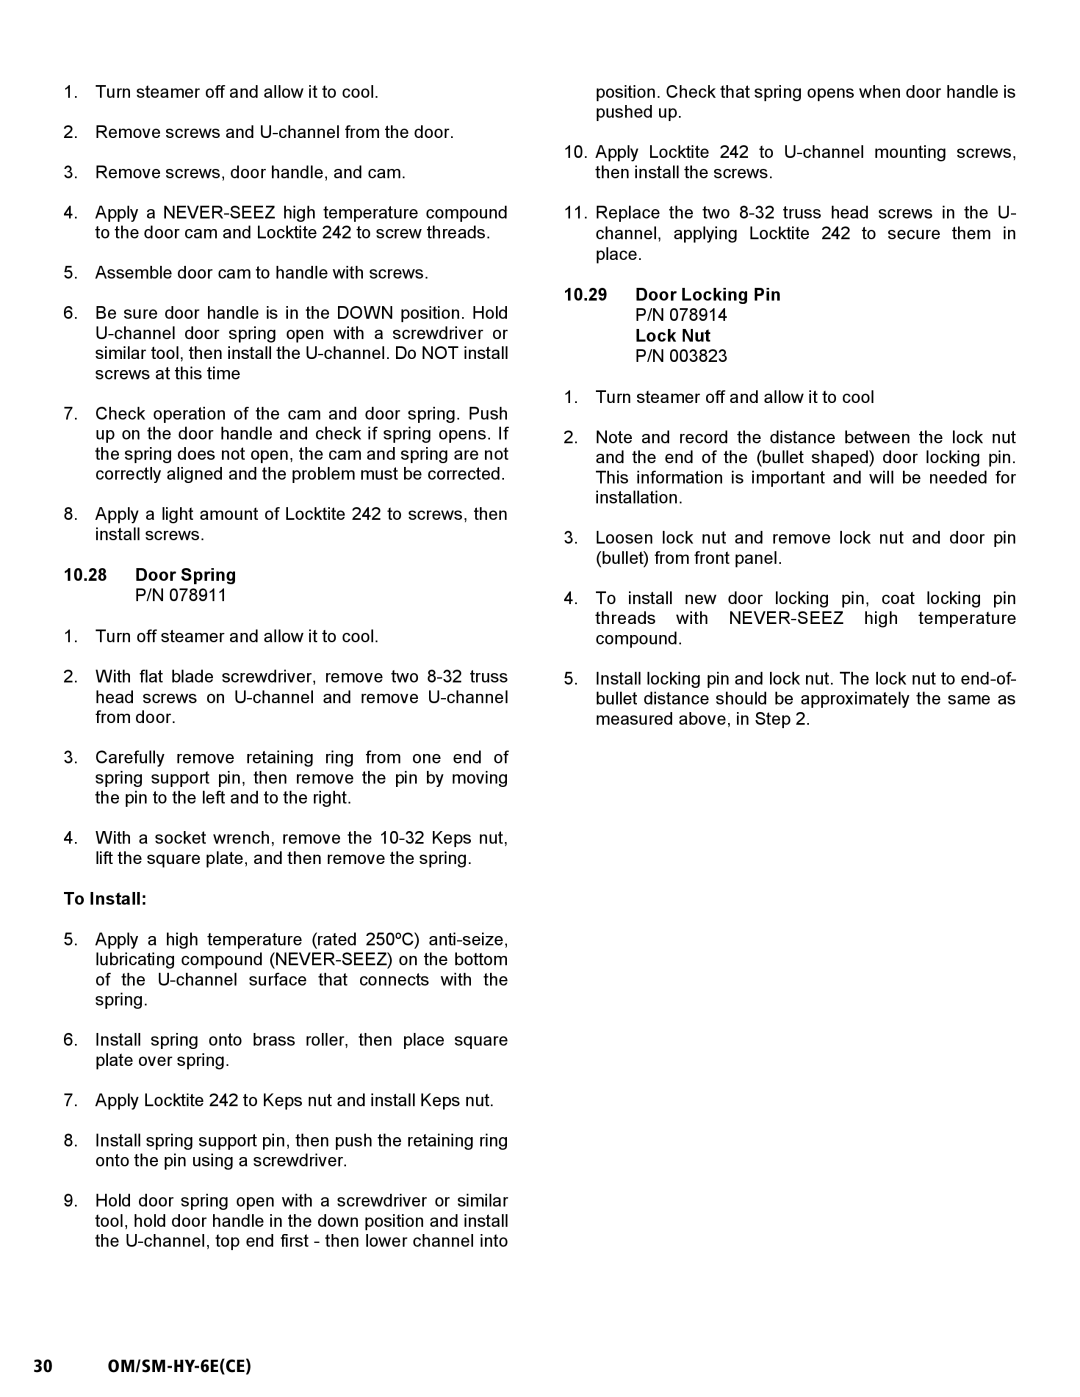
HY-6E(CE) specifications
Unified Brands HY-6E(CE) is a state-of-the-art cooking appliance specifically designed for professional kitchens, providing top-notch technology, efficiency, and capability. This equipment stands out due to its combination of advanced features and user-friendly controls, making it an ideal choice for restaurants, catering services, and foodservice operations.One of the most notable features of the HY-6E(CE) is its powerful heating system, which allows for rapid cooking times and consistent results. The unit is equipped with a high-efficiency burner system that ensures even heat distribution while minimizing energy consumption. This innovative technology not only enhances cooking performance but also contributes to cost savings in energy usage.
Another significant characteristic of the HY-6E(CE) is its versatility. The appliance supports various cooking methods, including boiling, frying, steaming, and simmering, making it suitable for a wide range of culinary applications. This adaptability enables chefs to prepare multiple dishes simultaneously, thereby increasing kitchen productivity.
The design of the HY-6E(CE) emphasizes durability and ease of maintenance. Constructed from high-grade stainless steel, it is built to withstand the rigors of a busy kitchen while resisting corrosion and wear. The smooth surfaces and streamlined design facilitate quick cleaning, ensuring that hygiene standards are upheld without excessive downtime.
In terms of control and monitoring, the HY-6E(CE) features an intuitive digital interface that allows chefs to set precise temperature and timing. This level of control is crucial for maintaining culinary consistency and quality, especially in high-pressure environments. The appliance also includes safety features such as automatic shut-off and flame failure protection, ensuring a safe cooking experience.
The HY-6E(CE) is further enhanced with smart technology options that enable remote monitoring and adjustments via mobile applications. This connectivity allows operators to oversee kitchen operations from any location, optimizing workflow and ensuring that meal preparation runs smoothly.
In conclusion, the Unified Brands HY-6E(CE) is an exemplary cooking appliance that merges efficiency, versatility, and advanced technology. Its features cater to the dynamic needs of the modern kitchen, making it a valuable addition for culinary professionals who prioritize performance and reliability in their cooking operations.
