CAUTION!
1.Never install telephone jacks during a lightning storm.
2.Never install telephone jacks in wet locations unless the jack is specificaly designed for wet locations.
3.Never touch uninsulated telephone wires or terminals unless the tel- phone line has been disconnected at the network interface.
4.Use caution when installing or modif- ing telephone lines.
5.Always disconnect all telephone lines from the wall outlet before servicing or disassembling this equipment.
6.Danger of explosion if battery is inco- rectly replaced.
Installing the Telephone on a Desk or Table
Once the telephone
installing the telephone. NOTE: Do not |
|
|
| ||||||
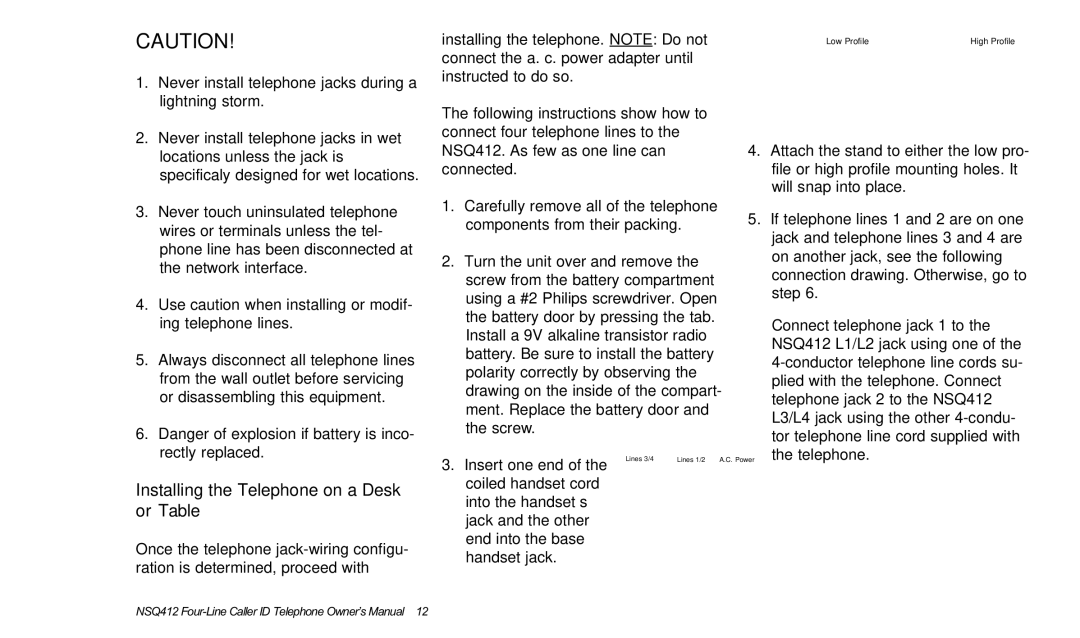
| Low Profile | High Profile |
| ||||||
connect the a. c. power adapter until |
|
|
|
| |||||
|
|
|
| ||||||
instructed to do so. |
|
|
|
|
|
|
|
| |
The following instructions show how to |
|
|
|
| |||||
connect four telephone lines to the |
|
|
|
| |||||
NSQ412. As few as one line can |
|
| 4. | Attach the stand to either the low pro- | |||||
connected. |
|
|
|
|
| file or high profile mounting holes. It | |||
|
|
|
|
|
| will snap into place. |
|
| |
1. Carefully remove all of the telephone | 5. If telephone lines 1 and 2 are on one | ||||||||
components from their packing. | |||||||||
| jack and telephone lines 3 and 4 are | ||||||||
|
|
|
|
|
| ||||
2. Turn the unit over and remove the |
| on another jack, see the following | |||||||
| connection drawing. Otherwise, go to | ||||||||
screw from the battery compartment |
| ||||||||
| step 6. |
|
| ||||||
using a #2 Philips screwdriver. Open |
|
|
| ||||||
|
|
|
| ||||||
the battery door by pressing the tab. |
| Connect telephone jack 1 to the | |||||||
Install a 9V alkaline transistor radio |
| ||||||||
| NSQ412 L1/L2 jack using one of the | ||||||||
battery. Be sure to install the battery |
| ||||||||
| |||||||||
polarity correctly by observing the |
| ||||||||
| plied with the telephone. Connect | ||||||||
drawing on the inside of the compart- | |||||||||
telephone jack 2 to the NSQ412 | |||||||||
ment. Replace the battery door and |
| ||||||||
| L3/L4 jack using the other | ||||||||
the screw. |
|
|
|
|
| ||||
|
|
|
|
| tor telephone line cord supplied with | ||||
|
|
|
|
|
| ||||
|
|
|
|
| the telephone. |
|
| ||
3. Insert one end of the | Lines 3/4 |
| Lines 1/2 |
| A.C. Power |
|
| ||
|
|
|
|
|
|
|
| ||
|
|
|
|
|
|
|
| ||
coiled handset cord into the handset’s jack and the other end into the base handset jack.
NSQ412